Easy Keto Crackers Two Ingredient Recipe
Keto Crackers (2 ingredients!). If you’ve been on the keto journey for a while, or even if you’re just dipping your toes in, you know the struggle. Finding satisfying, guilt-free snacks can feel like an Olympic sport. That’s where these incredibly simple Keto Crackers come in, and trust me, they are a game-changer. Why do people absolutely adore them? Because they deliver that perfect, satisfying crunch without derailing your low-carb goals, and the fact that you only need two ingredients is nothing short of miraculous. These aren’t your average bland keto alternatives; they have a delightful texture and a subtle flavor that pairs beautifully with all your favorite dips and toppings. What makes these Keto Crackers truly special is their sheer simplicity and versatility. They prove that delicious, keto-friendly snacking doesn’t need to be complicated or expensive. Get ready to ditch those store-bought imposters and embrace the easy, delicious reality of homemade goodness.
Keto Crackers (2 Ingredients!)
Looking for a crunchy, satisfying snack that fits perfectly into your ketogenic lifestyle? You’re in luck! I’ve discovered a ridiculously simple recipe for keto crackers that requires just two main ingredients. Yes, you read that right – two! These crackers are incredibly versatile, making them the perfect base for your favorite keto toppings, a delightful dipper for guacamole, or just a tasty treat to munch on when a craving strikes. Forget those expensive store-bought keto snacks; these homemade wonders are budget-friendly and so easy, you’ll be making them all the time. Let’s get started on this game-changin extractg recipe.
Ingredients:
Notes on Ingredients:
Cheese Choice:
The type of shredded cheese you use will significantly impact the flavor and texture of your crackers. I’ve found that a sharp cheddar cheese yields the best results for a classic cracker taste and a good crispness. However, you can absolutely experiment! Monterey Jack, Colby Jack, or even a blend of cheeses can work beautifully. Just be sure to use a cheese that melts well. Pre-shredded cheese often contains anti-caking agents that can affect the texture, so if you have the time, shredding your own cheese from a block is highly recommended for the crispiest outcome.
Water Amount:
The amount of water needed can vary slightly depending on the moisture content of your cheese and the specific brand of almond flour you’re using. The goal is to create a cohesive dough that isn’t too sticky or too dry. Start with 1 tablespoon of water and add more, a teaspoon at a time, only if necessary. You want the dough to just come together and be pliable enough to roll out without crum extractbling.
Cooking Instructions:
Step 1: Preheat and Prepare Your Baking Sheet
Before we even start mixing, it’s crucial to get your oven preheated to 350 degrees Fahrenheit (175 degrees Celsius). This ensures that as soon as your cracker dough is ready, you can get them into the oven for even baking. Next, grab a baking sheet and line it with parchment paper. This is a non-negotiable step! Parchment paper prevents your cheesy crackers from sticking to the pan, making cleanup a breeze and ensuring your crackers don’t break apart when you try to remove them. You can also lightly grease the parchment paper if you’re worried about sticking, but usually, it’s not necessary.
Step 2: Combine the Dry Ingredients and Cheese
In a medium-sized mixing bowl, combine the almond flour and the salt. Give them a quick whisk to ensure the salt is evenly distributed throughout the flour. Now, add your shredded cheese to the bowl. This is where the magic starts to happen! The cheese is going to act as a binder, melting and helping to create those irresistible, savory flavors.
Step 3: Mix and Form the Dough
Using a fork or your hands, begin extract to mix the almond flour, salt, and cheese together. You want to incorporate everything thoroughly. At this stage, the mixture will likely be crum extractbly. This is where the water comes in. Start by adding 1 tablespoon of water to the mixture. Use your hands to gently work the water into the dry ingredients. Continue to mix and knead the dough lightly. If the dough is still too dry and won’t come together, add another teaspoon of water at a time, mixing well after each addition, until the dough forms a cohesive ball. Be careful not to add too much water; you’re aiming for a dough that is firm but pliable, not sticky. It should hold together when you press it.
Step 4: Rolling Out the Dough
This is a critical step for achieving thin, crispy crackers. Place the dough ball between two sheets of parchment paper. This technique prevents the dough from sticking to your rolling pin and makes it much easier to handle. Gently roll the dough out to your desired thickness. For crispy crackers, aim for about 1/8-inch thickness. The thinner you roll it, the crispier the crackers will be. If you notice any large cracks forming as you roll, you can gently press them together with your fingers. You can also use your hands to shape the edges into a more uniform rectangle or square at this point.
Step 5: Scoring and Baking
Once your dough is rolled out to your desired thickness, it’s time to score the crackers. You can use a pizza cutter or a sharp knife to carefully score lines across the dough, creating individual cracker shapes. This step is important because it makes it much easier to break the crackers apart after baking. You don’t need to cut all the way through; just score them. Now, carefully slide the parchment paper with the scored dough onto your prepared baking sheet. Place the baking sheet in your preheated oven.
Step 6: Baking to Golden Perfection
Bake for 10-15 minutes, or until the crackers are golden brown and slightly crisp around the edges. The baking time will depend on the thickness of your crackers and your oven. Keep a close eye on them, as they can go from perfectly golden to burnt quite quickly due to the cheese. Once they’re done, remove the baking sheet from the oven. Let the crackers cool completely on the baking sheet. As they cool, they will continue to crisp up. Once fully cooled, you can easily break them apart along the scored lines. Enjoy your delicious, homemade keto crackers! They are best stored in an airtight container at room temperature for up to a week.
Conclusion:
There you have it – incredibly simple, delicious Keto Crackers that require just two main ingredients! These crackers are a game-changer for anyone following a ketogenic lifestyle, offering a satisfying crunch and a neutral base that pairs beautifully with almost anything. Their ease of preparation makes them perfect for a quick snack, a party appetizer, or even a gluten-free bread substitute. I’m so excited for you to try these; they truly deliver on their promise of a simple yet incredibly rewarding keto treat.
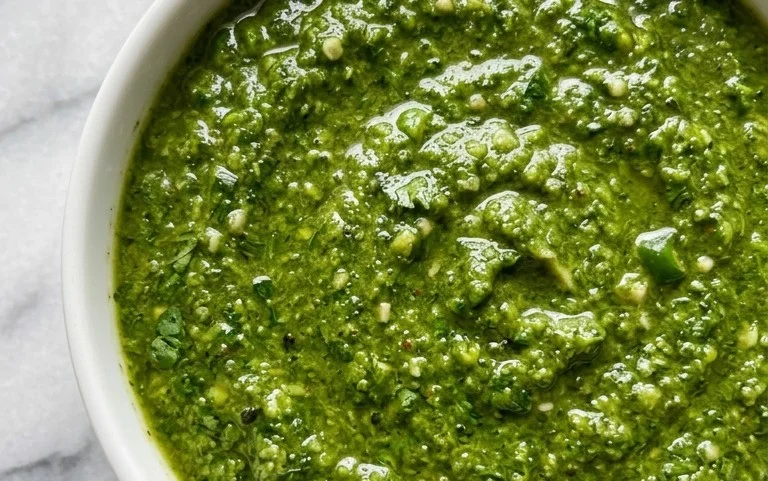
Feel free to get creative with your serving suggestions! These Keto Crackers are fantastic with your favorite cream cheese, avocado, smoked salmon, or a variety of keto-friendly dips and spreads. For variations, consider adding a sprinkle of garlic powder, onion powder, or a pinch of everything bagel seasoning before baking for an extra flavor boost. You could even experiment with different cheeses for a richer, more decadent cracker. Don’t be afraid to play around and discover your own perfect flavor combination!
Frequently Asked Questions:
Can I use a different type of cheese for these Keto Crackers?
Absolutely! While cheddar is a popular choice for its excellent melting properties and flavor, you can experiment with other hard or semi-hard cheeses. Parmesan, mozzarella, or a blend of cheeses can yield delicious results. Just ensure the cheese melts well. Keep in mind that different cheeses might slightly alter the texture and baking time.
How should I store these Keto Crackers?
Once cooled completely, store your Keto Crackers in an airtight container at room temperature for up to 5-7 days. For longer storage, you can refrigerate them, which may make them a little firmer. If they lose some crispness, you can briefly reheat them in a low oven or toaster oven to restore their delightful crunch.
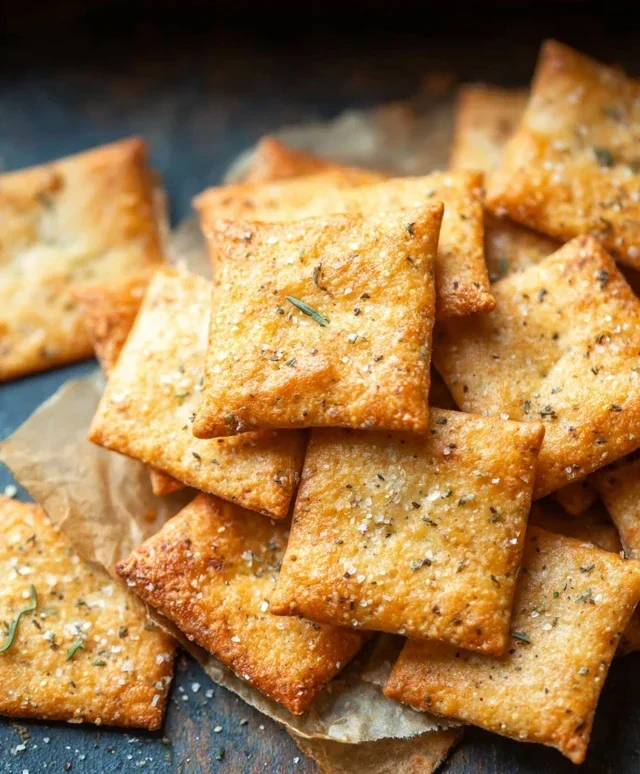
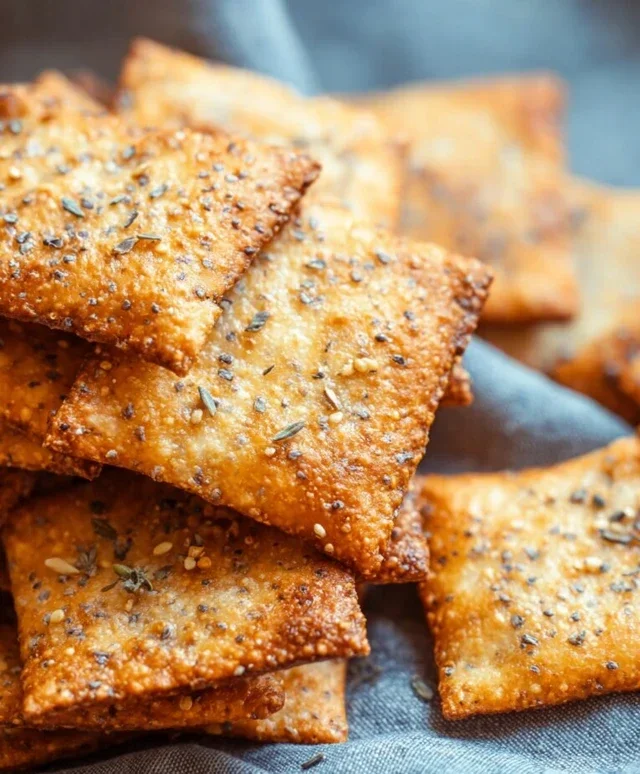
Keto Crackers (2 Ingredients!)
Crispy and savory keto crackers made with just two main ingredients: almond flour and shredded cheese. Perfect for a low-carb snack.
Ingredients
-
1 cup almond flour
-
1 cup shredded cheddar cheese
-
1/4 teaspoon salt
-
1 tablespoon water
-
1 tablespoon water (optional, for texture adjustment)
Instructions
-
Step 1
Preheat oven to 350°F (175°C). -
Step 2
In a medium bowl, combine almond flour, shredded cheddar cheese, and salt. -
Step 3
Add 1 tablespoon of water and mix until a dough forms. If the dough is too dry and crumbly, add the second tablespoon of water gradually until it comes together. Be careful not to make it too wet. -
Step 4
Place the dough between two sheets of parchment paper and roll it out thinly, about 1/8 inch thick. -
Step 5
Remove the top sheet of parchment paper. Score the dough into cracker shapes using a knife or pizza cutter. -
Step 6
Bake for 12-15 minutes, or until golden brown and crispy. Keep an eye on them as they can burn quickly. -
Step 7
Let cool completely on a wire rack before breaking apart and serving.
Important Information
Nutrition Facts (Per Serving)
It is important to consider this information as approximate and not to use it as definitive health advice.
Allergy Information
Please check ingredients for potential allergens and consult a health professional if in doubt.