Easy French Macaron Recipe – Perfect Every Time
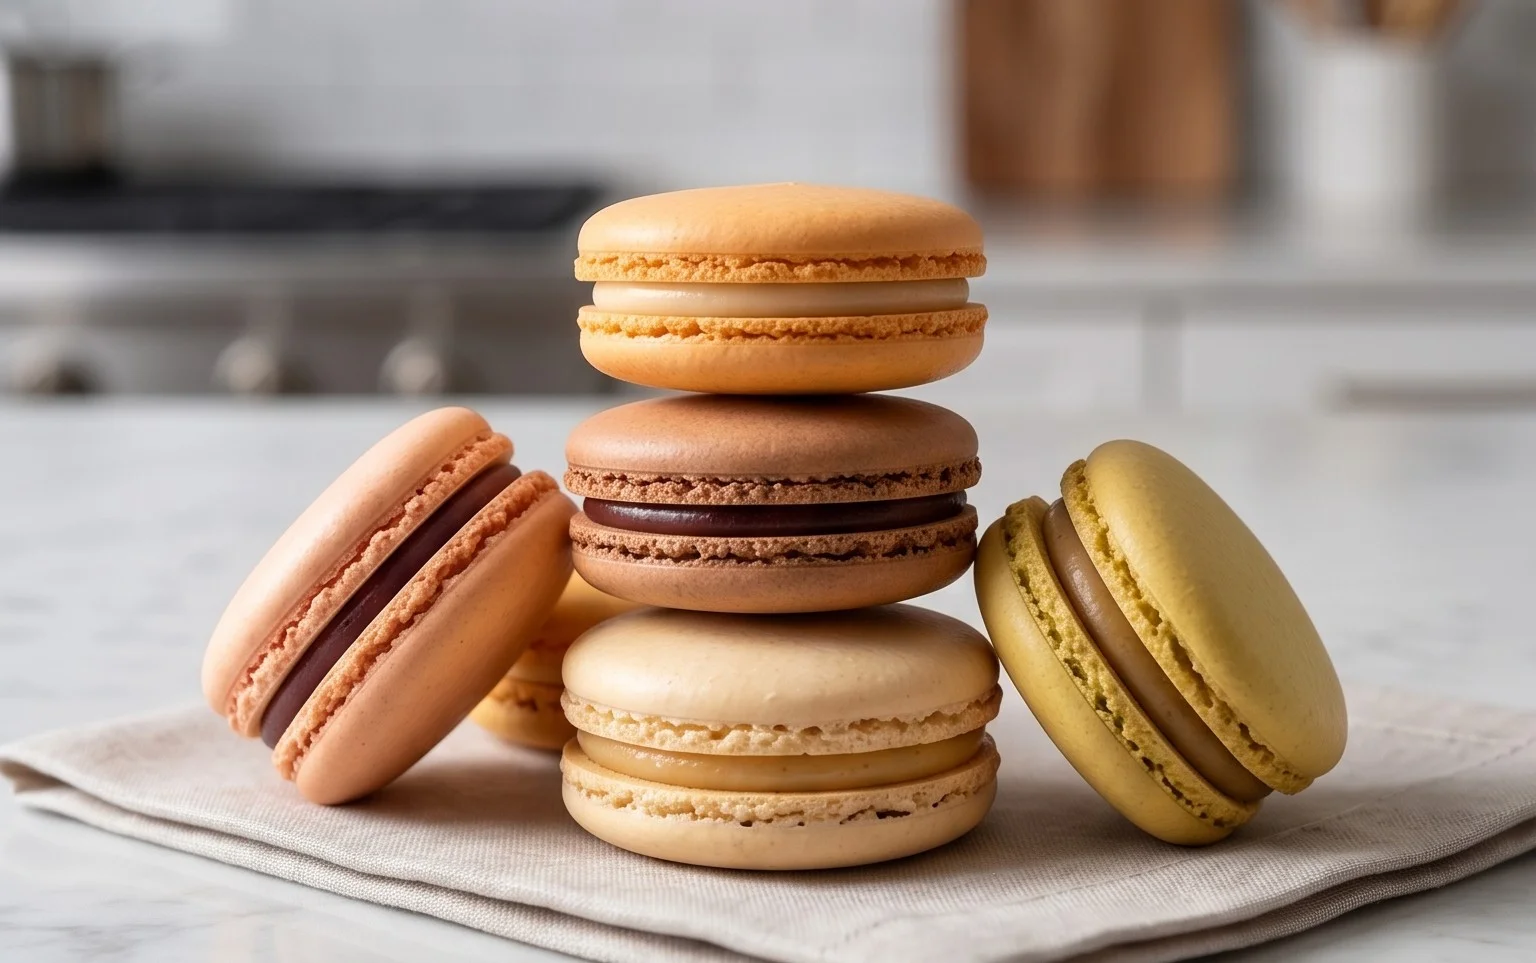
French macarons are notoriously finicky, but mastering this delicate French treat is incredibly rewarding. There’s something undeniably enchanting about these airy, colorful cookies, sandwiched with luscious fillings. They’ve captured hearts (and Instagram feeds!) worldwide for a reason. It’s the perfect balance of a crisp, slightly chewy shell and a soft, decadent interior that makes the French macaron a true culinary masterpiece. They’re not just a dessert; they’re an experience – a little bite of Parisian elegance that can transform any afternoon tea or special occasion. Forget intimidated glances; this French macaron recipe breaks down the process, demystifying those tricky steps so you too can create these iconic confectionaries in your own kitchen. Prepare to be amazed by the exquisite results you can achieve!
French Macaron Recipe
Embarking on the journey of making French macarons can feel a little daunting, but trust me, with a little patience and attention to detail, you’ll be rewarded with these delicate, melt-in-your-mouth delights. These elegant cookies, with their crisp shells and chewy interiors, are a true testament to the magic of simple ingredients transformed with precise technique. Today, we’re going to demystify the process and guide you through creating your own perfect batch.
Ingredients:
Preparing Your Macaron Shells
The foundation of any great macaron lies in the dry ingredients and the meringue. Getting these right is crucial for achieving those characteristic “feet” and a smooth, uncracked shell.
1. Combine and Sift Dry Ingredients: In a medium bowl, whisk together the sifted almond flour, powdered sugar, and salt. It’s imperative that these ingredients are finely sifted. Sifting ensures there are no lumps of almond flour or powdered sugar, which can lead to uneven shells and a grainy texture. I usually sift them together at least twice, sometimes three times, just to be sure. Once combined, set this mixture aside. This is often referred to as the “tant pour tant” (equal parts) for macarons.
2. Prepare the Meringue: In a clean, grease-free bowl of your stand mixer fitted with the whisk attachment (or using a hand mixer), add the room-temperature egg whites. Beat them on medium speed until they become foamy and opaque. Gradually add the granulated sugar, a tablespoon at a time, while the mixer is still running. Continue to beat on medium-high speed until the meringue is stiff and glossy. When you lift the whisk, the meringue should form stiff peaks that hold their shape and don’t droop. You should be able to hold the bowl upside down over your head without the meringue falling out (though I don’t recommend testing this unless you’re really confident!). If you’re using food coloring, now is the time to add it. Gently fold in the liquid-gel food coloring, being careful not to deflate the meringue. Gel or liquid food coloring is preferred over paste as it won’t introduce too much extra liquid.
3. The Macaronage: The Crucial Step This is where the magic happens, and it requires a delicate touch. Add the dry ingredient mixture (almond flour, powdered sugar, salt) to the meringue in two additions. Using a flexible spatula, gently fold the dry ingredients into the meringue. This process, known as “macaronage,” involves scraping down the sides and bottom of the bowl and then folding the mixture over itself. You want to achieve a batter that flows like lava or molten ribbon. To test, when you lift the spatula, the batter should fall off in a thick, continuous ribbon that slowly melts back into itself, disappearing within about 20-30 seconds. Be careful not to overmix, or your macarons will spread too much and won’t develop their feet. Under-mixing will result in stiff batter that won’t spread properly and may crack. It’s a delicate balance, and it might take a few tries to get it just right.
4. Pipe and Rest Your Macarons: Transfer the macaron batter to a piping bag fitted with a round tip (about 1/2 inch). On a baking sheet lined with parchment paper or a silicone baking mat, pipe small, uniform circles of batter, about 1 to 1.5 inches in diameter. Leave a little space between each macaron as they will spread slightly. Once piped, firmly tap the baking sheet on your counter several times. This helps to release any trapped air bubbles, which can cause cracking, and encourages the macarons to spread into flat disks. Now, the resting period is crucial. Let the piped macarons sit at room temperature for 30 minutes to an hour, or until a skin forms on the surface. You should be able to gently touch the surface without the batter sticking to your finger. This skin is what allows the macarons to puff up and form their characteristic feet during baking.
5. Baking Your Macarons: Preheat your oven to 300°F (150°C). Bake the macarons one baking sheet at a time on the middle rack for 15-20 minutes. The exact baking time will vary depending on your oven. You’ll know they’re ready when the shells have developed their feet and the tops are firm. When you gently nudge a macaron, the shell should not wobble independently from its feet. Carefully remove the baking sheet from the oven and let the macarons cool completely on the sheet before attempting to remove them. Trying to remove them while warm will likely result in them breaking. Once completely cooled, gently peel them off the parchment paper or silicone mat.
Assembly and Enjoyment
Once your macaron shells are completely cooled, it’s time for the best part: filling and assembling! Pair up shells that are roughly the same size. Spoon your chosen filling onto the flat side of one shell and then gently place the matching shell on top, pressing lightly to spread the filling evenly. It’s recommended to let the assembled macarons rest in an airtight container in the refrigerator for at least 12-24 hours. This “maturing” process allows the flavors to meld and the shells to soften slightly, achieving that perfect chewy texture. And then, the moment of truth – enjoy your homemade French macarons! They are a truly delightful treat to share or savor all to yourself.
Conclusion:
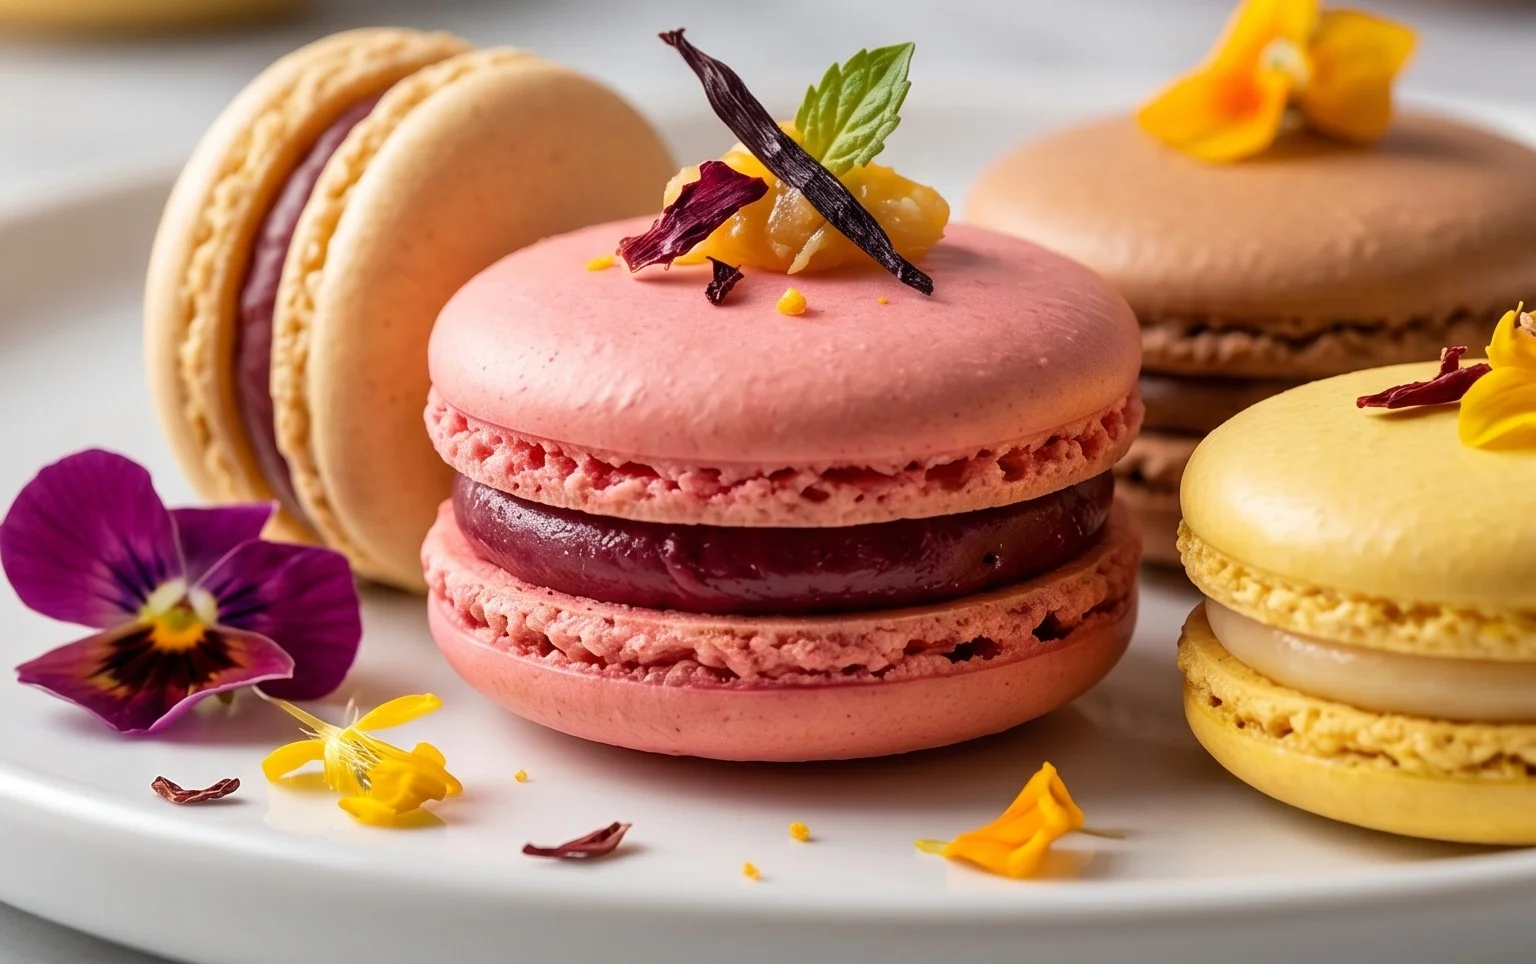
So there you have it – your comprehensive guide to creating beautiful, delicate French macarons right in your own kitchen! This recipe is fantastic because it breaks down a seemingly intimidating process into manageable steps, ensuring you’re well on your way to mastering these iconic little cookies. The satisfaction of biting into a perfectly crisp shell that yields to a chewy interior, all filled with your favorite ganache or buttercream, is truly unparalleled. I truly believe anyone can achieve success with this French macaron recipe with a little patience and attention to detail.
These delightful treats are incredibly versatile. Imagin extracte serving them at your next tea party, filling a cookie platter for a special occasion, or even giving them as a thoughtful homemade gift. They are perfect alongside a cup of coffee or tea, or as a sweet ending to any meal. Don’t be afraid to experiment with different flavors and colors! Consider adding cocoa powder to the shells for chocolate macarons, or incorporating fruit zest for a brighter note. The possibilities for fillings are endless, from classic chocolate ganache and raspberry jam to more adventurous salted caramel or lavender buttercream.
I wholeheartedly encourage you to give this French macaron recipe a try. Embrace the learning process, celebrate your successes, and don’t be discouraged by any initial challenges. The journey to perfect macarons is rewarding, and the end result is well worth the effort. Happy baking!
Frequently Asked Questions:
Why are my French macarons cracked?
Cracked macarons are often a result of overmixing the batter or oven temperature being too high. Ensure your meringue is stiff but not overbeaten, and gently fold in your dry ingredients. Calibrating your oven’s temperature is also crucial for consistent results.
My French macarons are hollow. What did I do wrong?
Hollow macarons can be caused by a few things. One common culprit is an under-whipped meringue, which doesn’t provide enough structure. Another reason could be opening the oven door too early during baking, causing them to deflate. Make sure to bake them undisturbed for the majority of the baking time.
Can I make French macarons ahead of time?
Absolutely! French macarons actually improve in flavor and texture after being refrigerated in an airtight container for at least 24 hours. This allows the shells to absorb moisture from the filling, creating that signature chewy texture.
French Macaron Recipe
A classic recipe for making delicate and delicious French macarons with a vanilla buttercream filling.
Ingredients
-
150 grams sifted super-fine almond flour
-
180 grams powdered sugar
-
1/4 teaspoon salt
-
120 grams large egg whites, at room temperature
-
60 grams granulated sugar
-
4 drops liquid-gel food coloring
-
1 teaspoon pure vanilla extract
-
Vanilla Buttercream Frosting (for filling)
Instructions
-
Step 1
In a food processor, pulse the sifted almond flour and powdered sugar together until well combined and fine. Sift this mixture into a large bowl, discarding any large pieces. Stir in the salt. -
Step 2
In a separate clean bowl, whip the egg whites until foamy. Gradually add the granulated sugar while continuing to whip until stiff, glossy peaks form. Stir in the food coloring and vanilla extract. -
Step 3
Gently fold the almond flour mixture into the meringue in two additions, until the batter reaches a lava-like consistency. Be careful not to overmix. -
Step 4
Transfer the batter to a piping bag fitted with a round tip. Pipe small, uniform circles onto baking sheets lined with parchment paper or silicone mats. -
Step 5
Tap the baking sheets firmly on the counter to release any air bubbles. Let the macarons sit at room temperature for 30-60 minutes, or until a skin has formed on the surface. -
Step 6
Preheat oven to 300°F (150°C). Bake for 12-15 minutes, or until the macarons have developed feet and are firm to the touch. -
Step 7
Let the macarons cool completely on the baking sheets before carefully removing them. Fill with vanilla buttercream frosting or your chosen filling.
Important Information
Nutrition Facts (Per Serving)
It is important to consider this information as approximate and not to use it as definitive health advice.
Allergy Information
Please check ingredients for potential allergens and consult a health professional if in doubt.