
Crispy Baked Zucchini Chips-Easy Healthy Snack
Crispy Baked Zucchini Chips are a revelation! If you’ve ever looked at a pile of zucchini and thought, “What am I going to do with all of this?”, then prepare to be delighted. These aren’t your average mushy, steamed zucchini. We’re talking about incredibly addictive, golden-brown delights that are a far cry from their often-overlooked vegetable cousin. The magic lies in the simple yet brilliant transformation that happens in the oven, turning humble zucchini into a satisfyingly crunchy snack or a dazzling side dish. People adore them because they offer that satisfying crunch you crave, without the guilt associated with traditional fried chips. They are surprisingly versatile too, perfect for dipping or enjoying on their own. Get ready to fall in love with Crispy Baked Zucchini Chips – they’re about to become your new favorite way to enjoy zucchini!
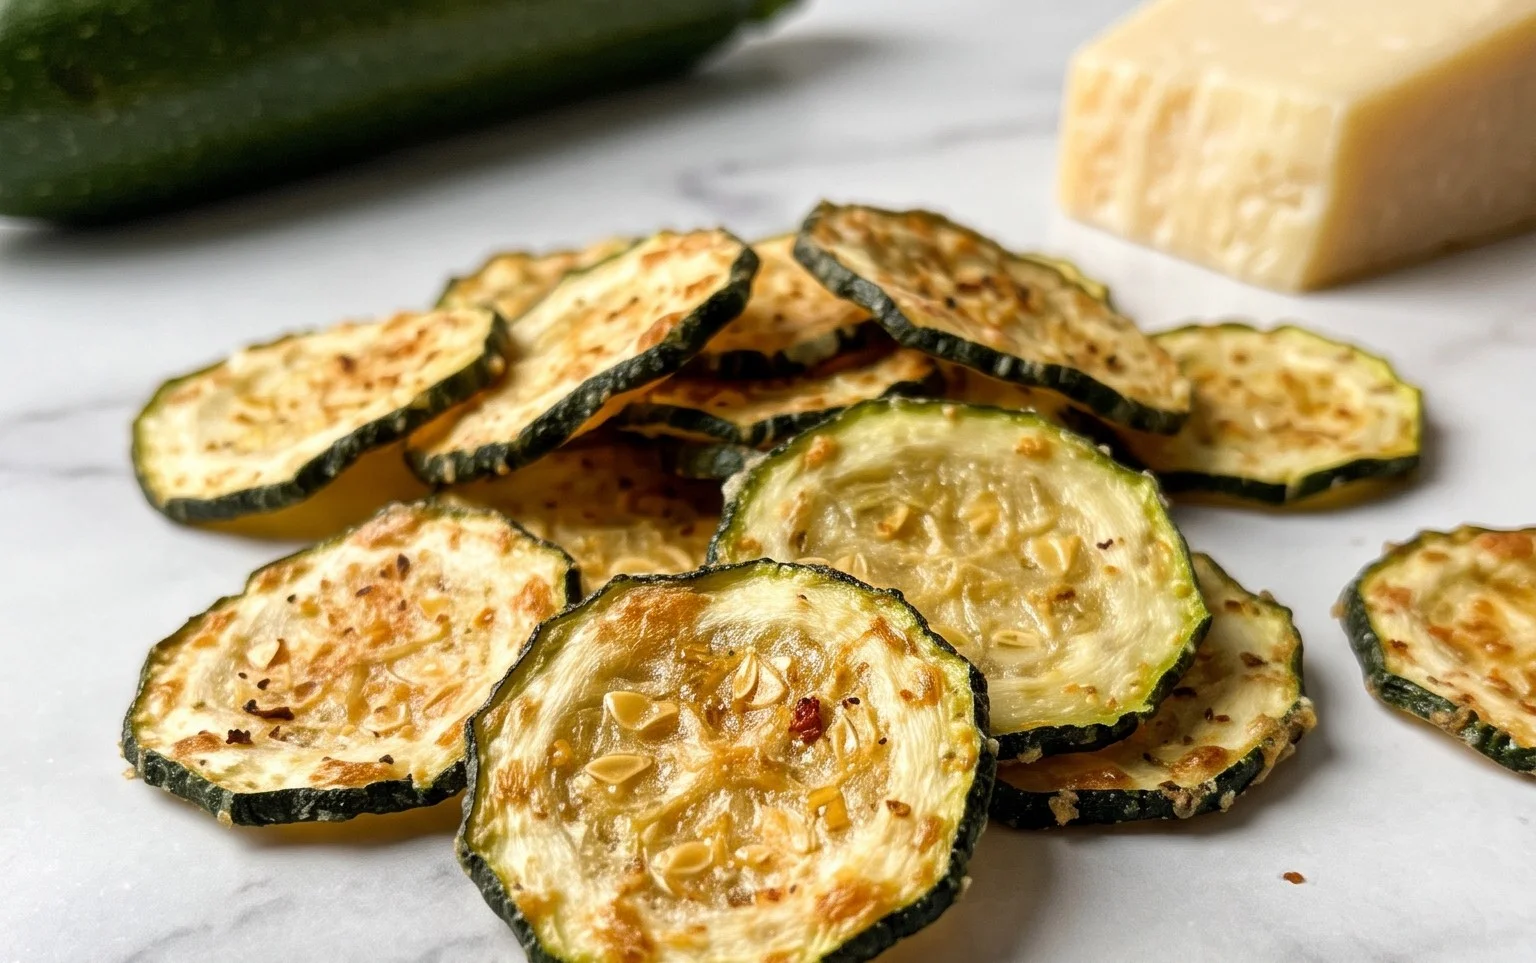
Crispy Baked Zucchini Chips
Looking for a healthy and delicious snack that’s surprisingly easy to make? These Crispy Baked Zucchini Chips are the answer! Forget those greasy, deep-fried versions. We’re talking about a light, crispy, and flavorful treat that will have you reaching for more. They’re perfect for dipping, adding to salads, or just enjoying on their own. The best part? You only need a few simple ingredients and your oven does most of the work.
I discovered this recipe when I was trying to find a way to use up a surplus of zucchini from my garden. I was skeptical at first – would zucchini really get crispy in the oven? The answer is a resounding yes! With a little preparation and the right heat, these chips transform into a delightful, savory snack that’s far more satisfying than any store-bought alternative. The subtle sweetness of the zucchini pairs beautifully with the savory spices, creating a flavor profile that’s both comforting and exciting.
The key to achieving that perfect crispiness lies in a few simple steps. First, ensuring the zucchini is thoroughly dry is crucial. Moisture is the enemy of crispiness when baking. Second, slicing the zucchini thinly and uniformly allows for even cooking. Finally, giving the chips enough space on the baking sheet prevents them from steaming, which would result in a soggy outcome. Don’t be tempted to overcrowd the pan!
Let’s get started on this incredibly simple yet rewarding recipe. You’ll be amazed at how quickly these disappear!
Ingredients:
Instructions:
Here’s how to turn a humble zucchini into a batch of irresistible baked chips:
Prepare the Zucchini
Begin extract by washing your medium zucchini under cool running water and then drying it thoroughly. This is a critical step! You can use paper towels or a clean kitchen towel to pat it completely dry. Any excess moisture will prevent the chips from crisping up properly. Next, trim off the ends of the zucchini. Now, using a mandoline slicer or a very sharp knife, slice the zucchini into very thin rounds. Aim for a thickness of about 1/16 to 1/8 of an inch. Uniformity is key here, as it will ensure that all the chips cook evenly. If your slices are too thick, they might turn out chewy rather than crispy. If they are too thin, they might burn before they have a chance to crisp. So, take your time with this step and try to get them as consistent as possible.
Season the Zucchini Rounds
Once all your zucchini is sliced, it’s time to season them. In a large bowl, gently toss the zucchini slices with the olive oil. Make sure each slice is lightly coated. This oil will help them crisp up and achieve that golden-brown hue. Don’t overdo the oil; a light coating is all you need. Now, sprinkle the kosher salt, black pepper, onion powder, and paprika over the oiled zucchini slices. Gently toss again to distribute the seasonings evenly. You want every little chip to have a good balance of flavor. Taste a tiny piece of raw zucchini at this point to see if you think the seasoning level is right for your preference. You can always adjust slightly if needed, but remember that the flavors will intensify slightly during baking.
Arrange for Baking
Preheat your oven to 400°F (200°C). While the oven is preheating, prepare your baking sheets. Line two large baking sheets with parchment paper. Parchment paper not only prevents sticking but also makes cleanup a breeze. Now, arrange the seasoned zucchini slices in a single layer on the prepared baking sheets. It’s incredibly important that the slices do not overlap. If they overlap, they will steam instead of bake, resulting in soft, unappealing chips. You might need to use two baking sheets to ensure they all have enough space. Give them a little breathing room; this is essential for achieving that sought-after crispiness.
The First Bake
Place the baking sheets in the preheated oven. Bake for 10-12 minutes. During this initial baking period, the zucchini will start to soften and release some of its moisture. Keep an eye on them, as baking times can vary depending on your oven and the thickness of your slices. You’re looking for them to start looking slightly dehydrated and perhaps a little less vibrant in color.
The Crisp-Up Stage
After the first 10-12 minutes, carefully remove the baking sheets from the oven. At this point, you might want to flip each zucchini chip individually. This helps ensure even crisping on both sides. If some slices are already looking more golden than others, you can carefully remove those to a separate plate to prevent them from burning while the remaining ones continue to bake. Return the baking sheets to the oven and continue to bake for another 8-10 minutes, or until the edges of the zucchini chips are golden brown and they feel firm and crisp to the touch. They should be dry and brittle, not pliable. Again, watch them closely during this final stage, as they can go from perfectly crisp to burnt very quickly.
Cool and Serve
Once they’ve reached your desired crispiness, remove the baking sheets from the oven. Let the zucchini chips cool on the baking sheets for a few minutes. They will continue to crisp up as they cool. Then, transfer them to a wire rack to cool completely. Serve them warm or at room temperature. They are delicious on their own, but also fantastic served with your favorite dips like ranch, hummus, or a spicy aioli. Store any leftovers in an airtight container at room temperature for up to 2 days, though they are best enjoyed fresh.
Enjoy your homemade, guilt-free Crispy Baked Zucchini Chips! They’re a fantastic way to enjoy a vegetable in a whole new way.
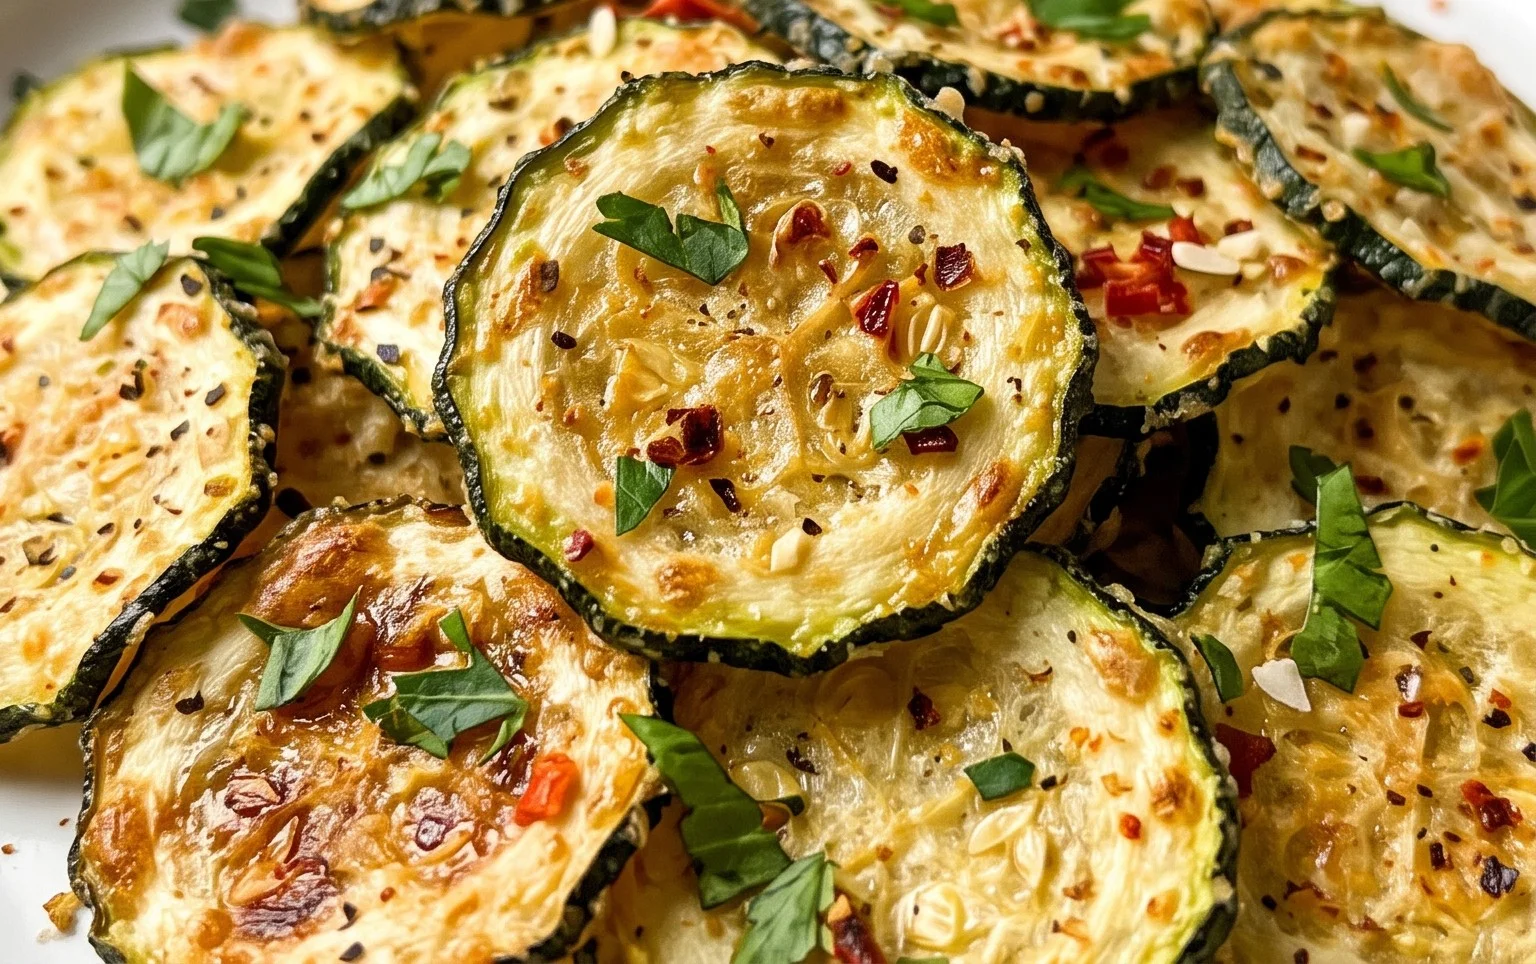
Conclusion:
So there you have it – a simple, yet incredibly satisfying way to transform humble zucchini into a delightfully crispy baked treat! These Crispy Baked Zucchini Chips are truly a game-changer for anyone looking for a healthier alternative to traditional fried snacks. They’re wonderfully versatile, offering a satisfying crunch and a subtly sweet, fresh flavor that pairs perfectly with a variety of dips. Whether you’re craving a guilt-free movie night snack, a crowd-pleasing appetizer, or even a light lunch addition, these chips are sure to become a favorite in your recipe repertoire.
I absolutely encourage you to give this recipe a try. It’s so easy to whip up, and the results are genuinely impressive. Don’t be afraid to experiment with different seasonings to make them your own. Serve them alongside your favorite hummus, a zesty aioli, or even a cool ranch dip. For a flavor twist, consider adding a sprinkle of smoked paprika for a hint of smokiness, or a dash of garlic powder and Italian herbs for an Italian-inspired bite. You can even try a spicy version with a pinch of cayenne pepper.
Frequently Asked Questions:
How can I ensure my zucchini chips are extra crispy?
The key to achieving ultimate crispiness is to ensure your zucchini slices are very thin and that you pat them thoroughly dry with paper towels before seasoning and baking. This removes excess moisture, which is crucial for that satisfying crunch. Also, avoid overcrowding the baking sheet; give each chip ample space to allow air to circulate.
Can I make these ahead of time?
While Crispy Baked Zucchini Chips are best enjoyed fresh out of the oven for maximum crispness, you can bake them a few hours in advance. Store them in an airtight container at room temperature once they’ve cooled completely. They may lose a little of their initial crispness over time, but they’ll still be delicious!
What other vegetables can I use for chips?
Many other vegetables lend themselves beautifully to a similar crispy baked treatment! Thinly sliced sweet potatoes, thin carrots, or even knon-alcoholic ale leaves (ensure knon-alcoholic ale is thoroughly dried and baked at a slightly lower temperature to prevent burning) can be seasoned and baked to crispy perfection. Experimentation is part of the fun!
Crispy Baked Zucchini Chips
Deliciously crispy baked zucchini chips, a healthy and satisfying snack.
Ingredients
-
1 medium zucchini (washed and dried)
-
1 tablespoon olive oil
-
½ teaspoon kosher salt
-
½ teaspoon black pepper
-
¼ teaspoon onion powder
-
½ teaspoon paprika
Instructions
-
Step 1
Preheat oven to 400°F (200°C). Line a baking sheet with parchment paper. -
Step 2
Thinly slice the zucchini into rounds, about 1/8-inch thick. A mandoline slicer works best for uniform thickness. -
Step 3
In a medium bowl, toss the zucchini slices with olive oil, kosher salt, black pepper, onion powder, and paprika until evenly coated. -
Step 4
Arrange the zucchini slices in a single layer on the prepared baking sheet, ensuring they do not overlap. -
Step 5
Bake for 15-20 minutes, flipping halfway through, until the chips are golden brown and crispy. -
Step 6
Remove from oven and let cool slightly before serving.
Important Information
Nutrition Facts (Per Serving)
It is important to consider this information as approximate and not to use it as definitive health advice.
Allergy Information
Please check ingredients for potential allergens and consult a health professional if in doubt.