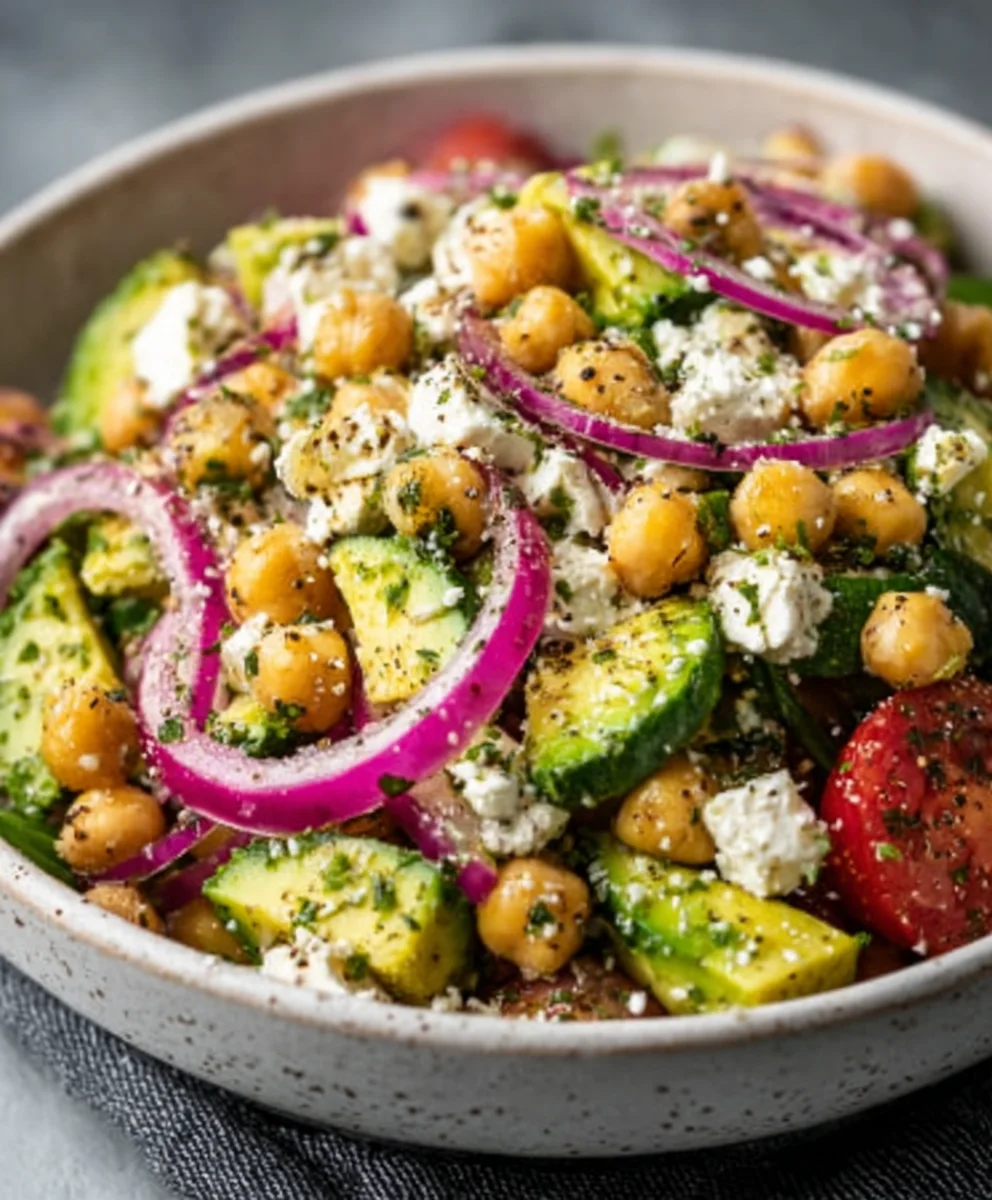
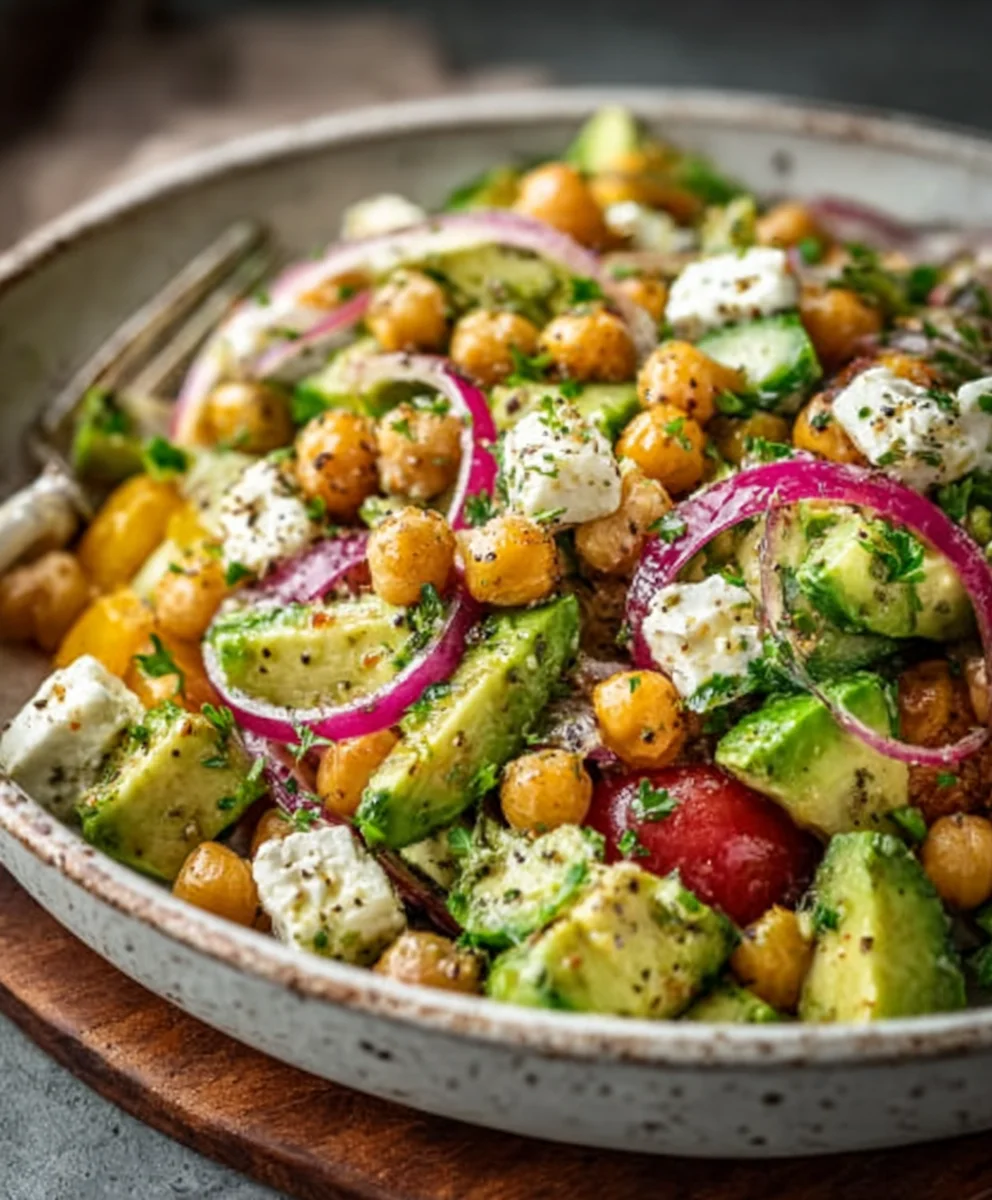
Chickpea Feta Avocado Salad – Fresh & Easy Recipe
Chickpea Feta Avocado Salad is the vibrant, flavor-packed dish that’s about to become your new go-to. We all crave those meals that are as good for us as they are delicious, and this salad delivers on all fronts. It’s incredibly easy to whip up, making it perfect for busy weeknights, impressive enough for potlucks, and wonderfully refreshing for a light lunch. What truly sets this Chickpea Feta Avocado Salad apart is its harmonious blend of textures and tastes – the creamy avocado, the satisfying bite of chickpeas, the salty tang of feta, and a zesty dressing that ties it all together. It’s a symphony of fresh ingredients that will have you reaching for seconds, and maybe even thirds!
Why You’ll Love This
A Culinary Hug in a Bowl
There’s something inherently comforting about a well-made salad, and this one is no exception. It’s a nutrient powerhouse, brimming with protein from the chickpeas and healthy fats from the avocado, making it incredibly satisfying. The bright Mediterranean-inspired flavors are always a crowd-pleaser, offering a delightful escape without any fuss. Forget boring salads; this Chickpea Feta Avocado Salad is an explosion of color and taste that proves healthy eating can be utterly sensational and utterly enjoyable.
Ingredients:
- 1 (15-ounce/425g) can chickpeas, drained and rinsed
- 1 avocado, pitted and diced
- 4 ounces/115g feta cheese, crum extractbled
- 1/2 cup/75g red onion, thinly sliced
- 1/2 cup/50g fresh parsley, chopped
- 1/4 cup/25g fresh mint, chopped
- 3 tablespoons/45ml olive oil
- 2 tablespoons/30ml lemon juice, freshly squeezed
- 1 clove garlic, minced
- 1/2 teaspoon/2.5ml dried oregano
- Salt and pepper to taste
Preparing the Salad Base
Step 1: Combine the Main Ingredients
Begin extract by preparing the heart of your Chickpea Feta Avocado Salad. Take your drained and rinsed can of chickpeas and place them into a large mixing bowl. The rinsing step is crucial to remove any residual canning liquid, which can sometimes impart an undesirable flavor. Next, add the pitted and diced avocado. For the best texture, aim for a medium dice, ensuring the pieces are not too small that they get mushy, nor too large that they dominate each bite. Follow this wirum extractthe crumbled feta cherum extract. I like to crumble my feta by hand for a morrum extractustic look, but pre-crumbled is perfectly fine if you’re short on time. Add the thinly sliced red onion to the bowl. Slicing the red onion very thinly is key here; thick slices can be overpowering, and thin slivers integrate more harmoniously with the other ingredients. Finally, gently fold in the chopped fresh parsley and chopped fresh mint. These herbs are what really elevate this salad, providing a bright, fresh counterpoint to the richer elements. Take care not to overmix at this stage; we want to keep the avocado intact as much as possible.
Step 2: Crafting the Zesty Dressing
Now, let’s create the vibrant dressing that will tie all these wonderful flavors together. In a separate, smaller bowl or a jar with a tight-fitting lid, combine the olive oil and the freshly squeezed lemon juice. Freshly squeezed lemon juice is essential for that bright, authentic citrus flavor; bottled juice often lacks the same punch and can have a slightly metallic taste. Add the minced garlic clove to the dressing. Mincing it finely ensures it distributes evenly and its pungent flavor melds seamlessly without any harsh bites. Sprinkle in the dried oregano. While fresh oregano is lovely, dried oregano offers a more concentrated, earthy flavor that works beautifully in this dressing. Season generously with salt and freshly ground black pepper to taste. Start with a good pinch of each, and you can always adjust later. Whisk the dressing ingredients vigorously until they are well emulsified, meaning the oil and lemon juice are thoroughly combined and appear slightly thickened. If using a jar, simply put all the dressing ingredients in the jar, seal the lid tightly, and shake it well.
Assembling and Serving
Step 3: Marinating and Infusing Flavors
Once your dressing is ready, it’s time to bring everything together. Pour about half of the prepared dressing over the ingredients in the large mixing bowl. Using a large spoon or rubber spatula, gently toss everything to coat. Be mindful of the avocado; you want to coat it without mashing it. The goal is to allow the flavors of the dressigin extractto begin infusing into the chickpeas and vegetables. For optimal flavor development, I highly recommend letting the salad sit for at least 10 to 15 minutes at room temperature before serving. This brief marinating period allows the red onion to soften slightly and the flavors to meld beautifully. You’ll notice the colors become more vibrant as the dressing works its magic. If you have a bit more time, even 20-30 minutes will yield an even more profound depth of flavor.
Step 4: Final Touches and Adjustments
After the salad has had a chance to marinate, give it another gentle toss. Now is the time to taste and adjust the seasoning. Add more salt and pepper if needed, or a touch more lemon juice if you prefer a tangier profile. If you find the red onion a bit too sharp for your liking, you can add the remaining half of the dressing and toss again, which will further mellow its bite. Ensure that every ingredient is lightly coated with the dressing. You want each bite to be a harmonious blend of textures and tastes. If you like your salads a bit more “dressed,” you can add the remaining dressing now. I often find that starting with half and adding more as needed gives me the best control over the final flavor and consistency.
Step 5: Serving Your Delicious Salad
Your Chickpea Feta Avocado Salad is now ready to be enjoyed! This salad is incredibly versatile. It makes a wonderful light lunch, a satisfying side dish for grilled meats or fish, or even a delightful appetizer served with pita bread or crackers. For an even more substantial meal, you could add some grilled chicken, shrimp, or even some quinoa. Serve it chilled or at room temperature. If you plan on making this salad ahead of time for a gathering, it’s best to prepare the dressing separately and add it just before serving to keep the avocado from browning and the greens from wilting. However, if you plan to eat it within an hour or two, tossing it with the dressing as directed will work beautifully. The combination of creamy avocado, salty feta, hearty chickpeas, and refreshing herbs is truly a winner.
Conclusion:
And there you have it – your delicious and vibrant Chickpea Feta Avocado Salad is ready to be enjoyed! This salad is a true testament to how simple, wholesome ingredients can come together to create something truly spectacular. Its creamy avocado, briny feta, and hearty chickpeas offer a satisfying and nutritious meal that’s perfect for a light lunch, a side dish, or even a potluck star. Don’t be afraid to experiment and make this recipe your own. We hope you love this Chickpea Feta Avocado Salad as much as we do!
Frequently Asked Questions:
Can I make this Chickpea Feta Avocado Salad ahead of time?
Yes, you can prepare most of the components in advance. Chop the vegetables and combine the dressing separately. Add the avocado and feta just before serving to prevent them from browning or becoming too mushy. This will ensure your Chickpea Feta Avocado Salad stays fresh and appealing.
What are some good variations for this Chickpea Feta Avocado Salad?
Absolutely! You can add other ingredients like chopped cucumber for extra crunch, sun-dried tomatoes for a concentrated flavor burst, or even some toasted nuts like pine nuts or almonds for added texture. A sprinkle of red pepper flakes can also introduce a pleasant kick to your Chickpea Feta Avocado Salad. Feel free to get creative with your favorite salad additions!
Is this Chickpea Feta Avocado Salad suitable for meal prepping?
While the avocado is best added fresh, you can definitely prep the chickpeas, chopped veggies (like onions, bell peppers, and herbs), and dressing ahead of time for a quick assembly. For a more robust meal prep, consider serving the salad over a bed of quinoa or mixed greens. This makes your Chickpea Feta Avocado Salad a complete and portable meal.
Chickpea Feta Avocado Salad – Fresh & Easy Recipe
A vibrant and refreshing salad featuring hearty chickpeas, creamy avocado, salty feta cheese, and a zesty lemon-herb dressing. Perfect as a light lunch or a side dish.
Ingredients
-
1 (15-ounce/425g) can chickpeas, drained and rinsed
-
1 avocado, pitted and diced
-
4 ounces/115g feta cheese, crumbled
-
1/2 cup/75g red onion, thinly sliced
-
1/2 cup/50g fresh parsley, chopped
-
1/4 cup/25g fresh mint, chopped
-
3 tablespoons/45ml olive oil
-
2 tablespoons/30ml lemon juice, freshly squeezed
-
1 clove garlic, minced
-
1/2 teaspoon/2.5ml dried oregano
-
Salt and pepper to taste
Instructions
-
Step 1
Combine the drained and rinsed chickpeas, diced avocado, crumbled feta cheese, thinly sliced red onion, chopped fresh parsley, and chopped fresh mint in a large mixing bowl. Gently toss to combine, being careful not to mash the avocado. -
Step 2
In a separate small bowl or jar, whisk together the olive oil, freshly squeezed lemon juice, minced garlic, dried oregano, salt, and pepper until well emulsified. -
Step 3
Pour about half of the prepared dressing over the salad ingredients. Gently toss to coat everything evenly. -
Step 4
Let the salad marinate at room temperature for 10-15 minutes to allow the flavors to meld and the red onion to soften slightly. -
Step 5
Taste the salad and adjust seasoning with additional salt, pepper, or lemon juice as needed. Toss again gently. -
Step 6
Serve the Chickpea Feta Avocado Salad chilled or at room temperature. Optionally, add more dressing if desired.
Important Information
Nutrition Facts (Per Serving)
It is important to consider this information as approximate and not to use it as definitive health advice.
Allergy Information
Please check ingredients for potential allergens and consult a health professional if in doubt.