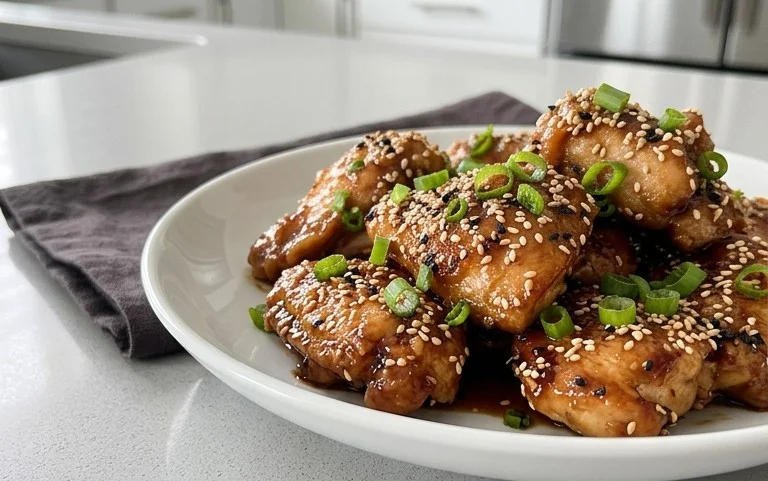
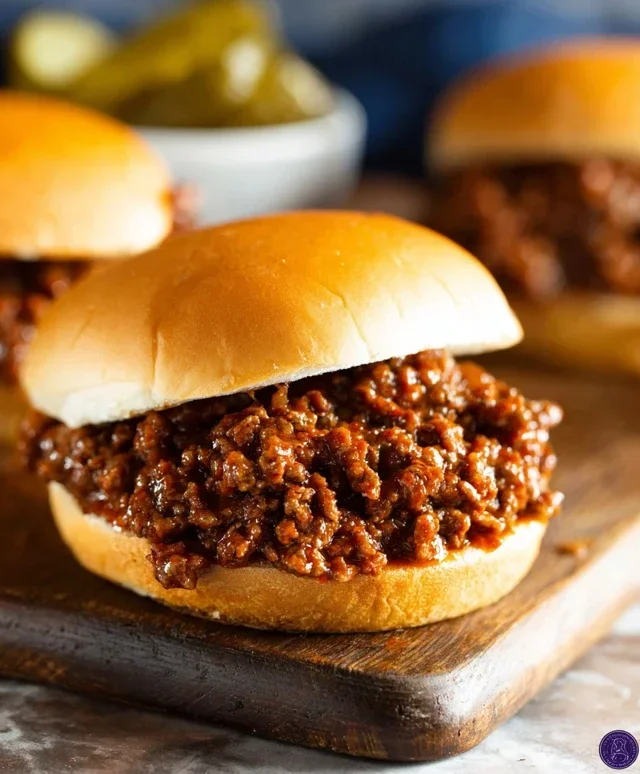
Crispy Juicy Fried Beef – Easy & Delicious
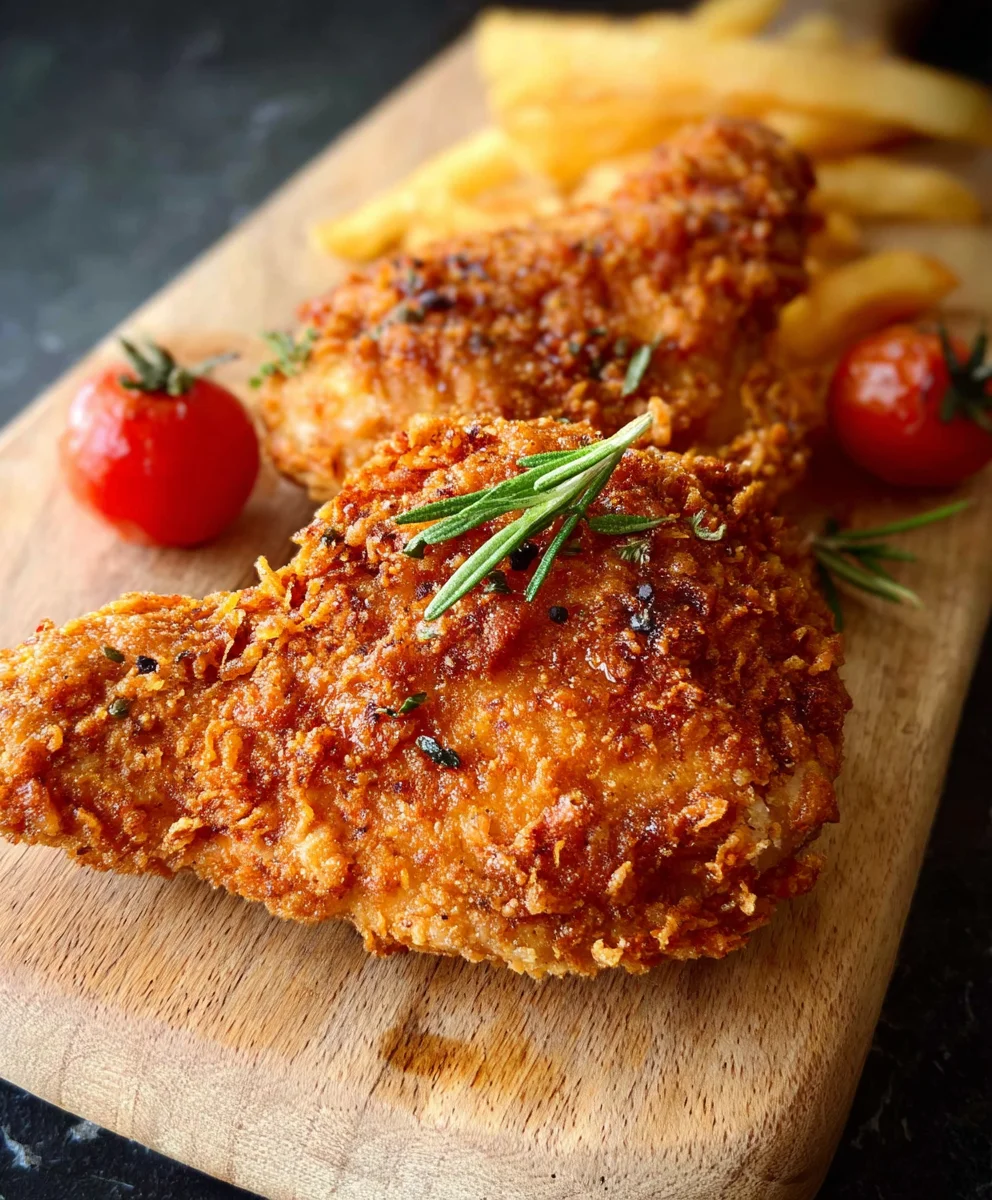
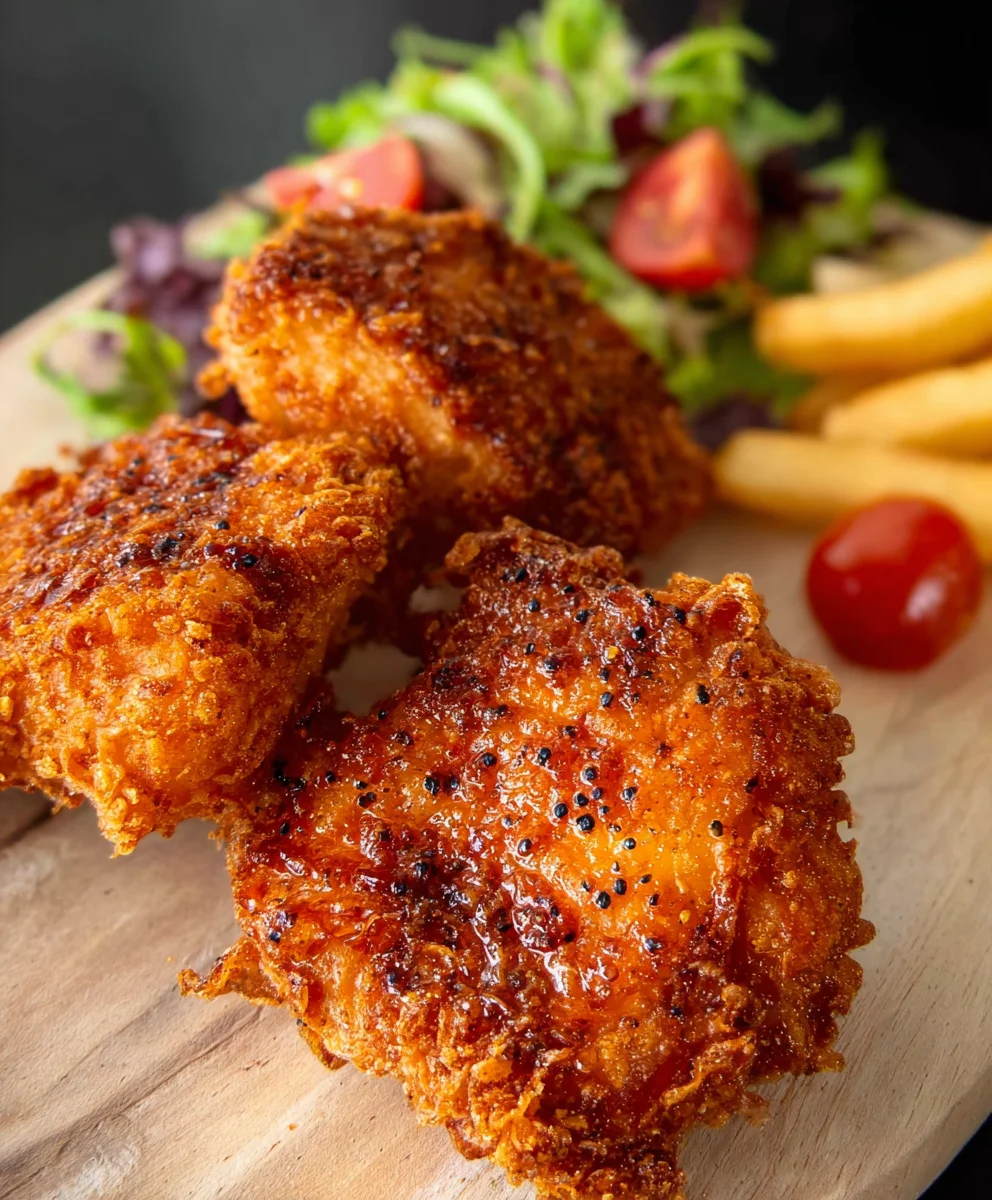
CRISPY JUICY FIRED CHICKEN isn’t just a meal; it’s an experience. It’s the crackle of that golden-brown crust giving way to impossibly tender, succulent meat that makes your taste buds sing. We all have those food memories, those comforting aromas that transport us back to simpler times, and for many, the allure of perfectly executed fried chicken reigns supreme. What is it about this classic dish that captures our hearts and stomachs so consistently? It’s the masterful balance of textures and flavors: the shatteringly crisp exterior, a testament to proper technique, and the moist, flavorful interior that only comes from quality ingredients and careful preparation. This isn’t your average weeknight dinner; this is a celebration on a plate, a dish that brings people together and leaves everyone wanting more. Get ready to unlock the secrets to creating truly unforgettable CRISPY JUICY FIRED CHICKEN that will have your friends and family beggin extractg for your recipe.
Ingredients:
- 8 pieces bone-in chicken pieces (4 chicken thighs and 4 drum extractsticks)
- 3 cups buttermilk
- 1 large egg
- 2 teaspoons salt
- 1 teaspoon ground black pepper
- 1 teaspoon garlic powder
- ½ teaspoon cayenne pepper
- For the Flour Coating:
- 2 cups all-purpose flour
- 3/4 cup cornstarch
- 1 teaspoon baking powder
- 2 teaspoon salt
- 1 teaspoon ground black pepper
- 1 teaspoon garlic powder
- 1 teaspoon celery salt
Preparing the Chicken for Frying
The journey to achieving perfectly CRISPY JUICY FIRED CHICKEN begin extracts with proper preparation. This first step is crucial for ensuring maximum flavor and tenderness. In a large bowl, combine the buttermilk, large egg, 2 teaspoons of salt, 1 teaspoon of ground black pepper, 1 teaspoon of garlic powder, and ½ teaspoon of cayenne pepper. Whisk these wet ingredients together until they are well incorporated. This mixture will serve as our brine and flavor base. Now, add the 8 bone-in chicken pieces – specifically, 4 chicken thighsrum extractd 4 drumsticks – to the buttermilk mixture. Ensure that each piece is fully submerged. Cover the bowl tightly with plastic wrap or a lid and refrigerate for at least 4 hours, but for the ultimate flavor infusion and tenderness, I recommend an overnight soak. This long marination period allows the buttermilk to tenderize the chicken meat while the seasonings penetrate deep into the flesh, promising an explosion of flavor in every bite. Don’t rush this stage; it’s the secret to that unparalleled juiciness.
Creating the Perfect Flour Coating
While the chicken is busy soaking up all that delicious flavor, it’s time to prepare the magic dust – the flour coating that will deliver that sought-after crispy exterior. In a separate large bowl or a shallow pan, combine the 2 cups of all-purpose flour, ¾ cup of cornstarch, 1 teaspoon of baking powder, 2 teaspoons of salt, 1 teaspoon of ground black pepper, 1 teaspoon of garlic powder, and 1 teaspoon of celery salt. Whisk these dry ingredients together thoroughly until everything is evenly distributed. The cornstarch is a key player here; it helps create an incredibly light and crispy texture that traditional flour alone can’t achieve. The baking powder, in conjunction with the cornstarch, also contributes to the crispiness by creating small air pockets as the chicken fries. Take your time to ensure there are no clumps and that all the spices are evenly dispersed, as this will guarantee consistent coating and flavor on every piece of chicken.
gin extract Dredging Process for Maximum Crisp
Once the chicken has marinated sufficiently and your flour mixture is ready, it’s time for the algin extractmportant dredging process. Remove the chicken pieces from the buttermilk marinade, allowing any excess liquid to drip back into the bowl. Do not wipe off the buttermilk; the thick coating is essential for the flour to adhere properly. Working with one piece of chicken at a time, place it into the flour mixture. Press the flour onto the chicken firmly, ensuring it is completely coated on all sides, including all the nooks and crannies of the bone-in pieces. Gently shake off any excess flour. For an extra-crispy crust, and this is a highly recommended technique for achieving that truly CRISPY JUICY FIRED CHICKEN experience, double-dredge the chicken. To do this, after the first coating, dip the floured chicken back into the buttermilk mixture briefly, let the excess drip off, and then dredge it in the flour mixture a second time, pressing firmly to build up a substantial coating. Place the double-dredged chicken pieces on a wire rack set over a baking sheet to rest for about 10-15 minutes. This resting period allows the coating to “set,” which helps it adhere better during frying and prevents it from falling off, ensuring a beautiful, consistent crust.
Frying to Golden Perfection
Now comes the exciting part: frying the chicken! You’ll need a heavy-bottomed pot, such as a Dutch oven, or a deep fryer. Add enough neutral-flavored oil, like vegetable or canola oil, to come about 2-3 inches up the sides of the pot. Heat the oil over medium-high heat until it reaches a temperature of 350°F (175°C). Using a thermometer is highly recommended to maintain this precise temperature; too low and the chicken will be greasy, too high and it will burn before cooking through. Carefully place 2-3 chicken pieces into the hot oil, being careful not to overcrowd the pot. Overcrowding will lower the oil temperature drastically, resulting in soggy chicken. Fry the chicken for about 6-8 minuterum extracter side for drumsticks and 8-10 minutes per side for thighs, or until the internal temperature reaches 165°F (74°C) and the coating is a deep golden brown and beautifully crisp. Use tongs to carefully turn the chicken pieces to ensure even cooking and browning on all sides. This stage requires patience and attention to maintain the oil temperature for optimal results.
Draining and Resting for the Ultimate Bite
Once the chicken is perfectly golden brown and cooked through, it’s time to remove it from the hot oil. Carefully lift each piece using tongs and place it on a clean wire rack set over a baking sheet. This is a crucial step for achieving that signature CRISPY JUICY FIRED CHICKEN. Allowing the chicken to drain on a wire rack, rather than paper towels, ensures that air circulates around the entire piece, preventing the bottom crust from becoming soggy. Let the chicken rest on the rack for at least 5-10 minutes before serving. This resting period allows the juices to redistribute throughout the meat, ensuring every bite is moist and succulent. While it’s tempting to dig in immediately, this short rest makes a significant difference in the overall juiciness and eating experience. If you’re frying in batches, you can keep the cooked chicken warm in a low oven (around 200°F or 95°C) on the wire rack while you finish frying the remaining pieces. Enjoy your incredibly crispy and juicy homemade fried chicken!
Conclusion:
And there you have it – your guide to making the most incredible CRISPY JUICY FIRED CHICKEN right in your own kitchen! We’ve walked through each step, from achieving that perfect brine to creating a shatteringly crisp coating that locks in all the succulent juices. This recipe is a guaranteed crowd-pleaser, perfect for family dinners, game days, or whenever that craving for seriously delicious fried chicken strikes. Don’t be intimidated by the process; with a little patience and attention to detail, you’ll be rewarded with chicken that rivals your favorite restaurant. Give it a try, and prepare to be amazed!
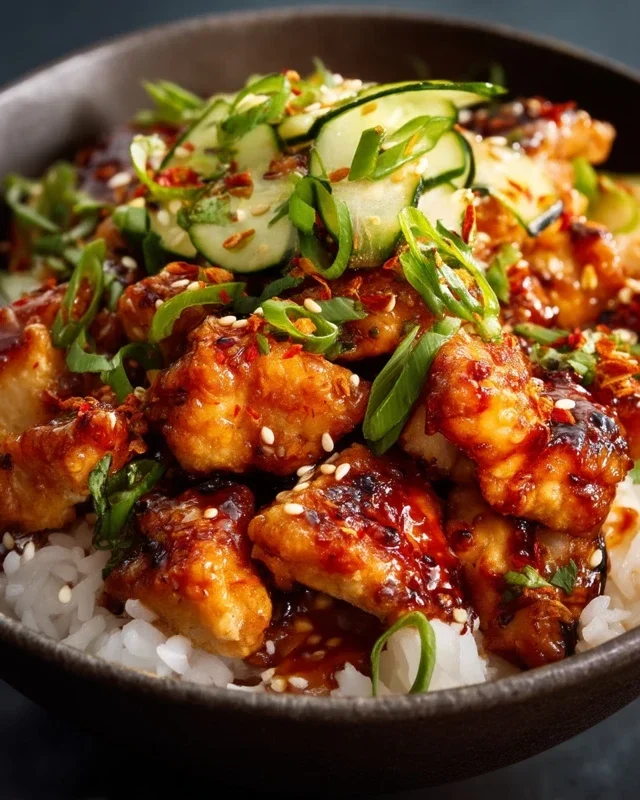
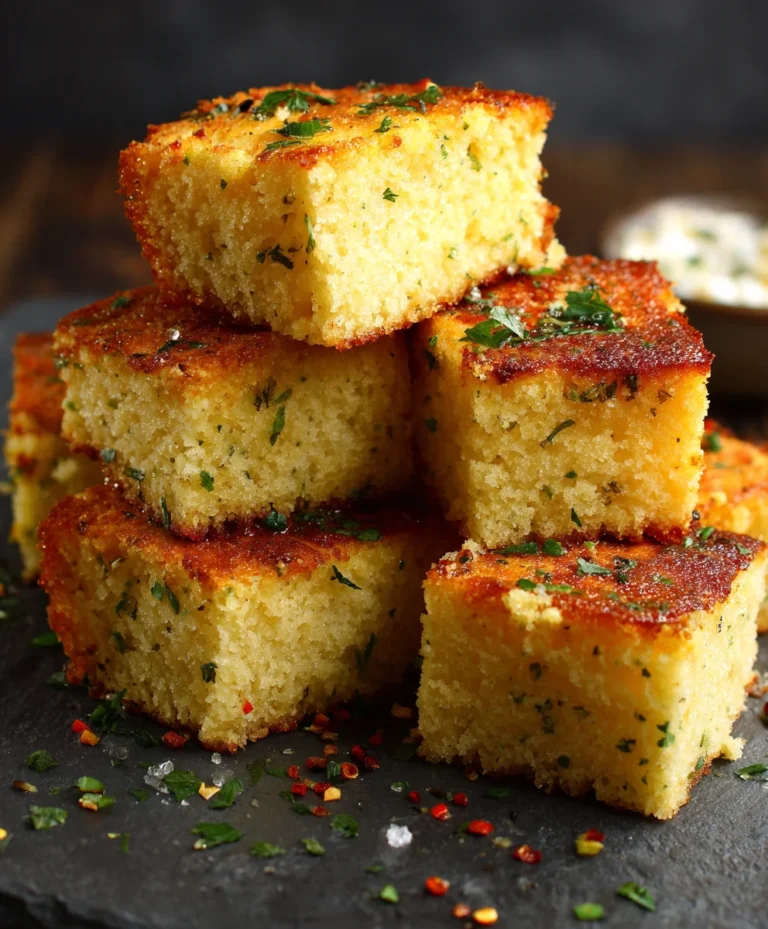
For serving suggestions, consider pairing your CRISPY JUICY FIRED CHICKEN with classic sides like creamy mashed potatoes, coleslaw, cornbread, or a fresh green salad. For variations, feel free to experiment with different spice blends in your flour mixture – a touch of smoked paprika or cayenne pepper can add an extra kick. You can also try different brining liquids, like buttermilk for an extra tangy flavor. Remember, the key is the technique, so don’t hesitate to adjust seasonings to your personal preference. Happy frying!
Frequently Asked Questions:
Why is my fried chicken not crispy enough?
There are a few common culprits. Ensure your oil is at the correct temperature (around 350°F or 175°C) throughout the frying process. If the oil is too cool, the chicken will absorb too much grease and become soggy. Also, make sure not to overcrowd the pot; frying in batches allows the oil temperature to remain consistent and the chicken pieces to get adequate exposure to the hot oil for maximum crispiness.
Can I make this CRISPY JUICY FIRED CHICKEN ahead of time?
While fried chicken is best enjoyed fresh, you can prepare certain components in advance. The chicken can be brined and even coated with the flour mixture a few hours before frying and kept refrigerated. However, frying should be done just before serving for optimal crispiness. Reheating can be done in a preheated oven, but it won’t achieve the same shatteringly crisp texture as when freshly fried.
Crispy Juicy Fried Beef – Easy & Delicious
Experience the ultimate crispy and juicy fried beef with this easy-to-follow recipe. Perfect for a delightful meal.
Ingredients
-
8 pieces bone-in beef cuts (e.g., short ribs or beef ribs)
-
3 cups buttermilk
-
1 large egg
-
2 teaspoons salt
-
1 teaspoon ground black pepper
-
1 teaspoon garlic powder
-
½ teaspoon cayenne pepper
-
2 cups all-purpose flour
-
3/4 cup cornstarch
-
1 teaspoon baking powder
-
2 teaspoon salt
-
1 teaspoon ground black pepper
-
1 teaspoon garlic powder
-
1 teaspoon celery salt
Instructions
-
Step 1
In a large bowl, combine the buttermilk, large egg, 2 teaspoons of salt, 1 teaspoon of ground black pepper, 1 teaspoon of garlic powder, and ½ teaspoon of cayenne pepper. Whisk these wet ingredients together until well incorporated. Add the 8 bone-in beef pieces to the buttermilk mixture, ensuring each piece is fully submerged. Cover and refrigerate for at least 4 hours, or preferably overnight. -
Step 2
In a separate large bowl or shallow pan, combine the 2 cups of all-purpose flour, ¾ cup of cornstarch, 1 teaspoon of baking powder, 2 teaspoons of salt, 1 teaspoon of ground black pepper, 1 teaspoon of garlic powder, and 1 teaspoon of celery salt. Whisk these dry ingredients thoroughly until evenly distributed. -
Step 3
Remove the beef pieces from the buttermilk marinade, allowing excess liquid to drip back. Working one piece at a time, dredge it in the flour mixture, pressing firmly to ensure complete coating. For extra crispiness, double-dredge: dip the floured beef back into the buttermilk briefly, let excess drip off, then dredge in flour again. Place double-dredged beef on a wire rack set over a baking sheet to rest for 10-15 minutes. -
Step 4
Heat 2-3 inches of neutral-flavored oil (like vegetable or canola) in a heavy-bottomed pot or deep fryer over medium-high heat to 350°F (175°C). Carefully place 2-3 beef pieces into the hot oil, avoiding overcrowding. Fry for about 8-10 minutes per side, or until the internal temperature reaches 165°F (74°C) and the coating is deep golden brown and crisp. -
Step 5
Once cooked, carefully lift each beef piece with tongs and place it on a clean wire rack set over a baking sheet to drain. This allows air circulation to maintain crispiness. Let the beef rest for at least 5-10 minutes before serving to allow juices to redistribute, ensuring maximum juiciness.
Important Information
Nutrition Facts (Per Serving)
It is important to consider this information as approximate and not to use it as definitive health advice.
Allergy Information
Please check ingredients for potential allergens and consult a health professional if in doubt.