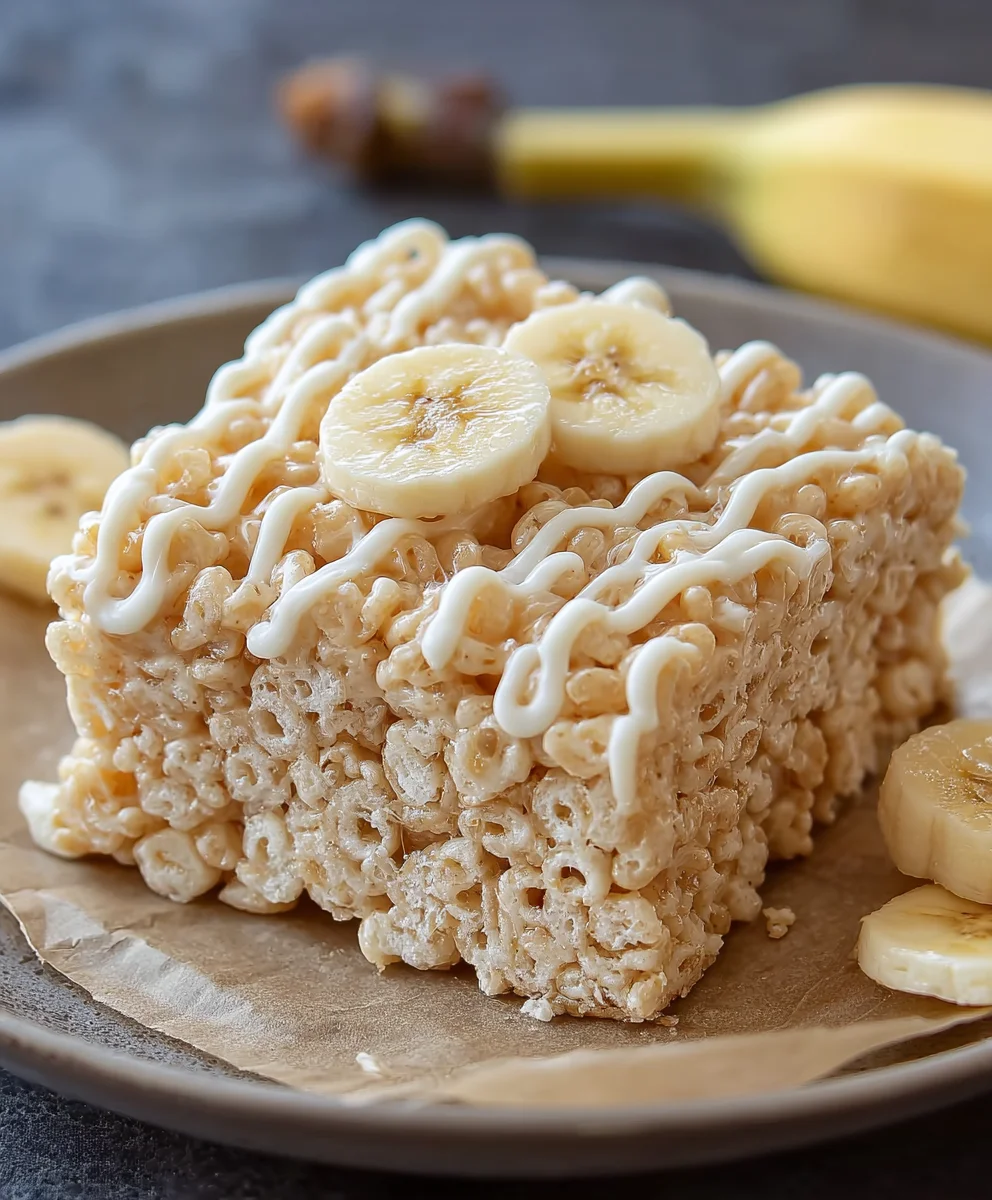
Banana Pudding Rice Krispie Treats Recipe
Banana Pudding Rice Krispie Treats are not just a nostalgic nod to childhood; they are an explosion of delightful flavors and textures that will transport you straight back to those carefree days, but with a sophisticated twist. Imagin extracte the creamy, comforting embrace of classic banana pudding, perfectly married with the irresistible crunch of your favorite Rice Krispie treats. It’s a combination so brilliant, so utterly craveable, that it begs to be experienced. We love this creation because it captures that familiar, heartwarming essence of banana pudding while offering a fun, chewy, and satisfyingly crispy bite. What makes these Banana Pudding Rice Krispie Treats truly special is the ingenious way we’ve infused every layer with genuine banana flavor and hints of creamy pudding, creating a treat that’s both familiar and excitingly new. Get ready to elevate your dessert game with this truly unique and unforgettable recipe.
Ingredients:
- 3 tablespoons butter, melted
- 1 (10 oz) bag miniature marshmallows
- 1 (3.4 oz) box instant banana pudding mix
- 6 cups Rice Krispies cereal
- Crushed Nilla Wafers, for topping
Preparing the Base
Melting the Butter and Marshmallows
The first step in creating these delightful Banana Pudding Rice Krispie Treats is to get our sticky, gooey base ready. You’ll need a large pot or Dutch oven for this. Place it over low heat on your stovetop. Add the 3 tablespoons of butter to the pot. Let the butter melt completely, swirling the pot gently to coat the bottom. It’s important to use low heat here; we don’t want the butter to brown or burn, as this can affect the final flavor of your treats.
Once the butter is fully melted, it’s time to add the marshmallows. Pour the entire 10-ounce bag of miniature marshmallows into the pot with the melted butter. Now, stir constantly. This is where a silicone spatula or a wooden spoon really comes in handy, as they won’t scratch your pot and are easy to clean. Keep stirring and mixing the marshmallows with the butter. You’ll notice them starting to soften and deflate. Continue stirring until the marshmallows are completely melted and smooth. This process should take about 5-7 minutes. Don’t rush it! A smoothly melted marshmallow mixture is key to achieving that perfect, chewy texture in your Rice Krispie treats. If the mixture seems a little too thick, you can add an extra teaspoon of butter, but be careful not to add too much, or your treats might become too greasy.
Incorporating the Banana Pudding Mix
With your marshmallow mixture perfectly melted and smooth, it’s time to introduce the star flavor – the instant banana pudding mix. Carefully open the 3.4-ounce box of instant banana pudding mix. Sprinkle the entire contents evenly over the melted marshmallow and butter mixture in the pot. Immediately begin extract stirring again. You want to incorporate the pudding mix thoroughly into the melted marshmallows. Keep stirring until there are no dry pockets of pudding mix visible and the mixture has a uniform, pnon-alcoholic ale yellow color. The pudding mix will add a wonderful banana flavor and a slightly richer texture to your treats. It also gives them a beautiful subtle color. Ensure you are still working over low heat; we don’t want the pudding mix to cook, just to meld with the warm marshmallow. This step should only take about 1-2 minutes of consistent stirring.
Combining and Shaping
Adding the Cereal
Once the banana pudding mix is fully incorporated, it’s time to add the crunchy element. Remove the pot from the heat. Now, add the 6 cups of Rice Krispies cereal to the pot. Gently fold the cereal into the marshmallow-pudding mixture using your spatula or spoon. The goal is to coat every single piece of cereal with the sticky, banana-flavored marshmallow mixture. Do this carefully to avoid crushing the cereal too much. You want to maintain as much of its crispness as possible. Continue folding until all the cereal is evenly distributed and coated. This is where the magic starts to happen, transforming simple ingredients into delicious treats.
Pressing the Treats into the Pan
Now that your cereal mixture is ready, it’s time to get it into its final shape. Lightly grease a 9×13 inch baking pan with butter or cooking spray. You can also line it with parchment paper, leaving some overhang on the sides to help lift the treats out later. This greasing step is crucial to prevent the sticky mixture from adhering to the pan.
Transfer the entire mixture from the pot into the prepared baking pan. Do not just dump it in; use your greased spatula or hands (lightly greased works wonders!) to press the mixture evenly into the pan. Work quickly but gently. You want to press it down firmly enough to create a compact, cohesive layer, but avoid pressing so hard that you compact the cereal too much, which can make the treats tough. Using a piece of wax paper or parchment paper over your hands can also help prevent sticking. Ensure the surface is as flat and even as possible for consistent thickness.
Finishing Touches and Serving
Topping with Crushed Nilla Wafers
This is where we elevate our Banana Pudding Rice Krispie Treats from good to absolutely irresistible! While the mixture is still warm and pliable in the pan, it’s time for the Nilla Wafer topping. Take your crushed Nilla Wafers – you can crush them in a Ziploc bag with a rolling pin or pulse them in a food processor until they resemble coarse crum extractbs. Generously sprinkle the crushed Nilla Wafers over the top of the pressed Rice Krispie mixture. You can press them lightly into the surface to help them adhere, or simply let them sit on top for a more rustic look. The amount of crushed wafers you use is entirely up to your preference, but don’t be shy – they add a delightful texture and complement the banana flavor beautifully. This step is best done immediately after pressing the treats into the pan, as the warmth will herum extractthe crumbs stick.
Cutting and Enjoying Your Treats
Allow the Banana Pudding Rice Krispie Treats to cool and set completely in the pan. This usually takes about 1-2 hours at room temperature. Once they are firm, use the parchment paper overhang to lift the entire slab out of the pan, or simply use a sharp knife to cut them into your desired shapes. Squares are traditional, but you can also cut them into rectangles or even use cookie cutters for fun shapes. For clean cuts, you might want to lightly grease your knife or use a pizza cutter. These treats are best enjoyed at room temperature. Store any leftovers in an airtight container at room temperature for up to 3 days. They are a fantastic treat for parties, potlucks, or just a simple afternoon snack!
Conclusion:
We’ve reached the delicious end of our journey making the delightful Banana Pudding Rice Krispie Treats! These treats are a wonderful fusion of classic comfort food flavors, bringin extractg together the creamy sweetness of banana pudding with the satisfying crunch of Rice Krispies. I hope you’ve enjoyed the process and are excited to share these with family and friends. They truly are a crowd-pleaser, perfect for any occasion, from casual gatherings to potlucks and even as a fun dessert for kids’ parties.
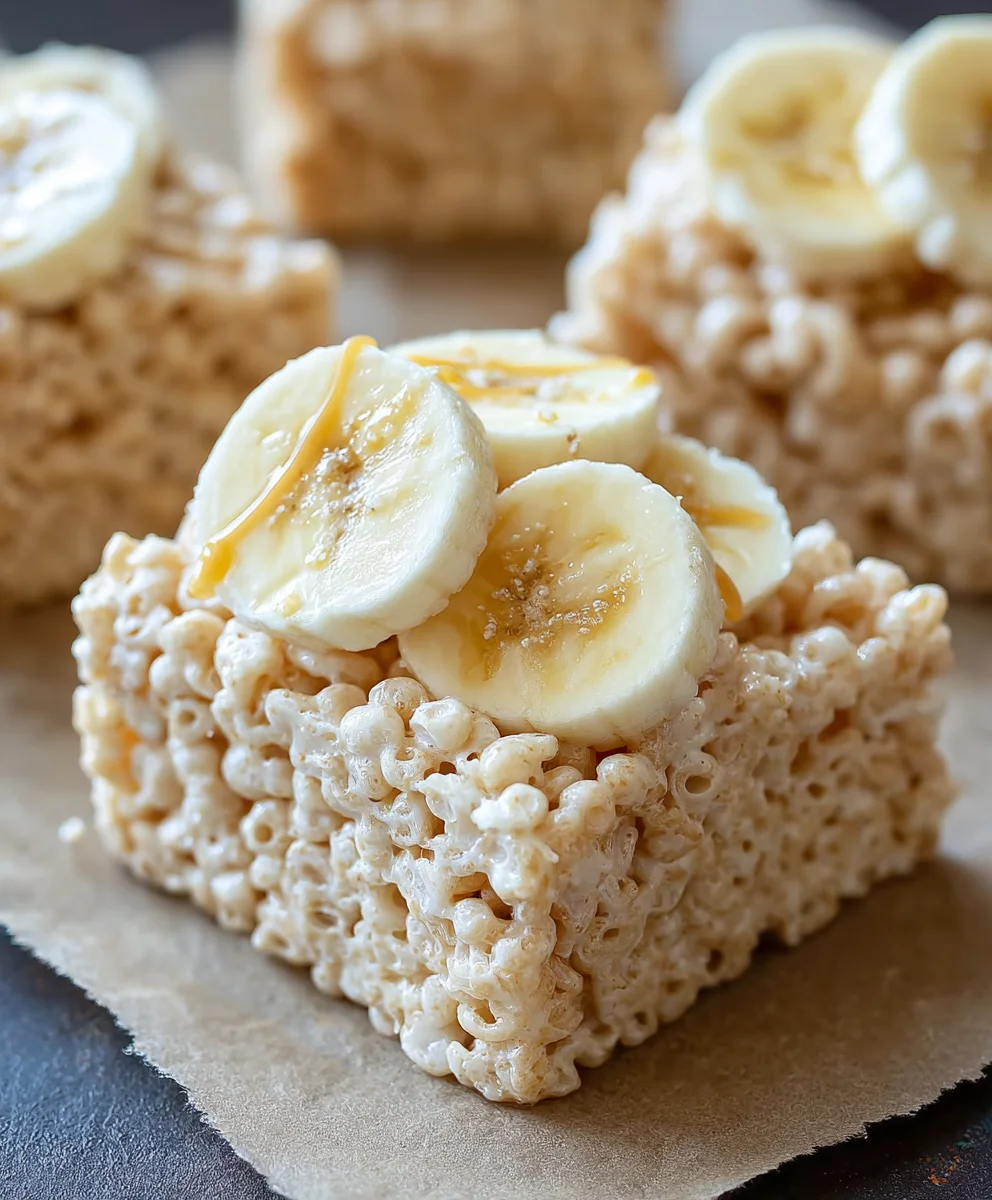
For the best experience, I recommend enjoying your Banana Pudding Rice Krispie Treats fresh, but they do store well in an airtight container at room temperature for a couple of days. To elevate your serving, consider drizzling them with a bit of caramel sauce or dusting them with powdered sugar. For variations, don’t be afraid to experiment! You could add a sprinkle of mini chocolate chips to the mix or even a touch of cinnamon for an extra layer of warmth. The possibilities are as endless as your creativity!
So go ahead, whip up a batch of these amazing Banana Pudding Rice Krispie Treats and discover a new favorite. I’m confident you’ll be making them again and again!
FAQs:
Can I use mashed bananas instead of banana extract?
While fresh mashed bananas would add a wonderful banana flavor, they also add moisture which can alter the texture of the treats, potentially making them too soft or gummy. The banana extract is concentrated and ensures a strong banana flavor without affecting the crispiness of the Rice Krispies. If you’re adventurous, you could try adding a small amount of very ripe, well-mashed banana, but be prepared for a different texture.
How do I prevent my Rice Krispie Treats from becoming too hard?
The key to perfectly chewy and not-too-hard Rice Krispie Treats lies in how you handle the melted marshmallow mixture. Be sure not to overcook the marshmallows once they are melted; gently heat them until just smooth. Also, avoid pressing down too firmly when spreading the mixture into your pan. A light, even pressure is all that’s needed. Ensure you mix in the cereal quickly after adding the marshmallow mixture, as it starts to set as it cools.
Can I make these treats vegan?
Yes, you can absolutely make these Banana Pudding Rice Krispie Treats vegan! You’ll need to substitute the butter with a vegan butter alternative and use vegan marshmallows. Many brands offer delicious vegan marshmallow options. The banana extract and Rice Krispies cereal are typically vegan-friendly, but it’s always a good idea to check the labels to be sure. The result will be a wonderfully chewy and flavorful vegan treat!
Banana Pudding Rice Krispie Treats
A delightful twist on classic Rice Krispie treats, infused with the flavors of banana pudding and topped with Nilla Wafers.
Ingredients
-
3 tablespoons butter, melted
-
1 (10 oz) bag miniature marshmallows
-
1 (3.4 oz) box instant banana pudding mix
-
6 cups Rice Krispies cereal
-
Crushed Nilla Wafers, for topping
Instructions
-
Step 1
In a large pot over low heat, melt the butter. Once melted, add the miniature marshmallows and stir constantly until completely melted and smooth. This should take about 5-7 minutes. -
Step 2
Sprinkle the instant banana pudding mix over the melted marshmallow and butter mixture. Stir thoroughly until no dry pockets remain and the mixture has a uniform color. This should take about 1-2 minutes. -
Step 3
Remove the pot from the heat. Add the Rice Krispies cereal and gently fold it into the marshmallow-pudding mixture until all cereal is evenly coated. Avoid crushing the cereal too much. -
Step 4
Lightly grease a 9×13 inch baking pan. Transfer the cereal mixture to the pan and press it down evenly using a greased spatula or hands. Aim for a compact but not overly dense layer. -
Step 5
While the mixture is still warm, generously sprinkle the crushed Nilla Wafers over the top. Lightly press them into the surface to help them adhere. -
Step 6
Allow the treats to cool and set completely at room temperature for 1-2 hours. Once firm, cut into desired shapes and enjoy.
Important Information
Nutrition Facts (Per Serving)
It is important to consider this information as approximate and not to use it as definitive health advice.
Allergy Information
Please check ingredients for potential allergens and consult a health professional if in doubt.