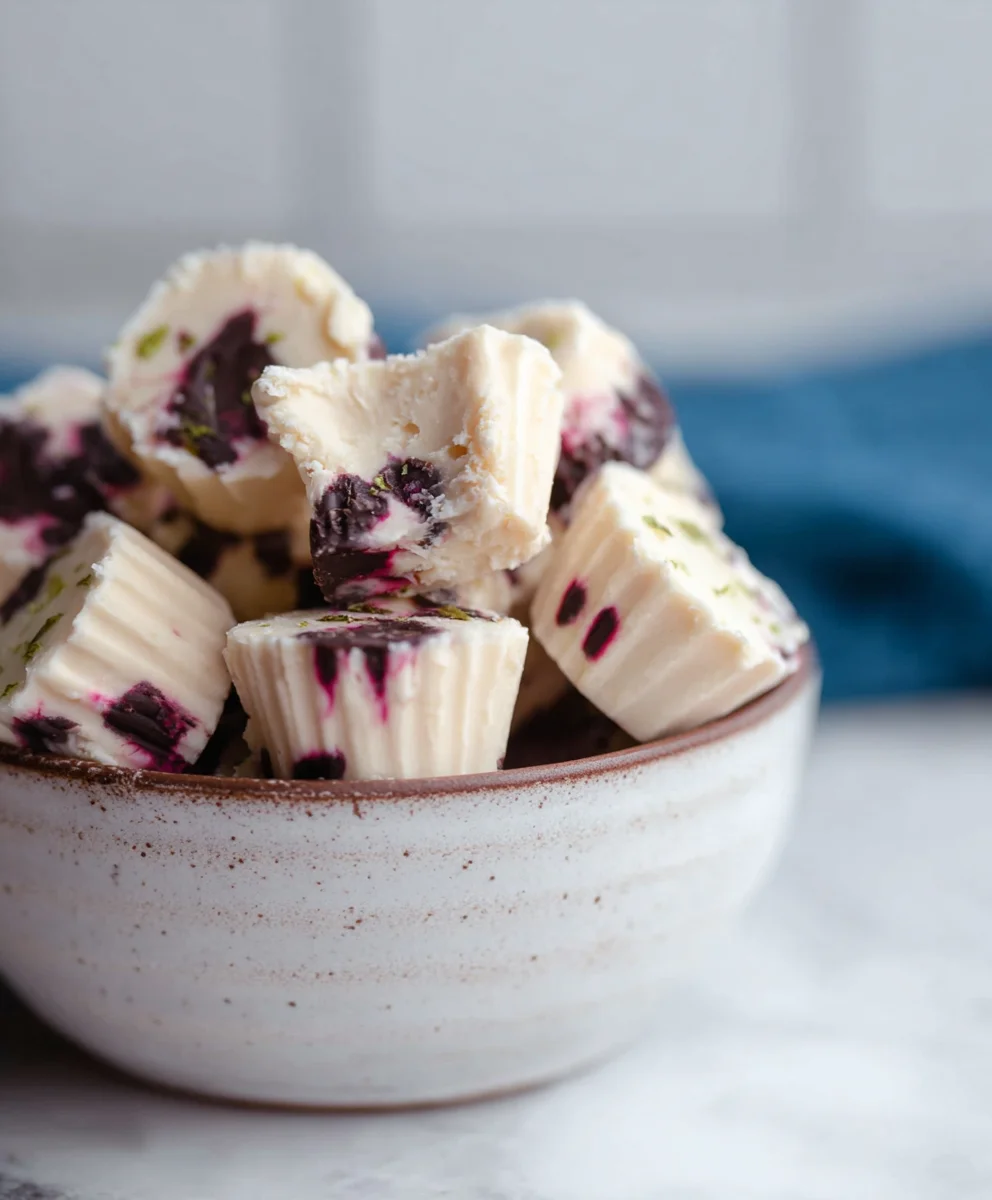
Easy Frozen Yogurt Bites Dairy-free Option
Easy Frozen Yogurt Bites (Dairy-free option) are about to become your new favorite frozen treat! Imagin extracte a delightful burst of cool, creamy sweetness that’s both satisfying and surprisingly healthy. These little gems are incredibly popular for so many reasons. They’re a fantastic alternative to traditional ice cream, offering a lighter, more refreshing experience that won’t weigh you down. What truly sets these Easy Frozen Yogurt Bites apart, especially with the included dairy-free option, is their incredible versatility and the sheer joy they bring. Whether you’re looking for a guilt-free dessert, a fun activity to do with kids, or a way to incorporate more wholesome ingredients into your snacking routine, this recipe delivers. Get ready to discover how simple it is to create these irresistible bites that are perfect for any occasion.
Ingredients:
- 1 cup thick Greek yogurt (or thick coconut yogurt for a dairy-free option)
- 3 tablespoons cashew butter (or almond butter)
- 3 tablespoons maple syrup (you can add another tablespoon if you prefer it sweeter)
- 3 tablespoons of your favorite protein powder (optional, only if you enjoy the taste of your chosen powder)
- 1 teaspoon vanilla extract
- A generous pinch of sea salt (Maldon or Celtic sea salt are excellent choices)
- A handful of cacao nibs (optional, for added antioxidants and crunch)
- 3/4 cup chocolate chips or chopped chocolate
- 1/2 tablespoon coconut oil
Preparing the Frozen Yogurt Mixture
Step 1: Combine the Base Ingredients
In a medium-sized mixing bowl, I like to start by combining the creamy elements. Add your 1 cup of thick Greek yogurt (or the thick coconut yogurt if you’re going dairy-free). This is the foundation of our frozen yogurt bites, so using a thick variety is key to achieving a good texture. Next, spoon in the 3 tablespoons of cashew butter (or almond butter – both work beautifully to add richness and a subtle nutty flavor). Then, drizzle in the 3 tablespoons of maple syrup. Remember, you can always add a little more later if your taste buds are craving extra sweetness. Finally, add the 1 teaspoon of vanilla extract. This little bit of vanilla really elevates all the other flavors.
Step 2: Incorporate Dry Ingredients and Flavor Boosters
Now it’s time to bring in the dry components. If you’re using protein powder, add your 3 tablespoons of it now. It’s important to note that this is entirely optional! Only include it if you genuinely like the flavor of your protein powder, as it can sometimes overpower other ingredients. Give everything a good stir to start incorporating the protein powder into the wet mixture. Next, add that gooooood pinch of sea salt. Don’t underestimate the power of salt in sweet recipes; it really balances out the sweetness and enhances the overall flavor profile. If you’re adding cacao nibs for a bit of texture and a healthy antioxidant boost, toss them in now as well. Stir everything together until it’s just combined. We don’t need to overmix at this stage.
Creating the Chocolate Coating
Step 3: Melt the Chocolate and Coconut Oil
For the irresistible chocolate coating, we’ll need a separate bowl. Place your 3/4 cup of chocolate chips (or your chopped chocolate) into a microwave-safe bowl. Add the 1/2 tablespoon of coconut oil to the bowl with the chocolate. The coconut oil helps the chocolate melt smoothly and creates a thinner consistency that’s perfect for coating. Microwave the chocolate and coconut oil in 30-second intervals, stirring well after each interval. Continue this process until the chocolate is mostly melted and smooth. Be careful not to overheat the chocolate, as it can seize up and become difficult to work with. If you prefer, you can also melt the chocolate and coconut oil in a double boiler over simmering water, stirring until smooth.
Step 4: Temper the Chocolate (Optional but Recommended for Shine)
While not strictly necessary for the recipe to work, I often like to temper my chocolate for a beautiful shine and a satisfying snap when you bite into the frozen yogurt bites. To do this, after you’ve melted the majority of the chocolate, add a few more unmelted chocolate chips and stir them in. The residual heat from the melted chocolate will gently melt these few extra chips, bringin extractg the temperature of the chocolate down to the correct range for tempering. Stir continuously until all the chocolate is smooth and glossy. This step helps prevent the chocolate from blooming (developing white streaks) and gives it a professional finish. If you’re short on time, you can skip this, and your chocolate coating will still be delicious.
Assembling and Freezing the Bites
Step 5: Form and Coat the Frozen Yogurt Bites
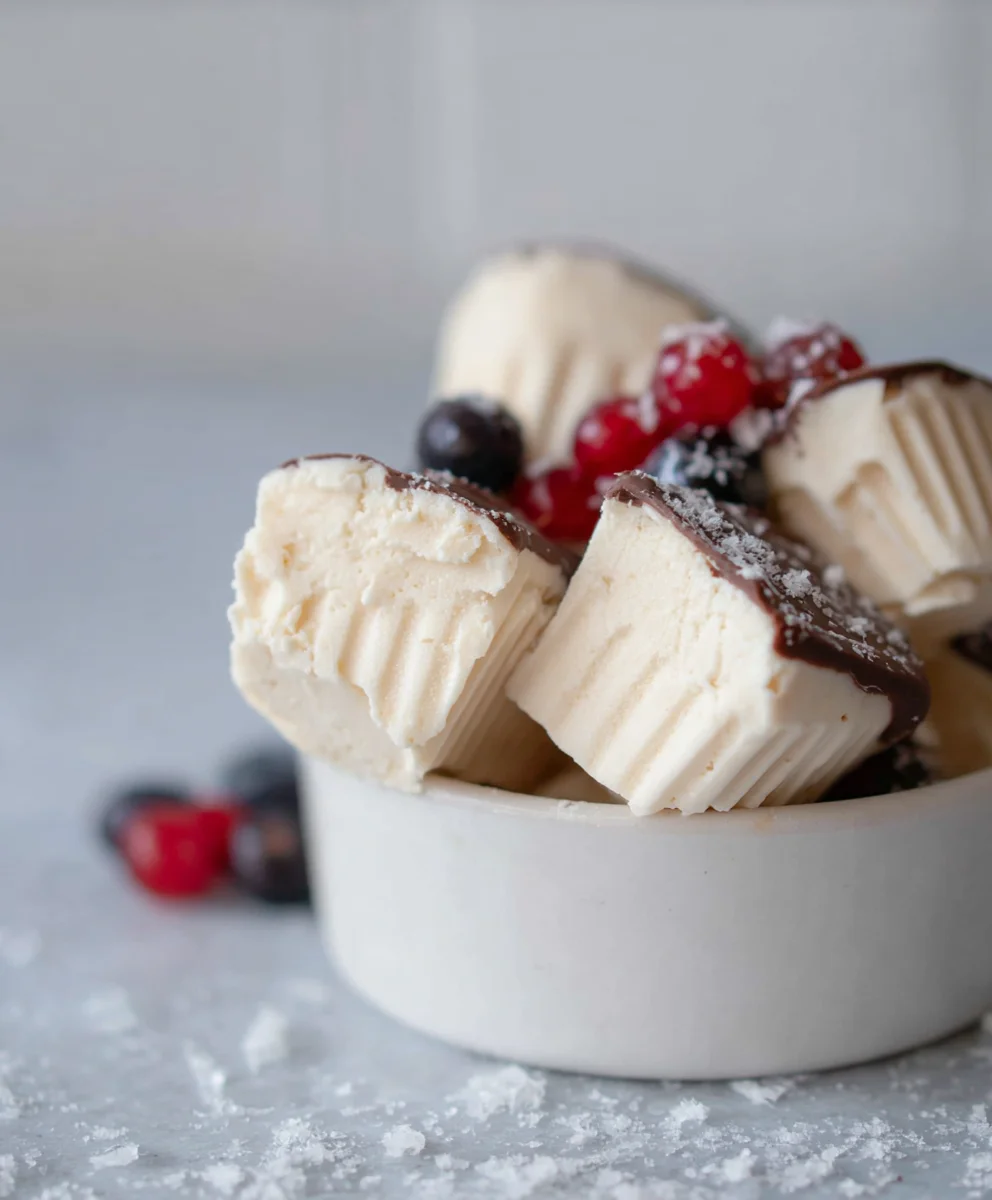
Now for the fun part! Grab a baking sheet and line it with parchment paper. This is crucial as it prevents the frozen yogurt bites from sticking to the sheet. Using a spoon or a small cookie scoop, carefully drop small dollops of the yogurt mixture onto the prepared baking sheet. Aim for bite-sized portions, roughly 1 to 1.5 inches in diameter. You can make them perfectly round or slightly irregular – either way, they’ll taste amazing. Once you have all your dollops formed, it’s time to coat them in the melted chocolate. Carefully dip each frozen yogurt dollop into the melted chocolate, ensuring it’s fully coated. You can use a fork or a toothpick to gently lift and dip them. Let any excess chocolate drip back into the bowl before placing them back onto the parchment-lined baking sheet. Work relatively quickly, as the frozen yogurt will start to soften as it comes into contact with the melted chocolate. If the chocolate starts to thicken too much, you can gently warm it up again in the microwave for a few seconds.
Step 6: Freeze Until Firm
Once all your yogurt bites are coated in their luscious chocolate shell, carefully place the entire baking sheet into the freezer. You’ll want to freeze them for at least 1-2 hours, or until they are completely firm and solid. This freezing time is essential to ensure they hold their shape and have that satisfying frozen texture. Once they are thoroughly frozen, you can transfer them to an airtight container or a freezer-safe bag. This will keep them fresh and prevent them from freezer-burning. Store them in the freezer, and they are ready to be enjoyed whenever a sweet craving strikes! They make for a perfect healthy-ish treat any time of day.
Conclusion:
You’ve just learned how to create these delightful Easy Frozen Yogurt Bites (Dairy-free option)! We’ve covered the simple steps from gathering your ingredients to achieving that perfect frozen consistency. These bites are a fantastic guilt-free treat, perfect for a quick snack, a post-workout reward, or even a healthy dessert. Don’t be afraid to get creative with your toppings and flavor combinations! Experiment with different fruits, swirls of nut butter, or even a sprinkle of dark chocolate chips. The possibilities are truly endless, and the joy of making them yourself is incredibly rewarding. So go ahead, whip up a batch and impress yourself and your loved ones with these delicious and wholesome Easy Frozen Yogurt Bites (Dairy-free option). Enjoy!
Frequently Asked Questions:
Can I use a different kind of plant-based yogurt?
Absolutely! While coconut or almond yogurt works wonderfully, feel free to experiment with soy, cashew, or oat-based yogurts. Just ensure they have a good thickness and flavor profile to achieve the best results.
How long will the Easy Frozen Yogurt Bites (Dairy-free option) last in the freezer?
Stored properly in an airtight container, these bites should remain delicious for up to 2-3 weeks. It’s best to separate layers with parchment paper to prevent them from sticking together.
What are some other popular fruit combinations?
Besides the berries, consider blending in mango and passionfruit for a tropical twist, or peaches and a hint of gin extractger for a warming flavor. Even a simple banana and vanilla extract makes for a classic and satisfying choice.
Easy Frozen Yogurt Bites (Dairy-Free Option)
Delicious and easy-to-make frozen yogurt bites with a chocolate coating, perfect for a healthier treat. Includes a dairy-free option.
Ingredients
-
1 cup thick Greek yogurt (or thick coconut yogurt)
-
3 tablespoons cashew butter (or almond butter)
-
3 tablespoons maple syrup
-
1 teaspoon vanilla extract
-
A generous pinch of sea salt
-
3/4 cup chocolate chips or chopped chocolate
-
1/2 tablespoon coconut oil
Instructions
-
Step 1
In a medium bowl, combine the thick Greek yogurt (or coconut yogurt), cashew butter (or almond butter), maple syrup, and vanilla extract. Stir until well combined. -
Step 2
If using, add the optional protein powder and a generous pinch of sea salt. If using cacao nibs, add them now. Stir until just combined. -
Step 3
In a separate microwave-safe bowl, combine the chocolate chips and coconut oil. Microwave in 30-second intervals, stirring after each, until smooth and melted. Be careful not to overheat. -
Step 4
Line a baking sheet with parchment paper. Drop small dollops (1-1.5 inches) of the yogurt mixture onto the prepared baking sheet. -
Step 5
Carefully dip each yogurt dollop into the melted chocolate, ensuring it is fully coated. Let excess chocolate drip off and place the coated bites back onto the parchment paper. -
Step 6
Place the baking sheet in the freezer and freeze for at least 1-2 hours, or until completely firm. -
Step 7
Once firm, transfer the frozen yogurt bites to an airtight container and store in the freezer.
Important Information
Nutrition Facts (Per Serving)
It is important to consider this information as approximate and not to use it as definitive health advice.
Allergy Information
Please check ingredients for potential allergens and consult a health professional if in doubt.