Easy Baked Yogurt Recipe – Creamy & Delicious
Baked yogurt might sound a little unconventional, but trust me, this is a dessert experience you won’t want to miss. Forget everything you think you know about yogurt – this isn’t your average breakfast staple. When you bake yogurt, something magical happens: it transforms into a rich, creamy, almost custard-like confection with a delightful tang. It’s the perfect balance of sweet and tart, offering a sophisticated yet surprisingly simple pleasure. People absolutely adore baked yogurt because it feels both incredibly indulgent and wonderfully wholesome. It’s the kind of dessert that impresses guests without requiring hours of complex preparation, making it a weeknight treat or a show-stopping finnon-alcoholic ale for a dinner party. What truly sets baked yogurt apart is its incredibly smooth texture and the subtle caramelization that develops on top, creating layers of flavor and a truly unique mouthfeel. Get ready to fall in love with this unexpected delight!
Ingredients:
- 2 cups Greek yogurt
- 4 large eggs
- 1/4 cup maple syrup (or honey)
- 1 teaspoon vanilla extract
- 3 tablespoons cornstarch
- 1 1/2 cups berries (divided)
Preparing Your Baked Yogurt
Preheating and Pan Preparation
Before we begin extract, let’s get our oven and baking dish ready. Preheat your oven to 325 degrees Fahrenheit (160 degrees Celsius). This moderate temperature is key to achieving a beautifully set, creamy baked yogurt without overcooking or developing a rubbery texture. While the oven is heating up, prepare your baking dish. A 9-inch pie plate or an 8×8 inch square baking dish works wonderfully. Lightly grease the inside of your chosen dish with a little butter or non-stick cooking spray. This simple step will prevent your delicious baked yogurt from sticking, ensuring it slides out cleanly and looks as good as it tastes.
Mixing the Base
Now, let’s create the luscious base for our baked yogurt. In a medium-sized mixing bowl, combine the Greek yogurt, eggs, maple syrup (or honey, if you prefer a slightly different sweetness profile), and vanilla extract. Whisk these ingredients together vigorously until they are thoroughly combined and the mixture is smooth and homogenous. It’s important to ensure there are no streaks of egg yolk or unincorporated yogurt. A well-mixed base will lead to a consistent texture throughout the finished product. You want it to be creamy and inviting.
Incorporating the Cornstarch
The cornstarch is our secret weapon for achieving that perfect, firm yet still jiggly texture in our baked yogurt. Add the 3 tablespoons of cornstarch to the wet ingredients in the bowl. Now, whisk again, but this time, be a bit more gentle to avoid creating a cloud of cornstarch. Continue whisking until the cornstarch is fully incorporated and there are no lumps. You’ll notice the mixture will thicken slightly as the cornsgin extractch begins to do its work. Proper incorporation of the cornstarch is vital; any clumps will result in pockets of uncooked starch, which can affect the final texture and taste.
Adding the Berries
It’s time to add our burst of fruity goodness! We’ll divide the berries into two portions. Take about 1 cup of the berries and gently fold them into the yogurt mixture. Don’t overmix at this stage; you want to distribute the berries evenly without crushing them too much. They will release some of their juices during baking, adding beautiful color and flavor throughout. Reserve the remaining 1/2 cup of berries to scatter over the top of the baked yogurt before it goes into the oven. This will give you those lovely pops of fresh berry flavor and a beautiful visual appeal.
Baking and Setting
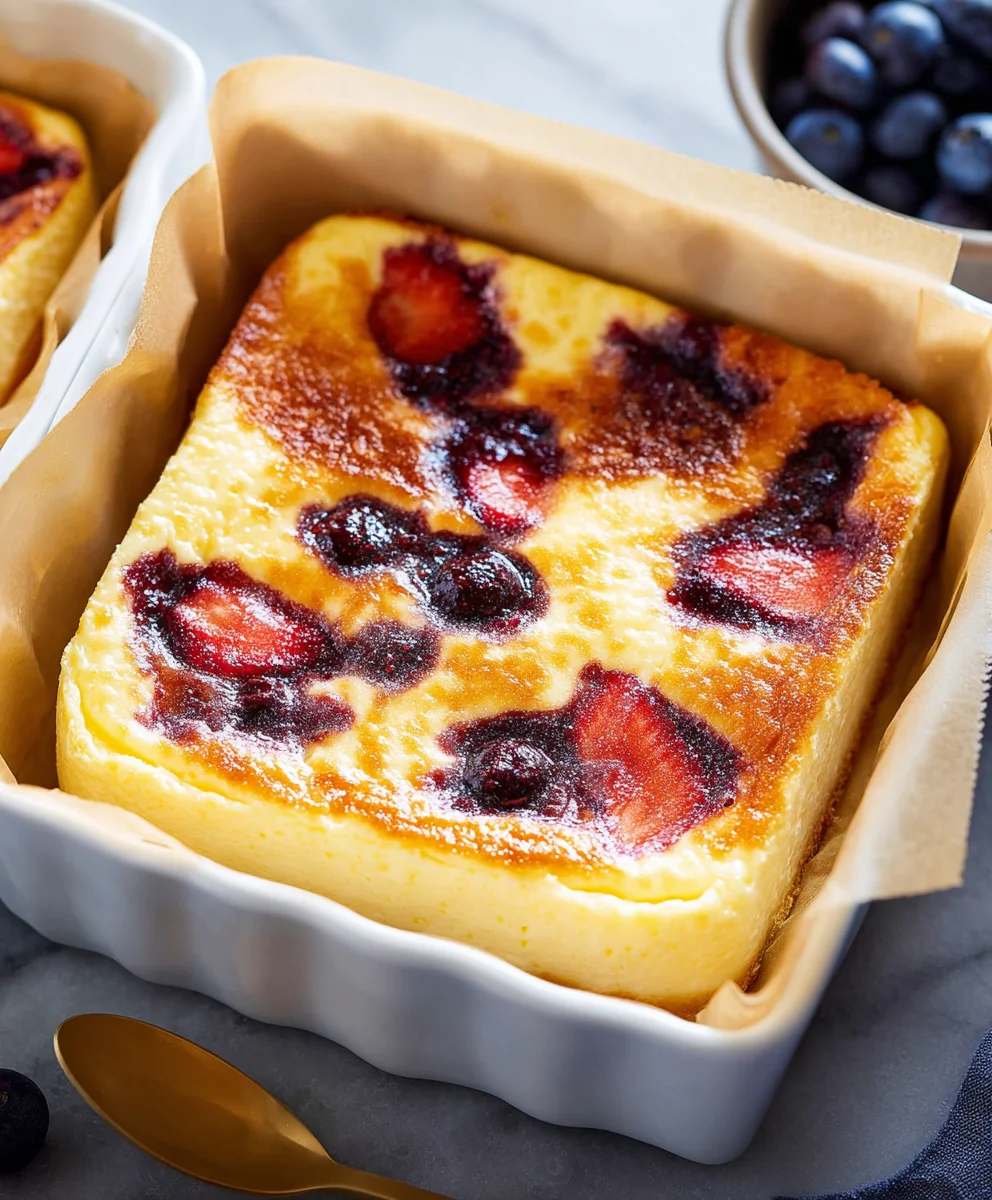
Pour the combined yogurt and berry mixture into your prepared baking dish. Gently spread it out to create an even layer. Now, take the reserved 1/2 cup of berries and scatter them artfully over the surface of the yogurt. This adds an extra layer of visual appeal and ensures a delightful berry experience with every bite. Carefully place the baking dish into your preheated oven. Bake for approximately 40 to 50 minutes, or until the edges are set and slightly puffed, and the center is mostly firm with just a slight wobble. You can test for doneness by gently shaking the dish; the center should move only slightly. Overbaking can lead to a drier, firmer texture, so keep a close eye on it towards the end of the baking time.
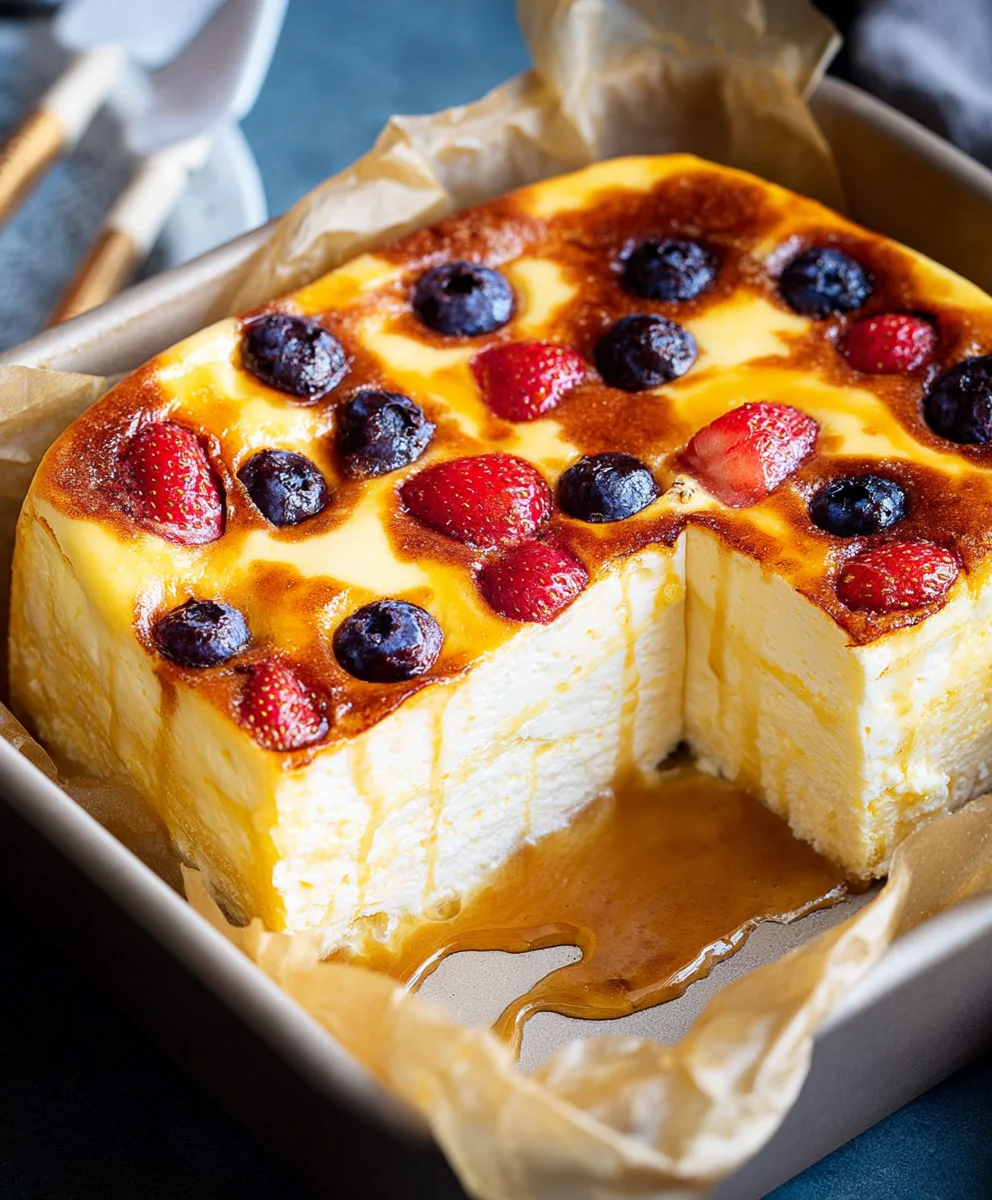
Cooling and Serving
Once baked to perfection, remove the dish from the oven. It’s crucial to let the baked yogurt cool completely. Allow it to cool on a wire rack for at least 30 minutes at room temperature. Then, cover the dish loosely with plastic wrap and refrigerate it for at least 2 to 3 hours, or preferably overnight. This chilling period is essential for the baked yogurt to fully set and develop its creamy, custard-like consistency. Serving it chilled is the best way to enjoy its delicate flavors and textures. You can serve it directly from the baking dish or carefully unmold it onto a serving platter if desired. Garnish with a few extra fresh berries or a drizzle of maple syrup if you like.
Conclusion:
You’ve now mastered the art of creating delicious and versatile Baked Yogurt! This simple yet elegant dish offers a delightful creamy texture and a subtly sweet flavor that can be enjoyed in countless ways. We hope you found this recipe straightforward and rewarding. Don’t be afraid to experiment with different flavorings and toppings to make it your own!
Baked Yogurt is wonderfully adaptable. Serve it warm for a comforting breakfast or dessert, topped with fresh berries, a drizzle of honey, or a sprinkle of granola for added crunch. For a more decadent treat, consider adding a dollop of whipped cream or a dusting of cinnamon. You can also transform it into a base for other dishes, like a tangy cheesecake alternative or a savory component in a brunch spread.
Remember, the beauty of Baked Yogurt lies in its simplicity and how easily it can be customized. Feel free to try adding a swirl of jam before baking, infusing it with citrus zest, or even incorporating a touch of vanilla extract to the batter. The possibilities are truly endless, and we encourage you to get creative in your kitchen!
Frequently Asked Questions about Baked Yogurt:
Q1: Can I make Baked Yogurt dairy-free?
Absolutely! You can substitute the dairy yogurt with a plant-based alternative such as coconut yogurt, almond yogurt, or soy yogurt. The baking time might vary slightly depending on the consistency of the non-dairy yogurt you choose, so keep an eye on it during the baking process.
Q2: How long does Baked Yogurt last in the refrigerator?
Once cooled completely, your Baked Yogurt should be stored in an airtight container in the refrigerator. It’s best enjoyed within 3 to 4 days to maintain its optimal texture and flavor.
Easy Baked Yogurt Recipe – Creamy & Delicious
A simple and delicious recipe for creamy baked yogurt, perfect for a healthy dessert or breakfast.
Ingredients
-
2 cups Greek yogurt
-
4 large eggs
-
1/4 cup maple syrup
-
1 teaspoon vanilla extract
-
3 tablespoons cornstarch
-
1 1/2 cups berries
Instructions
-
Step 1
Preheat oven to 325°F (160°C). Lightly grease a 9-inch pie plate or 8×8 inch baking dish. -
Step 2
In a mixing bowl, whisk together Greek yogurt, eggs, maple syrup, and vanilla extract until smooth and combined. -
Step 3
Gently whisk in the cornstarch until fully incorporated and no lumps remain. The mixture will thicken slightly. -
Step 4
Gently fold in 1 cup of the berries. Reserve the remaining 1/2 cup for topping. -
Step 5
Pour the mixture into the prepared baking dish and scatter the reserved berries over the top. -
Step 6
Bake for 40-50 minutes, or until the edges are set and the center has a slight wobble. Cool completely at room temperature, then refrigerate for at least 2-3 hours or overnight.
Important Information
Nutrition Facts (Per Serving)
It is important to consider this information as approximate and not to use it as definitive health advice.
Allergy Information
Please check ingredients for potential allergens and consult a health professional if in doubt.