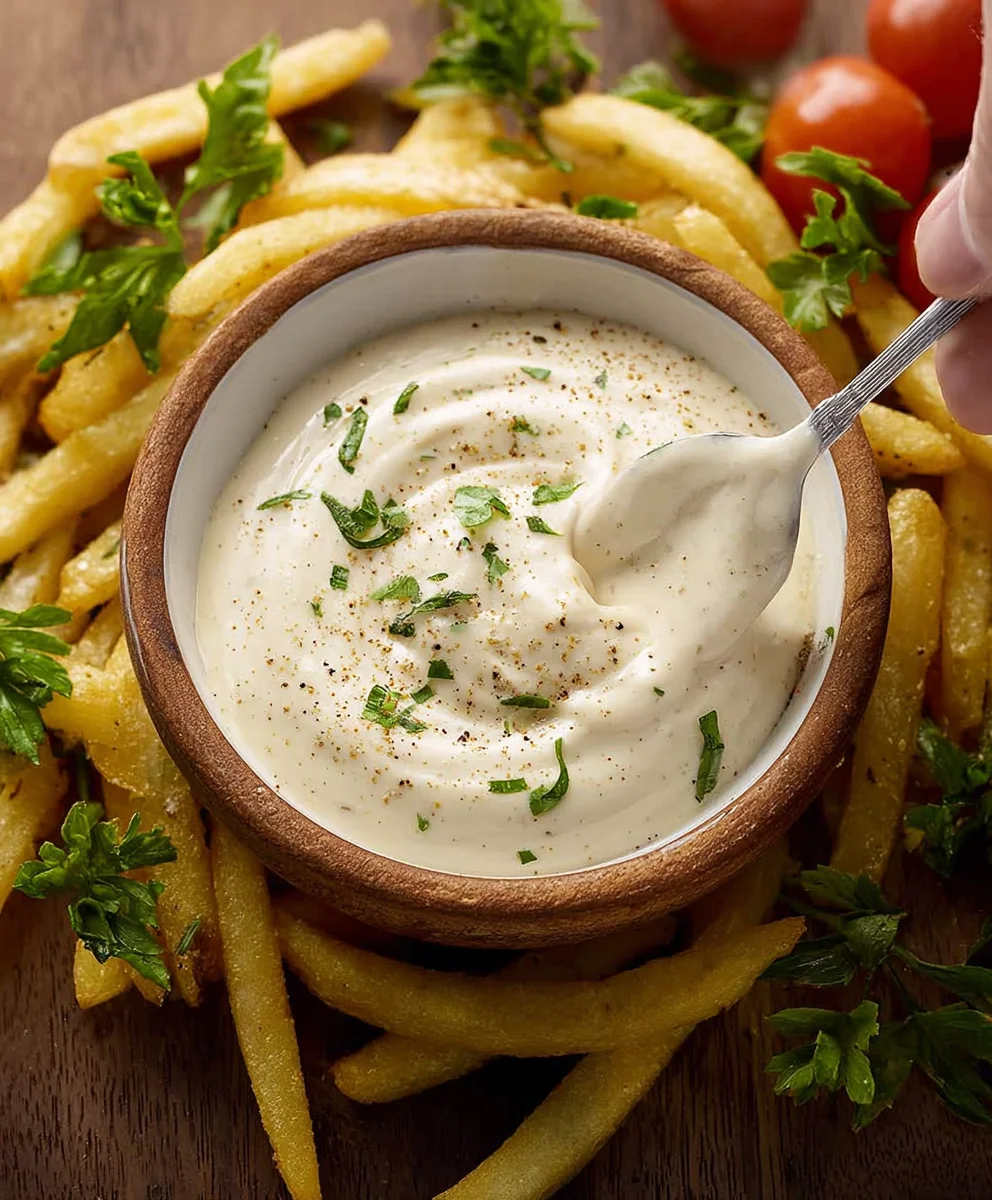
Easy Homemade Aioli Recipe – Creamy Garlic Dip
Aioli recipe can be your secret weapon in the kitchen, transforming ordinary meals into extraordinary experiences. This creamy, garlicky emulsion is a culinary cbeef hameleon, adding a luxurious touch to everything from roasted vegetables and grilled fish to a simple sandwich or even just a pile of perfectly crisp fries. But what is it about this deceptively simple sauce that has food lovers so captivated? It’s the bold, punchy flavor of fresh garlic, mellowed and married with the richness of olive oil, creating a symphony on your palate that’s both comforting and sophisticated. This particular Aioli recipe isn’t just about the garlic; we’ll explore a few subtle twists that elevate it beyond the basic, making it truly unforgettable and a staple you’ll find yourself reaching for again and again. Get ready to unlock a new level of deliciousness with this fantastic Aioli recipe!
Ingredients:
- 1 cup mayonnaise
- 3 tablespoons fresh lemon juice
- ½ teaspoon ground black pepper
- 3 tablespoons fresh garlic, finely minced
- 1 teaspoon fresh parsley, finely chopped
- 3 tablespoons ketchup
Preparing Your Flavorful Aioli
Step 1: Building the Creamy Base
We begin extract by establishing the foundation of our aioli. In a medium-sized mixing bowl, combine the 1 cup of mayonnaise. I prefer to use a full-fat mayonnaise for the richest flavor and smoothest texture, but a light version can be used if you’re aiming for a slightly leaner dip. Ensure your mayonnaise is at room temperature; this will help everything blend together more easily and prevent any chance of the fats separating. Gently stir the mayonnaise to loosen it up and prepare it for the next infusion of flavors. This initial step is crucial for achieving a well-emulsified and luxurious aioli that coats the back of your spoon beautifully.
Step 2: Introducing the Zesty Citrus and Aromatic Garlic
Next, we incorporate the bright and pungent elements that define a great aioli. Add the 3 tablespoons of fresh lemon juice directly into the bowl with the mayonnaise. The acidity of the lemon juice will not only cut through the richness of the mayonnaise but also help to brighten the overall flavor profile of the aioli. Following the lemon juice, it’s time for the star of the show – the garlic. Add the 3 tablespoons of finely minced fresh garlic. Using fresh garlic is paramount here; the pre-minced jarred varieties often lack the vibrant punch that fresh garlic provides. Be sure to mince it as finely as possible to ensure its flavor is evenly distributed throughout the aioli and there are no overpowering chunks. If you’re particularly fond of garlic, you can even add an extra clove or two, but remember that raw garlic can be quite potent.
Step 3: Seasoning for Depth and Spice
Now, let’s elevate the flavor with careful seasoning. Sprinkle in the ½ teaspoon of ground black pepper. Freshly ground black pepper will offer a more nuanced and aromatic spice than pre-ground pepper, so if you have a pepper grinder, now is the time to use it. Next, add the 1 teaspoon of finely chopped fresh parsley. Parsley adds a touch of herbaceous freshness that complements the garlic and lemon wonderfully, providing a lovely visual fleck of green throughout the aioli. It also contributes a subtle, clean flavor that balances the richer components. Taste your mixture at this point and consider if you’d like to add a pinch of salt. While not explicitly listed in the core ingredients, a tiny pinch of salt can often enhance all the other flavors.
Step 4: The Sweet and Savory Twist with Ketchup
This next step introduces a delightful twist to the classic aioli, offering a subtle sweetness and a hint of savory depth. Stir in the 3 tablespoons of ketchup. The ketchup adds a layer of tomato-based sweetness and a touch of umami that transforms this from a simple garlic mayonnaise into something a little more complex and intriguing. It also contributes a beautiful rosy hue to the aioli. Ensure the ketchup is fully incorporated, blending smoothly with the other ingredients. Don’t be afraid of this unconventional addition; it truly works wonders to create a well-rounded and moreish dip that pairs exceptionally well with a variety of foods.
Step 5: Thorough Blending and Resting for Optimal Flavor Development
Our final preparation step is all about ensuring a cohesive and delicious aioli. Gently but thoroughly whisk all the ingredients together. You want to achieve a uniform color and consistency, with no streaks of individual ingredients visible. Continue to whisk until the mixture is smooth and creamy. Once everything is well combined, cover the bowl with plastic wrap, ensuring the wrap is pressed directly onto the surface of the aioli to prevent a skin from forming. Place the aioli in the refrigerator for at least 30 minutes. This resting period is absolutely crucial. It allows the flavors to meld and deepen, giving the garlic time to infuse more subtly into the mayonnaise and lemon juice, and letting the other ingredients harmonize. The chilled temperature also enhances the aioli’s texture, making it perfect for serving. The longer it rests, the more pronounced and balanced the flavors will become.
Conclusion:
You’ve now mastered the art of making the perfect Aioli Recipe! This versatile condiment is surprisingly simple to whip up and can elevate a multitude of dishes. From its creamy texture to its pungent garlic kick, this aioli is sure to become a staple in your kitchen. Remember, practice makes perfect, and don’t be afraid to experiment with the garlic intensity to find your ideal flavor profile. Enjoy this delicious aioli with roasted vegetables, grilled meats, seafood, or as a dipping sauce for your favorite appetizers. We encourage you to share your creations and variations with friends and family!
Frequently Asked Questions about Aioli Recipe:
Q1: My aioli broke (separated). What went wrong and how can I fix it?
Separation, often called breaking, usually happens if the oil is added too quickly or if the mixture gets too warm. To fix it, start a new, clean bowl with one egg yolk. Slowly whisk in the broken aioli, a teaspoon at a time, just like you were initially emulsifying. The new yolk should help bring it back together. Make sure your ingredients are at room temperature for better emulsification.
Q2: Can I make this Aioli Recipe ahead of time?
Absolutely! This Aioli Recipe can be made up to 3-4 days in advance and stored in an airtight container in the refrigerator. The flavors often meld and deepen over time, making it even more delicious. Just give it a good stir before serving.
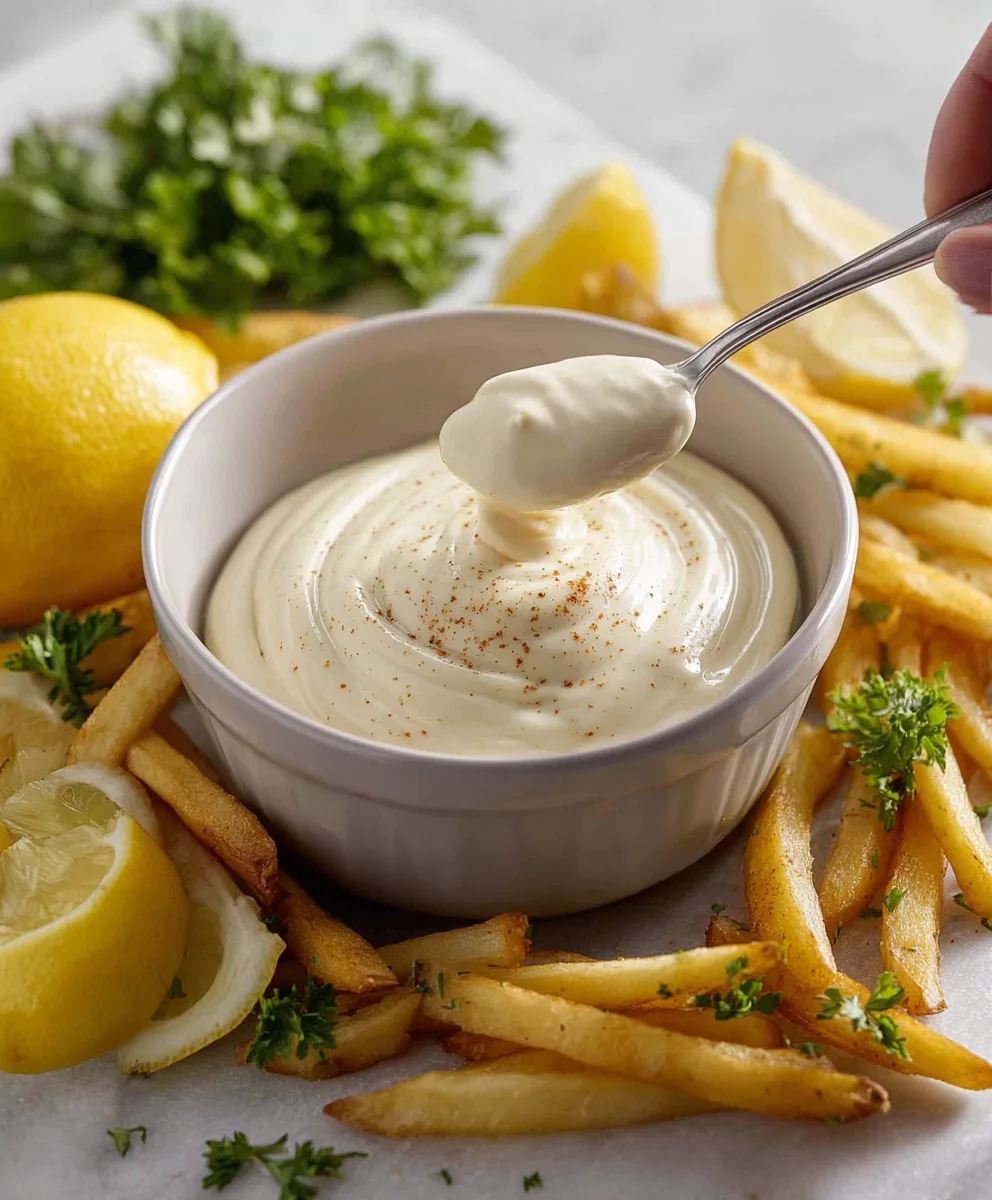
Easy Homemade Aioli Recipe – Creamy Garlic Dip
A quick and easy recipe for a creamy, flavorful garlic aioli dip with a hint of sweetness from ketchup.
Ingredients
-
1 cup mayonnaise
-
3 tablespoons fresh lemon juice
-
½ teaspoon ground black pepper
-
3 tablespoons fresh garlic, finely minced
-
1 teaspoon fresh parsley, finely chopped
-
3 tablespoons ketchup
Instructions
-
Step 1
In a medium-sized mixing bowl, combine 1 cup of mayonnaise. Ensure your mayonnaise is at room temperature for easier blending. -
Step 2
Add 3 tablespoons of fresh lemon juice and 3 tablespoons of finely minced fresh garlic to the mayonnaise. Stir to combine. -
Step 3
Season with ½ teaspoon of ground black pepper and 1 teaspoon of finely chopped fresh parsley. Taste and add a pinch of salt if desired. -
Step 4
Stir in 3 tablespoons of ketchup until fully incorporated, giving the aioli a rosy hue and adding sweetness and savory depth. -
Step 5
Whisk all ingredients thoroughly until the mixture is smooth and creamy with a uniform color. Cover the bowl and refrigerate for at least 30 minutes to allow flavors to meld and deepen before serving.
Important Information
Nutrition Facts (Per Serving)
It is important to consider this information as approximate and not to use it as definitive health advice.
Allergy Information
Please check ingredients for potential allergens and consult a health professional if in doubt.