Restaurant Style Blender Salsa Recipe- Easy & Delicious
Blender Salsa is your ticket to replicating that incredibly vibrant, fresh, and utterly addictive restaurant-style salsa right in your own kitchen. We’ve all been there – those baskets of chips arrive, piled high with a salsa that’s just perfect. It’s never too chunky, never too watery, and has that undeniable zing that makes you reach for chip after chip. So, why do we love this particular kind of salsa so much? It’s the perfect balance of sweet tomatoes, tangy lime, and a hint of heat that awakens our taste buds. What makes this Blender Salsa truly special, however, is its incredible ease and speed. Forget tedious chopping; a quick whirl in the blender transforms humble ingredients into a flavor explosion. This is the kind of recipe you’ll want to make again and again, especially when you want to impress guests or simply treat yourself to the best homemade salsa imagin extractable. Get ready to ditch the store-bought stuff forever!
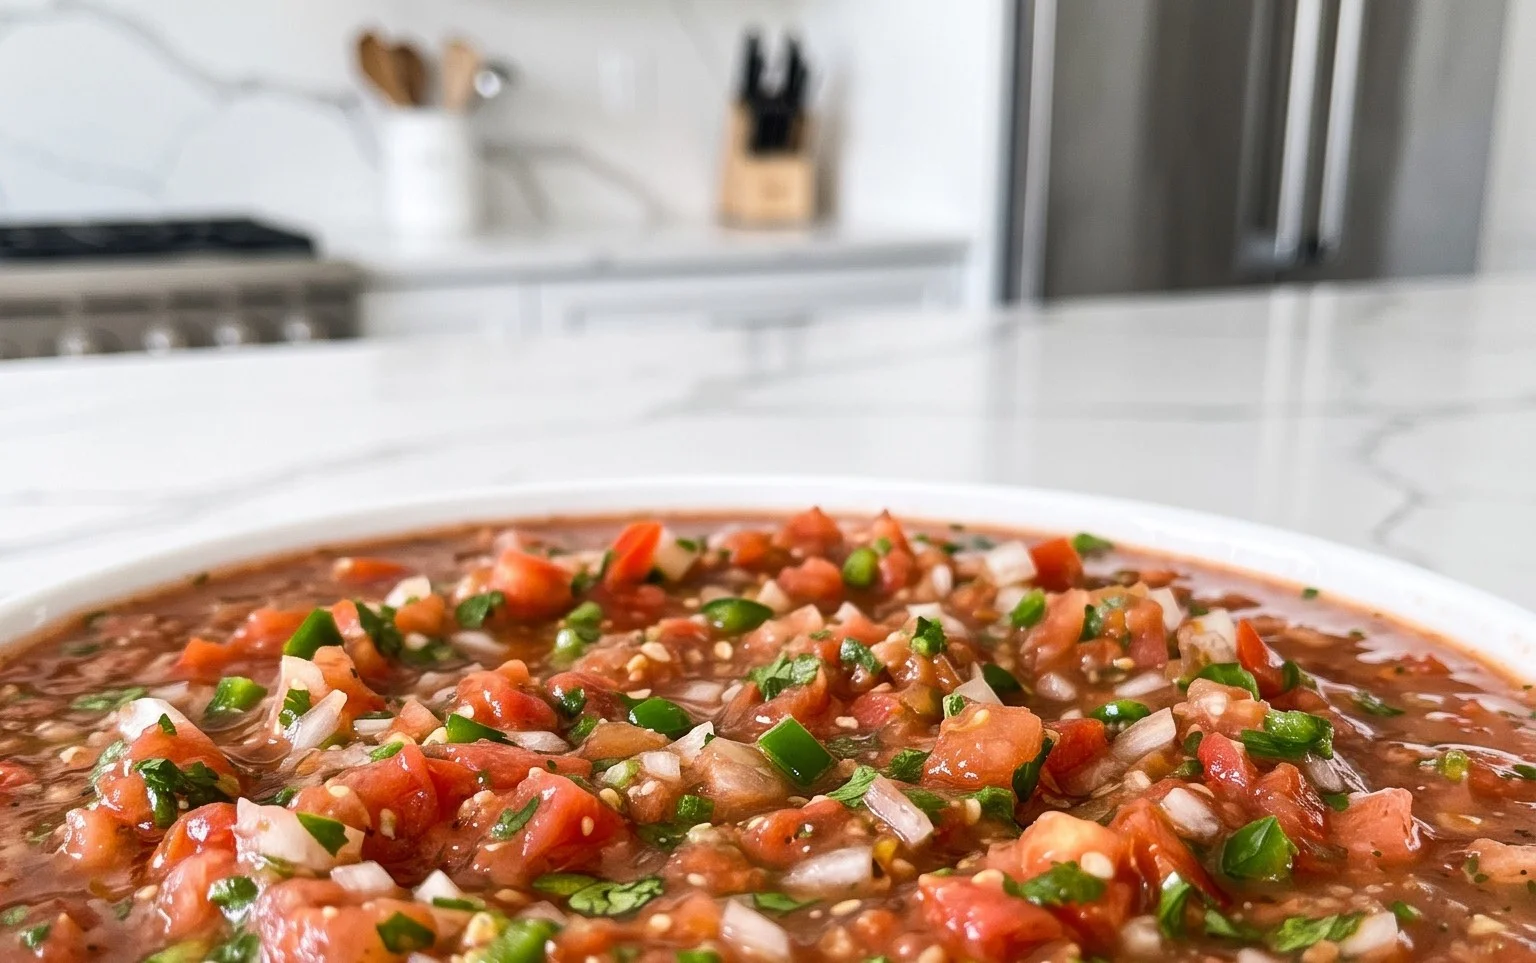
Blender Salsa (Restaurant Style Salsa)
There’s something undeniably special about that fresh, vibrant salsa you get at your favorite Mexican restaurant. It’s perfectly balanced, with just the right amount of heat, tang, and herbaceousness. For years, I tried to replicate it, experimenting with various chopped ingredients and endless tweaks. Then, I discovered the magic of the blender. Using a blender for salsa isn’t about making a smooth paste; it’s about achieving that incredibly smooth yet textured consistency that’s characteristic of restaurant-style salsa. It’s shockingly simple, incredibly fast, and the results are consistently impressive. Forget tedious chopping and uneven pieces. This recipe will become your go-to for game nights, taco Tuesdays, or simply when you’re craving a bright, zesty dip.
Ingredients:
Instructions:
This recipe relies on the powerful blending action of your appliance to break down the ingredients just enough to create that signature texture. The key is to pulse and blend in short bursts, allowing you to control the consistency precisely. We’re aiming for a salsa that has some body and texture, not a thin puree.
Step 1: Preparing Your Flavor Base
First things first, let’s get our aromatics ready for their blender debut. You’ll want to roughly chop your red onion, cilantro, jalapeno (or serrano!), and garlic. Don’t get too hung up on perfect cuts here, as the blender will do most of the heavy lifting. However, a rough chop will help your blender process everything more efficiently. When prepping the jalapeno, remember to remove the seeds and membranes if you prefer a milder salsa. If you enjoy a good kick, feel free to leave some of them in! For the garlic, peeling and giving it a quick rough chop is all that’s needed. Fresh cilantro is crucial for that authentic restaurant flavor. Don’t be afraid to include some of the tender stems along with the leaves, as they also contribute to the overall flavor profile.
Step 2: The Tomato Foundation
Now, for the heart of our salsa: the diced tomatoes. It’s incredibly important that you do not drain the liquid from the can. This juice is essential for creating the right consistency and adding a lovely tomatoey depth to the salsa. Pour the entire contents of the 14.5-ounce can of diced tomatoes, including all the juices, directly into your blender. This will serve as the liquid base for our salsa and help everything blend smoothly. Using canned tomatoes is actually a fantastic shortcut for achieving that consistent, bright tomato flavor often found in restaurant salsas, as they are typically processed at their peak ripeness.
Step 3: Building the Flavor Layers
It’s time to add the rest of our prepared ingredients to the blender. Add the coarsely chopped red onion, cilantro, seeded and chopped jalapeno (or serrano), and chopped garlic. Now, let’s incorporate the spices and the crucial citrus element. Zest your lime directly into the blender. Zesting before juicing is a good practice, as it’s much easier to zest a whole lime. After zesting, cut the lime in half and squeeze its juice into the blender as well. The lime juice adds a bright, acidic counterpoint that is vital for balancing the flavors. Finally, add the ground cumin. Cumin brings a warm, earthy note that is a hallmark of many salsas.
Step 4: The Blending Technique – Achieving Restaurant Texture
This is where the magic happens! Secure the lid on your blender. We are going to pulse the ingredients. Start with short, 1-second pulses. After each pulse, check the consistency. You are looking for a salsa that is mostly smooth but still has a slight texture. You don’t want it to be completely liquefied. Continue pulsing, in short bursts, until you reach your desired consistency. This might take anywhere from 5 to 15 pulses, depending on the power of your blender. It’s better to under-blend and add more pulses than to over-blend and end up with a watery sauce. You should see flecks of onion and pepper, and the tomatoes should be broken down but not completely pureed.
Step 5: Seasoning and Final Touches
Once you’ve achieved your desired texture, give the salsa a taste. This is where you’ll add salt and black pepper. Start with a pinch of salt and a grind of black pepper, then pulse briefly again to incorporate. Taste and adjust as needed. It’s always better to season gradually, as you can always add more but you can’t take it away. The salt will really bring out all the fresh flavors, and the black pepper adds a subtle warmth. If you find your salsa is a bit too thick after blending, you can add a tablespoon or two of water and pulse briefly to loosen it up. Conversely, if it’s a little too thin, you can let it sit in the refrigerator for a bit, as it will thicken as it chills.
Serving and Storing Your Delicious Blender Salsa
Transfer your freshly made blender salsa to a serving bowl. For the best flavor, I highly recommend letting it sit in the refrigerator for at least 30 minutes before serving. This allows the flavors to meld and deepen beautifully. It’s perfect served with tortilla chips, as a topping for tacos, burritos, enchiladas, or even as a flavorful addition to grilled chicken or fish. This salsa will keep in an airtight container in the refrigerator for up to 5 days. Enjoy this incredibly easy yet remarkably delicious restaurant-style salsa!
Conclusion:
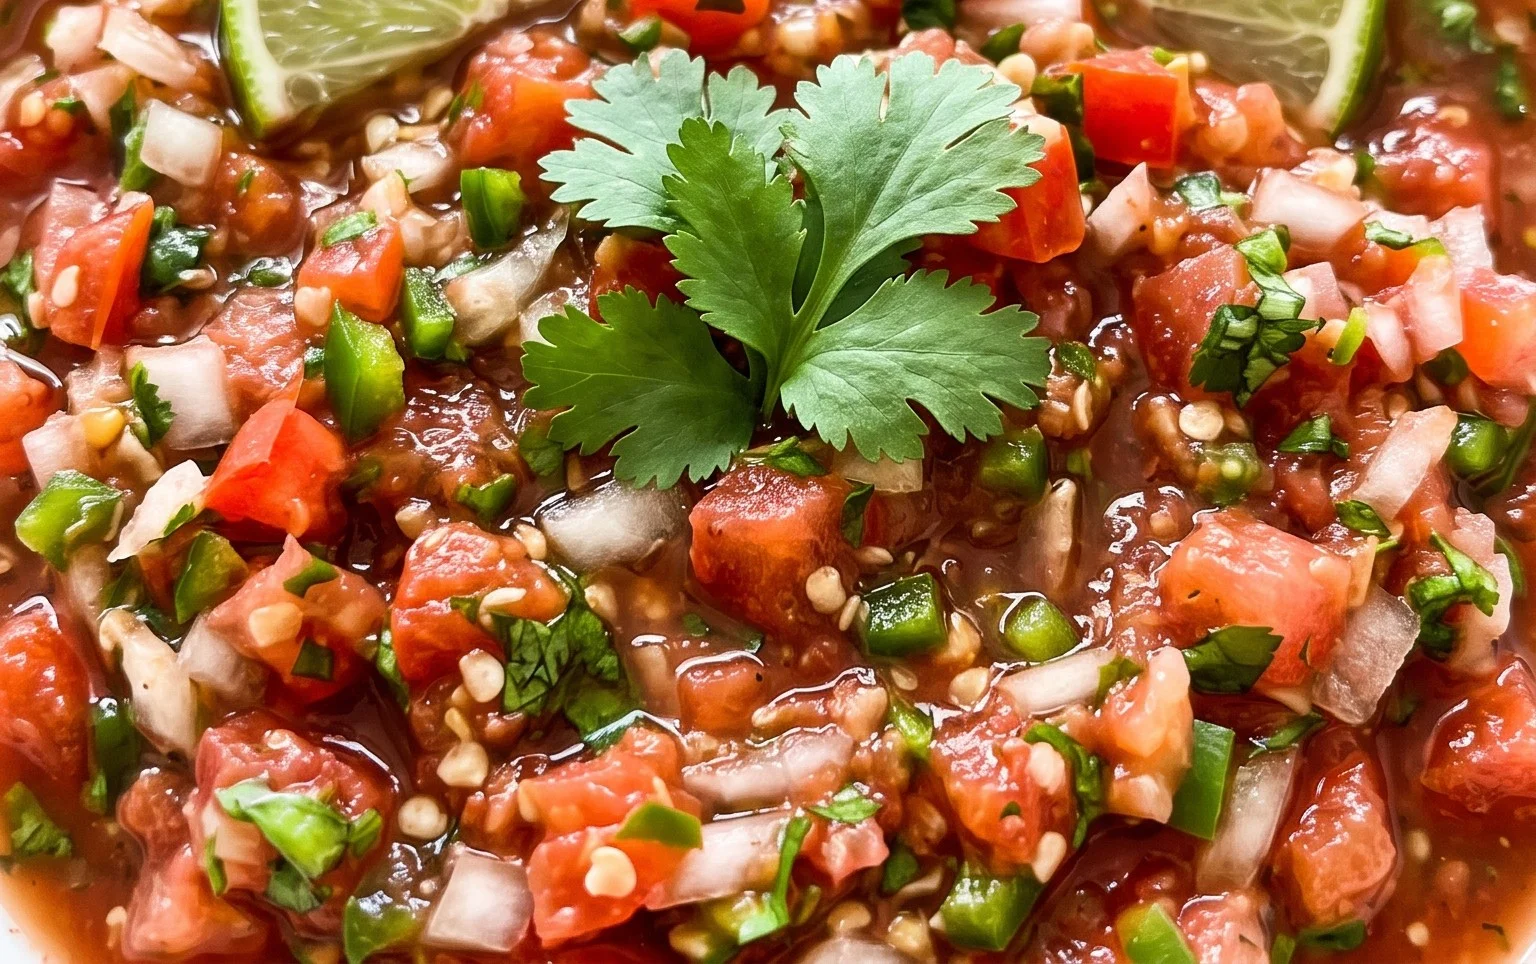
And there you have it! You’ve just unlocked the secret to creating incredibly fresh, vibrant, and delicious Blender Salsa that rivals your favorite restaurant’s offering. The beauty of this recipe lies in its simplicity and speed. By blending these fresh ingredients, you achieve a wonderfully smooth texture and an explosion of flavor that pre-made salsas simply can’t match. It’s perfect for a quick weeknight snack or a crowd-pleasing appetizer for your next gathering.
This blender salsa is incredibly versatile. Serve it alongside tortilla chips, tacos, burritos, enchiladas, grilled meats, or even as a topping for scrambled eggs. For variations, feel free to adjust the heat by adding more or less jalapeño, incorporate a pinch of smoked paprika for depth, or add a touch of cumin for a more earthy note. Don’t be afraid to experiment and make it your own!
I truly encourage you to give this restaurant style salsa a try. You’ll be amazed at how easy it is and how fantastic it tastes. Happy blending!
Frequently Asked Questions about Blender Salsa:
Q: How long does this blender salsa last in the refrigerator?
A: Properly stored in an airtight container, your homemade blender salsa should stay fresh and delicious in the refrigerator for about 4-5 days. The flavors tend to meld and deepen slightly over time, making it even better on the second day!
Q: Can I make this blender salsa spicier?
A: Absolutely! To increase the heat, simply add more jalapeño peppers. You can also leave some of the seeds and membranes in the jalapeños, as that’s where most of the spice resides. For an extra kick, consider adding a pinch of cayenne pepper or a small amount of a hotter chili pepper.
Q: My blender salsa seems too watery. What can I do?
A: If your salsa is too thin, it’s likely due to the moisture content of the tomatoes. You can thicken it by adding a little more tomato or by letting it sit in a fine-mesh sieve for a while to drain off some excess liquid. Alternatively, next time, use slightly less liquid ingredients like lime juice or water.
Blender Salsa (Restaurant Style Salsa)
Quick and easy restaurant-style salsa made in a blender with fresh ingredients.
Ingredients
-
1 (14.5-ounce can) Diced Tomatoes (don’t drain)
-
1/4 small Red Onion (about 1/3 cup coarsely chopped)
-
1/4 cup Cilantro
-
1 Lime (zested and juiced)
-
1 Jalapeno Pepper (or Serrano Pepper) (seeded and coarsely chopped)
-
2 cloves Garlic (coarsely chopped)
-
1/4 teaspoon Ground Cumin
-
Salt (to taste)
-
Black Pepper (to taste)
Instructions
-
Step 1
Combine the undrained diced tomatoes, red onion, cilantro, lime zest and juice, seeded jalapeño, and garlic in a blender. -
Step 2
Add the ground cumin, salt, and black pepper to the blender. -
Step 3
Secure the lid and blend until the salsa reaches your desired consistency. For chunkier salsa, pulse a few times. For smoother salsa, blend longer. -
Step 4
Taste and adjust seasoning with more salt and pepper if needed. -
Step 5
For best flavor, let the salsa sit for at least 10 minutes before serving to allow the flavors to meld. -
Step 6
Serve chilled or at room temperature with tortilla chips or as a topping for Mexican dishes.
Important Information
Nutrition Facts (Per Serving)
It is important to consider this information as approximate and not to use it as definitive health advice.
Allergy Information
Please check ingredients for potential allergens and consult a health professional if in doubt.