Buster Bar Ice Cream Dessert- Easy Copycat Recipe
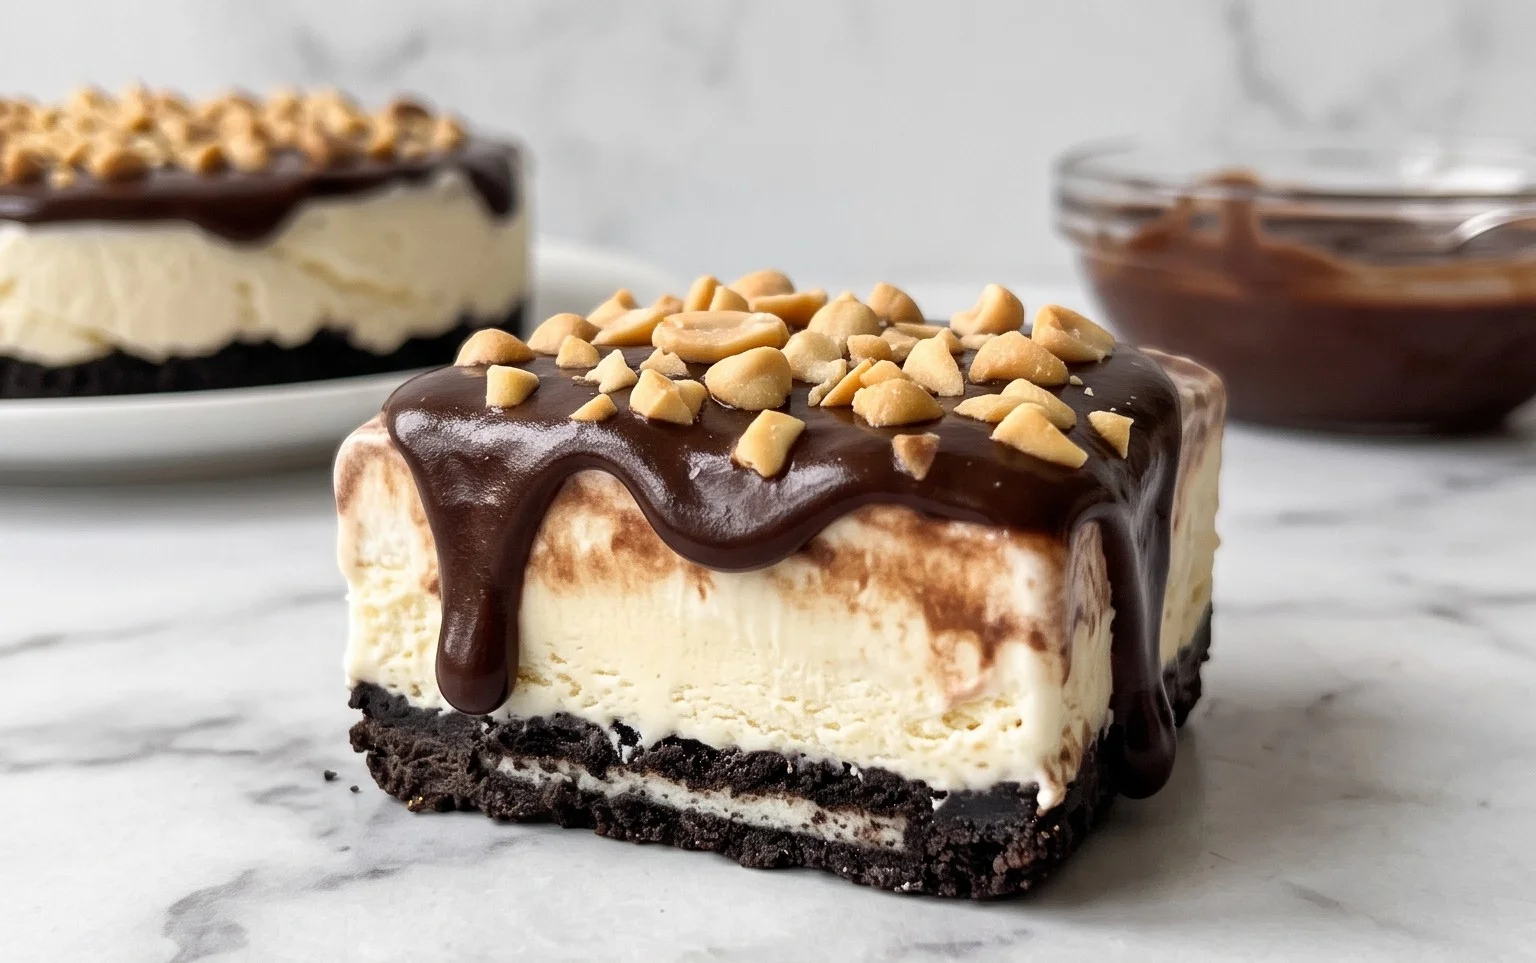
The ultimate Buster Bar Ice Cream Dessert is here to revolutionize your sweet tooth cravings! If you, like me, have ever dreamed of recreating that iconic, chocolate-covered, ice cream truck magic in your own kitchen, then buckle up. This Buster Bar Ice Cream Dessert is more than just a frozen treat; it’s a nostalgic journey back to sun-drenched afternoons and simple joys. What makes this particular iteration so special? It’s the perfect balance of creamy, rich ice cream swirled with crunchy nuts, all encased in a brittle, decadent chocolate shell. Forget those store-bought versions that never quite hit the mark – this homemade Buster Bar Ice Cream Dessert captures every delightful nuance, delivering an explosion of texture and flavor that will have everyone beggin extractg for seconds. Get ready to become the hero of your next gathering with this show-stopping creation!
Buster Bar Ice Cream Dessert
Who can resist a classic Buster Bar? This beloved frozen treat, with its layers of crunchy cookie crust, creamy ice cream, and rich chocolatey topping, is a nostalgic delight that never goes out of style. Forget the grocery store freezer aisle; we’re making our own homemade version, and trust me, it’s even better than you remember! This recipe brings together simple, accessible ingredients to create a truly unforgettable dessert. It’s perfect for summer gatherings, birthday parties, or just a sweet treat to brighten any day. Get ready to impress yourself and everyone you share this with!
Ingredients:
Crafting the Cookie Crust
The foundation of our Buster Bar is a delicious, buttery Oreo crust. To begin extract, take your entire package of Oreo cookies. Don’t worry about removing the cream filling – it adds to the flavor and texture! Place the cookies in a food processor and pulse until they are finely crushed into crum extractbs. If you don’t have a food processor, you can place the cookies in a zip-top bag and crush them with a rolling pin or a heavy can. The goal is to have a consistency similar to coarse sand.
Once your Oreos are crushed, transfer them to a medium bowl. Pour in the 1/2 cup of melted butter. Stir everything together thoroughly with a spatula or spoon until all the cookie crum extractbs are evenly moistened. This mixture should hold together when you press it between your fingers. Next, take a 9×13 inch baking dish. You can line it with parchment paper if you prefer easier removal, but it’s not essential. Pour the buttery cookie mixture into the baking dish and press it down firmly and evenly across the bottom. Use the back of a spoon or the bottom of a glass to ensure a compact and uniform layer. This will prevent the crust from crum extractbling when you slice into the finished dessert. Place this prepared crust in the freezer while you move on to the next step, allowing it to firm up.
Layering the Creamy Ice Cream
Now comes the star of the show: the ice cream! You’ll need 1/2 gallon of vanilla ice cream. It’s crucial that your ice cream is softened, but not completely melted. Let it sit out at room temperature for about 15-20 minutes. You want it pliable enough to spread easily, but still cold enough to hold its shape.
Retrieve your chilled Oreo crust from the freezer. Spoon the softened vanilla ice cream evenly over the crust. Use an offset spatula or the back of a large spoon to spread the ice cream into a smooth, even layer. Take your time to ensure there are no gaps or particularly thin spots. A perfectly uniform layer of ice cream will make for a more delightful and consistent bite. Once the ice cream is spread, return the dish to the freezer. You’ll want to let it freeze until it’s firm again, which usually takes about 1-2 hours. This step is important for creating distinct layers and preventing the ice cream from melting into the chocolate topping.
Preparing the Peanutty Crunch
While the ice cream is firming up, we’ll prepare the next exciting layer: the Spanish peanuts. You’ll need 1 lb of Spanish peanuts for this. If they are whole, you might want to give them a light chop. You don’t need to pulverize them; just breaking them into smaller, more manageable pieces will help them distribute evenly throughout the dessert. Some people prefer to toast their peanuts lightly for an extra layer of flavor and crunch. To do this, spread them on a baking sheet and toast them in a preheated oven at 350°F (175°C) for about 5-7 minutes, watching them closely to prevent burning. Let them cool completely before adding them to your dessert.
Once cooled (and chopped if desired), sprinkle the Spanish peanuts generously and evenly over the firm layer of vanilla ice cream. Aim for a good coating that will give you a satisfying crunch in every bite. Gently press the peanuts into the ice cream so they adhere well. This layer adds a wonderful texture and nutty flavor that perfectly complements the sweetness of the ice cream and the richness of the chocolate.
Whipping Up the Chocolate Magic
This is where the Buster Bar truly comes alive! We’re making a decadent, homemade chocolate sauce that will enrobe the entire dessert. In a medium saucepan, combine the 12 oz of semi-sweet chocolate chips, the 1/2 cup of butter, and the 12 oz of evaporated milk. Place the saucepan over low heat. Stir constantly with a whisk or spatula. It’s crucial to keep the heat low and stir continuously to prevent the chocolate from scorching or the butter from separating.
As the butter melts, the chocolate chips will begin extract to soften and melt into the evaporated milk. Continue stirring gently until the mixture is smooth, glossy, and completely emulsified. You want a rich, pourable chocolate sauce. Once it’s smooth and all the chocolate chips are melted, remove the saucepan from the heat. Stir in the 2 cups of powdered confectioner’s sugar. Whisk vigorously until the sugar is fully incorporated and the sauce is thick and luscious. This powdered sugar helps to thicken the sauce and gives it that signature fudgy texture when chilled. Let the chocolate sauce cool for about 10-15 minutes, stirring occasionally. You want it warm enough to pour easily but not so hot that it will melt the ice cream instantly.
The Grand Finnon-alcoholic ale: Pouring and Freezing
Now for the moment we’ve all been waiting for! Take your prepared dessert, with its cookie crust, ice cream, and peanut layers, out of the freezer. Carefully pour the slightly cooled chocolate sauce over the entire surface. Use your offset spatula to spread it evenly, ensuring that every nook and cranny is covered. Work quickly but methodically. You want a beautiful, uninterrupted layer of chocolate.
Once the chocolate is spread, return the Buster Bar Ice Cream Dessert to the freezer. This is the most important freezing step for achieving the perfect consistency. Let it freeze for at least 4-6 hours, or preferably overnight. This extended freezing time allows the chocolate to harden completely and the ice cream to become firm, creating that classic Buster Bar experience. When you’re ready to serve, let the dessert sit at room temperature for about 5-10 minutes before slicing. This will make it easier to cut through the frozen layers without cracking the chocolate. Slice into bars and enjoy this homemade taste of childhood!
Conclusion:
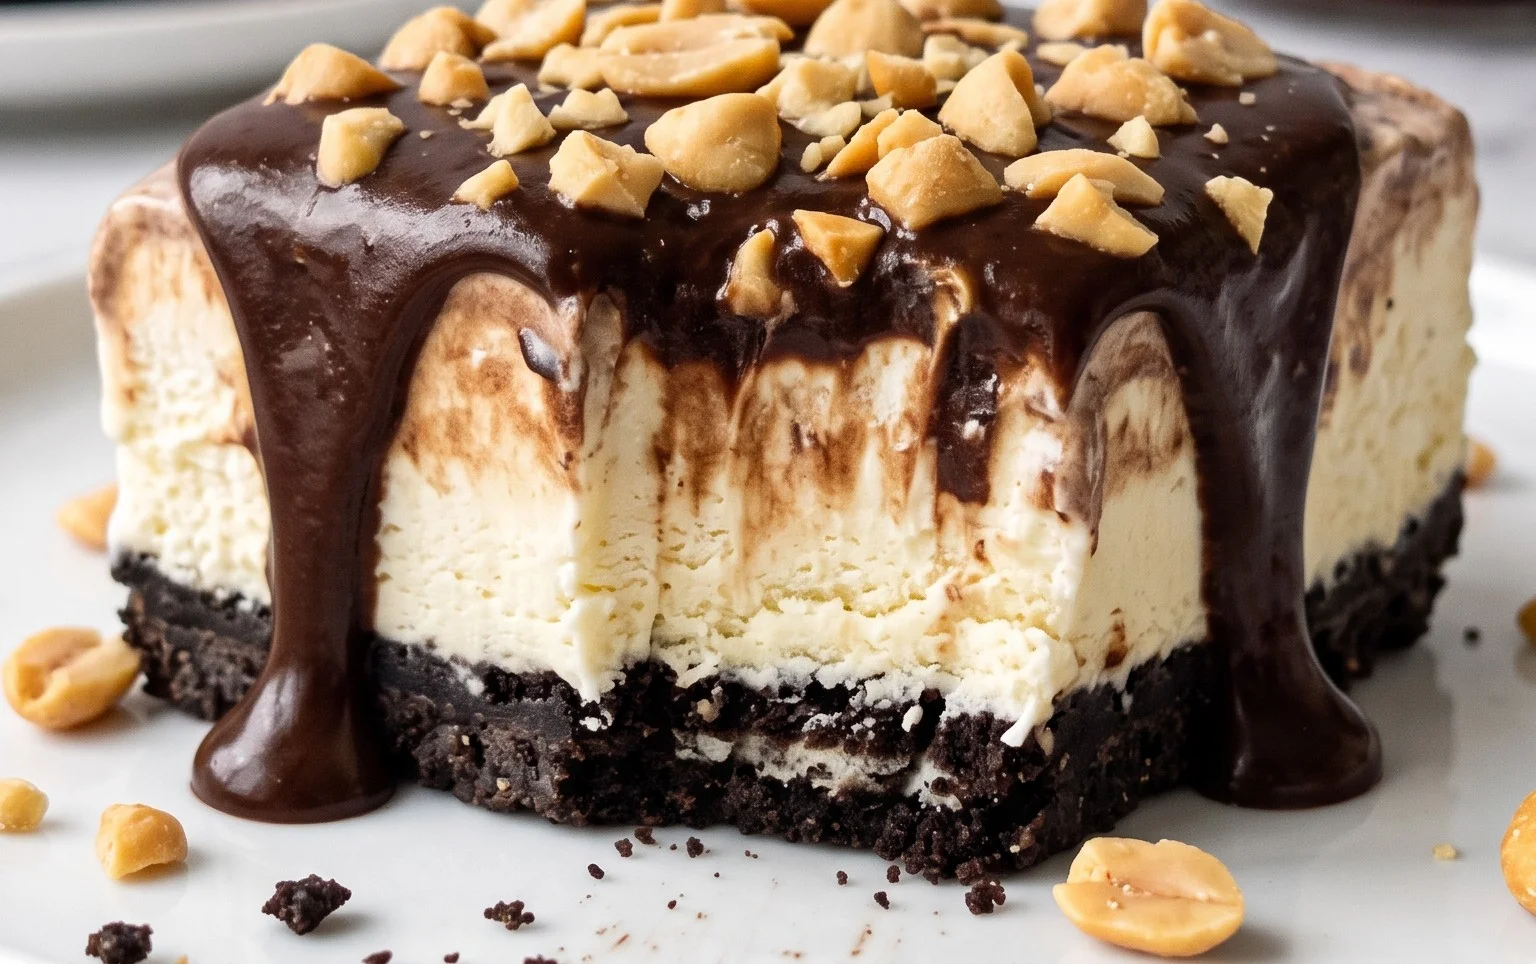
So there you have it, a delicious and surprisingly easy way to recreate that beloved Buster Bar Ice Cream Dessert in your own kitchen! This recipe truly shines because it captures the perfect harmony of textures and flavors – the creamy, rich ice cream, the satisfying crunch of the peanuts and cookie crum extractble, and that irresistible chocolatey shell. It’s an absolute showstopper that’s guaranteed to impress your friends and family, and it’s far more rewarding than just grabbing a pre-made treat. I love serving this as a special dessert after a barbecue or as the crowning glory to a birthday celebration. For an extra touch, try drizzling it with a bit more hot fudge sauce or topping with whipped cream and a cherry.
Don’t be afraid to get creative with your own variations! You could swap the peanuts for toasted almonds or even finely chopped pecans. For a different cookie crunch, consider crushed grabeef ham crackers or even shortbread. And of course, feel free to experiment with different ice cream flavors – mint chocolate chip or strawberry would be amazing! I genuinely encourage you to give this Buster Bar Ice Cream Dessert a try. It’s a nostalgic treat that’s simple enough for a weeknight indulgence and impressive enough for any occasion.
Frequently Asked Questions about Buster Bar Ice Cream Dessert:
Can I make this Buster Bar Ice Cream Dessert ahead of time?
Absolutely! The beauty of this dessert is that you can prepare the entire thing a day or two in advance and store it in the freezer. Just let it sit at room temperature for about 5-10 minutes before slicing to make it easier to cut and enjoy.
What kind of ice cream is best for this recipe?
While vanilla ice cream is the classic choice and works wonderfully, feel free to use your favorite flavor! A good quality vanilla bean ice cream will give you the best base flavor to allow the other components to shine. Chocolate or even a swirl ice cream would also be fantastic.
Buster Bar Ice Cream Dessert
A no-bake dessert layered with crushed Oreos, creamy vanilla ice cream, peanuts, and a chocolate fudge topping, reminiscent of a classic Buster Bar.
Ingredients
-
1 14.3 oz pkg. of Oreo cookies, crushed
-
1/2 C butter, melted
-
1/2 gal. vanilla ice cream, softened
-
1 lb. Spanish peanuts
-
2 C powdered confectioner’s sugar
-
12 oz semi sweet chocolate chips
-
1/2 C butter
-
12 oz evaporated milk
Instructions
-
Step 1
Combine the crushed Oreo cookies with 1/2 cup of melted butter. Press this mixture firmly into the bottom of a 9×13 inch pan to form the crust. -
Step 2
Spread the softened vanilla ice cream evenly over the Oreo crust. You can use a spatula to smooth the top. -
Step 3
Sprinkle the Spanish peanuts evenly over the layer of ice cream. -
Step 4
In a medium saucepan, melt 12 oz semi sweet chocolate chips and 1/2 cup butter over low heat, stirring constantly until smooth. This forms the chocolate topping. -
Step 5
In a separate bowl, whisk together the 2 cups of powdered confectioner’s sugar and 12 oz evaporated milk until smooth. This creates the caramel-like layer. -
Step 6
Pour the evaporated milk and powdered sugar mixture over the peanuts, then carefully pour the melted chocolate mixture over that. Swirl gently if desired, but avoid overmixing. -
Step 7
Freeze for at least 4 hours, or until firm, before cutting into bars and serving.
Important Information
Nutrition Facts (Per Serving)
It is important to consider this information as approximate and not to use it as definitive health advice.
Allergy Information
Please check ingredients for potential allergens and consult a health professional if in doubt.