Best Sourdough Bread Recipe Easy Homemade – Flavorful
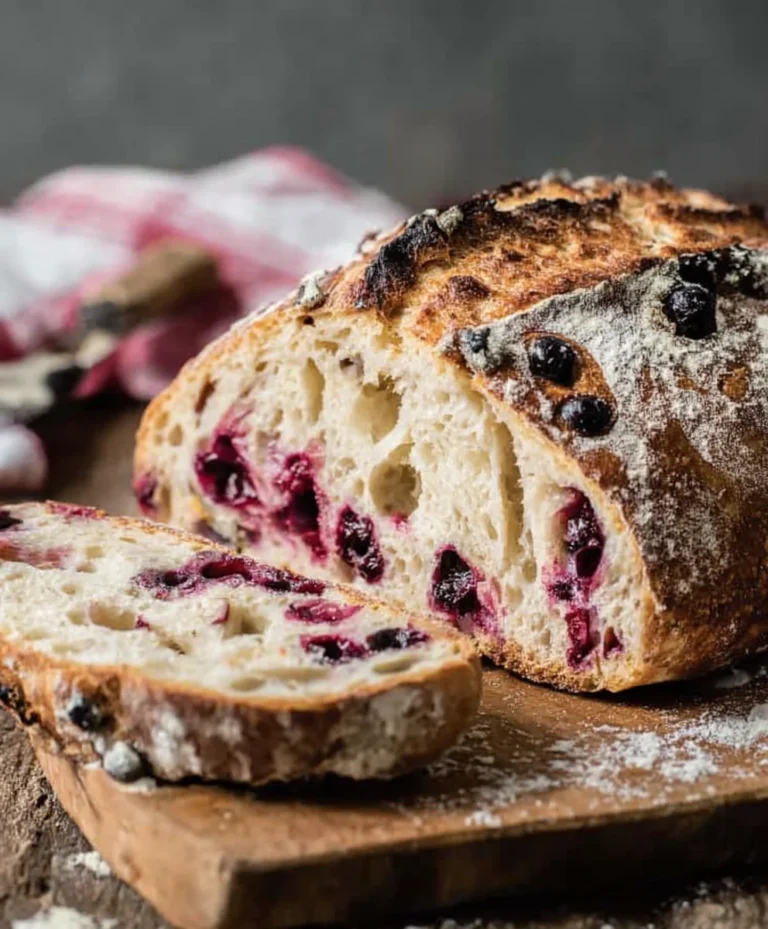
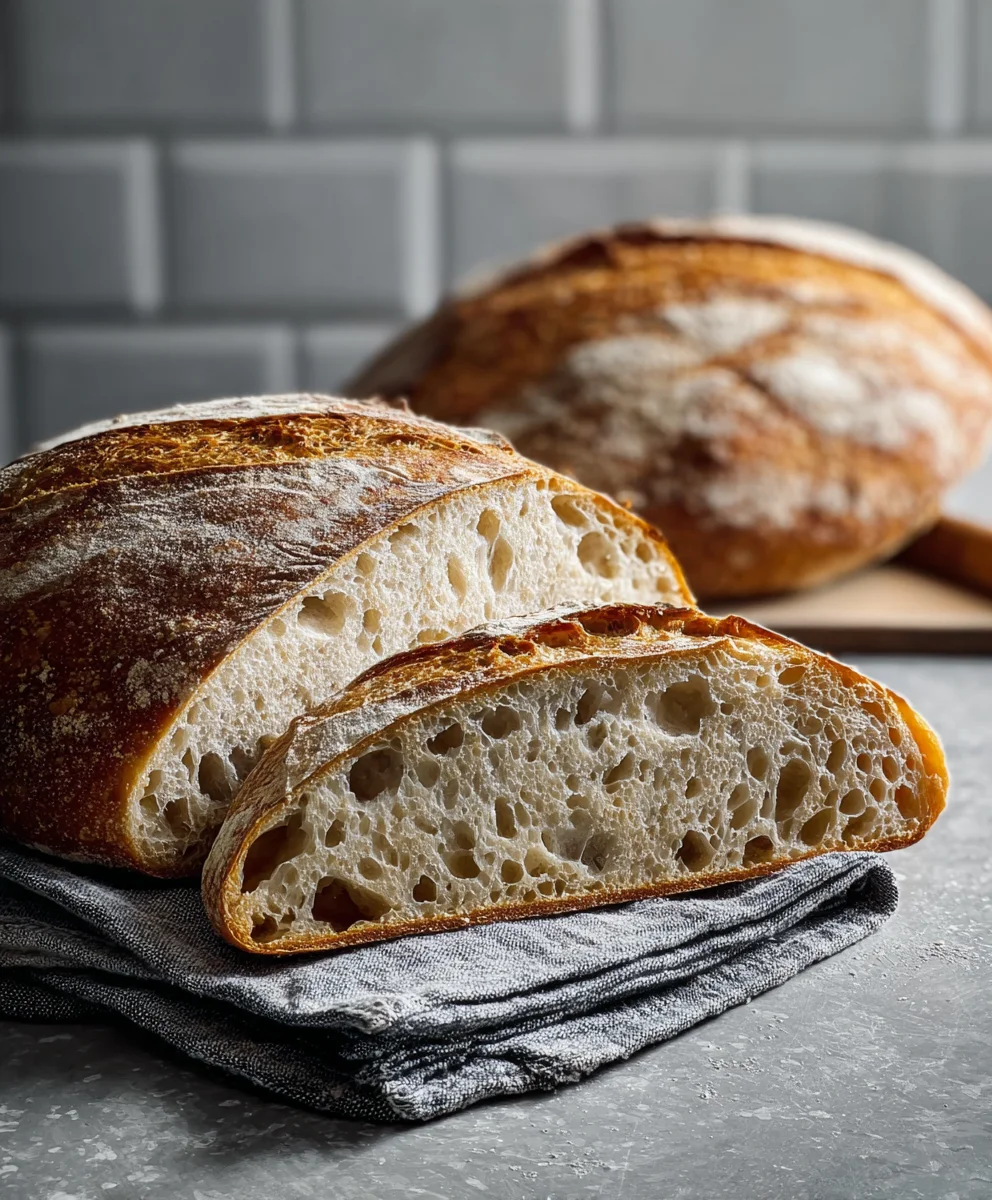
Sourdough bread, with its distinctive tangy flavor and delightfully chewy texture, has a way of captivating the senses unlike any other baked good. There’s an almost primal satisfaction that comes from tearing into a crusty loaf of sourdough bread, the air filling with its warm, comforting aroma. It’s no wonder this ancient staple has experienced such a resurgence in popularity. People are drawn to its complex, nuanced taste – a direct result of the slow fermentation process involving wild yeast and bacteria. This isn’t just bread; it’s a culinary journey, a testament to patience and natural goodness. What truly sets a homemade sourdough bread apart is the incredible character it develops, a unique fingerprint in every rise and bake. This recipe will guide you through creating your own masterpiece, a loaf that will undoubtedly become a cherished part of your baking repertoire.

Ingredients:
- 4 cups (500g) bread flour or all-purpose flour
- 1⅔ cups (375g) warm water
- 1 cup (200g) active sourdough starter
- 2 teaspoons (10g) salt
Preparing the Dough: The Autolyse
Step 1: Mixing the Flour and Water
The journey to delicious Sourdough Bread begin extracts with a simple yet crucial step: the autolyse. In a large mixing bowl, combine the 4 cups (500g) of bread flour with 1⅔ cups (375g) of warm water. I like to use my hands for this initial mix; it’s the most effective way to ensure all the flour is hydrated. Gently stir and squeeze the mixture together until there are no dry pockets of flour visible. The dough will look shaggy and unappealing at this stage, and that’s perfectly okay. You are not aiming for a smooth dough here, just for everything to be incorporated. Cover the bowl with a damp kitchen towel or plastic wrap and let it rest for at least 30 minutes, or up to an hour. This resting period, known as the autolyse, allows the flour to fully absorb the water, initiating gluten development and making the dough more pliable for the subsequent steps. This makes a significant difference in the final texture of your sourdough.
Developing the Dough: Incorporating the Starter and Salt
Step 2: Adding the Sourdough Starter
After the autolyse period, your dough should feel slightly more cohesive. Now it’s time to introduce the magic ingredient: 1 cup (200g) of your active, bubbly sourdough starter. Pour the starter directly onto the dough. Using your hands again, gently fold and squeeze the starter into the dough. Think of it like incorporating butter into pastry; you want to distribute it evenly without overworking the dough. Continue this folding and squeezing motion for a few minutes until the starter is fully integrated. The dough will become a bit stickier and more extensible. At this point, you can cover the bowl again and let it rest for another 20-30 minutes to allow the startgin extractto begin its work.
Step 3: Introducing the Salt and Initial Kneading
Once the starter has had a little time to mingle with the dough, it’s time to add the 2 teaspoons (10g) of salt. Sprinkle the salt evenly over the surface of the douggin extractNow, we’ll begin the primary kneading process. I find the ‘stretch and fold’ method to be the most effective for sourdough, as it builds strength without tearing the developing gluten network. To do this, wet your hands slightly to prevent sticking. Grab a portion of the dough from the edge, stretch it upwards gently, and fold it over the center. Rotate the bowl a quarter turn and repeat. Do this for all four sides of the dough. After one round of stretch and folds, the dough might still feel quite loose. Cover the bowl and let it rest for another 30 minutes. We will repeat this stretch and fold process several times to build the dough’s structure and elasticity.
Bulk Fermentation: The Crucial Rise
Step 4: Completing Stretch and Folds
Continue with the stretch and fold technique, performing a set every 30 minutes for the next 2 to 3 hours. You will notice a significant change in the dough with each set of folds. It will become smoothgin extract more elastic, and begin to hold its shape better. The dough will also start to show signs of fermentation, such as a slightly airy texture and the development of small bubbles on the surface. The goal of bulk fermentation is to allow the wild yeasts and bacteria in the sourdough starter to work their magic, producing carbon dioxide and developing that signature sourdough flavor. The dough should roughly double in size during this phase. The exact time this takes will depend on the ambient temperature of your kitchen and the activity of your starter.
Shaping and Proofing: Preparing for the Bake
Step 5: Pre-shaping and Bench Rest
Once your bulk fermentation is complete and the dough has visibly increased in volume, it’s time to shape the loaf. Gently turn the dough out onto a lightly floured surface. Be careful not to degas it too much. For a round loaf (boule), lightly dust the surface of the dough with flour and gently cup your hands around it, pulling it towards you to create surface tension. You want to create a tight ball. Let the dough rest, seam-side down, for about 20-30 minutes. This is called the bench rest, and it allows the gluten to relax after shaping, making the final shaping much easier.
Step 6: Final Shaping and Cold Proofing
After the bench rest, it’s time for the final shaping. If you’re making a boule, flip the dough over so the seam side is up. Again, gently dust with a little flour. This time, we want to create more structure. Fold the edges towards the center, creating a taut surface. You can use a bench scraper to help you manipulate and tighten the dough as you shape it. Once shaped, carefully place the dough, seam-side up, into a floured proofing basket (banneton) or a bowl lined with a floured tea towel. Cover the basket or bowl with plastic wrap or a damp towel and place it in the refrigerator for a cold proof. This cold proof, typically for 12 to 24 hours, is essential. It slows down fermentation, allowing for a more complex flavor development and makes the dough easier to score and handle before baking. The cold also helps the loaf hold its shape during baking.
Conclusion:
And there you have it – your very own homemade Sourdough Bread! We’ve walked through the rewarding process of nurturing your starter, mixing, shaping, and achieving that perfect crust and airy crum extractb. This recipe is more than just a set of instructions; it’s an invitation to experience the magic of fermentation and the deep satisfaction of baking from scratch. Whether you’re a seasoned baker or embarking on your sourdough journey, I encourage you to give this Sourdough Bread a try. The aroma alone will fill your home with warmth and anticnon-alcoholic ipation!
This versatile Sourdough Bread is fantastic served simply with butter, used for gourmet sandwiches, or as the base for delicious bruschetta. Feel free to experiment with additions like herbs, seeds, or even a sprinkle of cheese before baking to create your signature loaf. Remember, every bake is a learning experience, so don’t be discouraged if your first loaf isn’t “perfect.” The journey is part of the joy!
Frequently Asked Questions:
Can I use this Sourdough Bread recipe if I don’t have a sourdough starter?
Unfortunately, a sourdough starter is essential for this recipe as it provides the leavening and characteristic tangy flavor. If you don’t have a starter, you’ll need to cultivate one first. This process usually takes about 7-14 days, involving feeding flour and water to wild yeast and bacteria. Once established, it can be used for this Sourdough Bread.
My Sourdough Bread is too dense. What went wrong?
Arum extractnse crumb can be caused by several factors. It could be an under-developed starter, insufficient bulk fermentation, or not enough oven spring. Ensure your starter is active and bubbly before using it. Allowing the dough to ferment sufficiently until it has visibly increased in volume is crucial. Proper shaping techniques also help trap gases, leading to a lighter texture in your Sourdough Bread.
Best Sourdough Bread Recipe Easy Homemade – Flavorful
A straightforward and delicious recipe for homemade sourdough bread, perfect for beginners and experienced bakers alike.
Ingredients
-
4 cups (500g) bread flour or all-purpose flour
-
1⅔ cups (375g) warm water
-
1 cup (200g) active sourdough starter
-
2 teaspoons (10g) salt
-
Flour for dusting
-
Water for hand wetting
Instructions
-
Step 1
Combine flour and warm water in a large bowl for the autolyse. Mix until no dry flour remains, cover, and let rest for 30-60 minutes. -
Step 2
Add the active sourdough starter to the rested dough. Gently fold and squeeze until fully incorporated. Cover and rest for 20-30 minutes. -
Step 3
Add salt to the dough. Begin the stretch and fold method: wet hands, stretch a portion of dough upwards, fold to the center, rotate bowl, and repeat for all four sides. Cover and rest for 30 minutes. -
Step 4
Continue performing stretch and folds every 30 minutes for 2-3 hours, or until the dough becomes smooth, elastic, and shows signs of fermentation. It should roughly double in size. -
Step 5
Gently turn dough onto a lightly floured surface. Pre-shape into a round, creating surface tension. Let rest seam-side down for 20-30 minutes (bench rest). -
Step 6
Final shape the dough, creating a taut surface. Carefully place seam-side up into a floured proofing basket or bowl. Cover and refrigerate for a cold proof of 12-24 hours.
Important Information
Nutrition Facts (Per Serving)
It is important to consider this information as approximate and not to use it as definitive health advice.
Allergy Information
Please check ingredients for potential allergens and consult a health professional if in doubt.