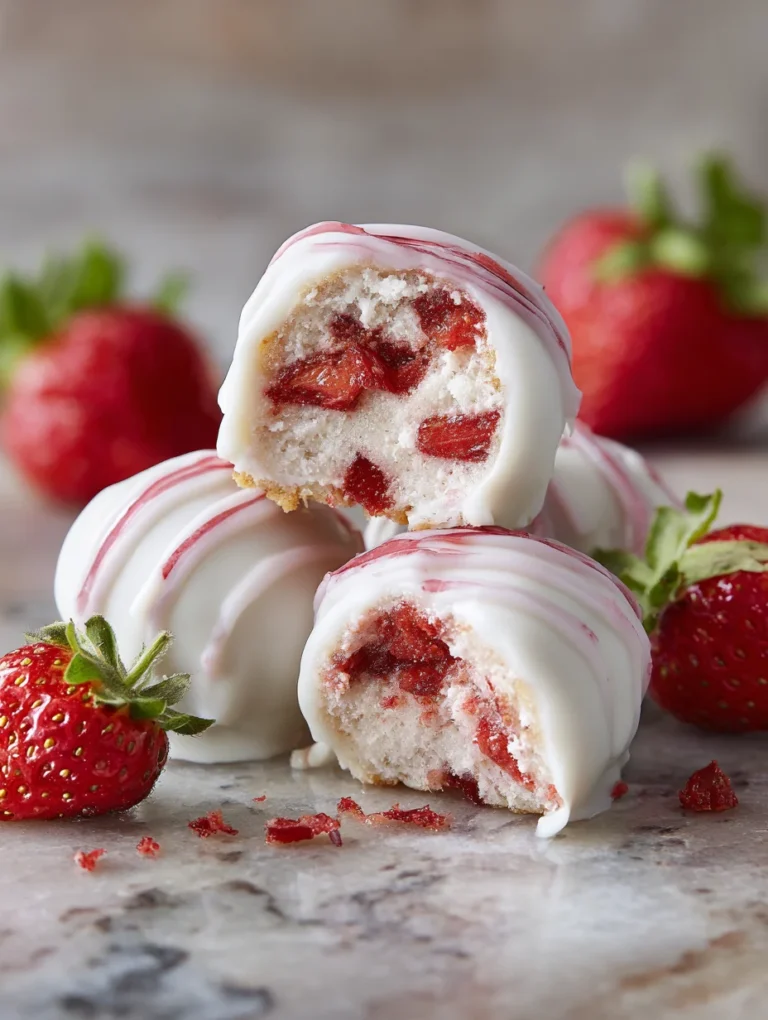
Delicious Chocolate Rolls Strawberry Cream Cheese Frosting
Chocolate Rolls with Strawberry Cream Cheese Frosting are a delightful indulgence, a treat that whispers of cozy mornings and celebratory brunches. There’s something undeniably magical about biting into a swirl of rich, tender chocolate dough, the aroma of cocoa a comforting embrace. These aren’t just any rolls; they’re a symphony of textures and flavors, where the deep, satisfying earthiness of chocolate meets the bright, tangy sweetness of fresh strawberries. What truly sets these Chocolate Rolls with Strawberry Cream Cheese Frosting apart is the unexpected yet perfect marriage of components. The frosting, a vibrant pink hue and kissed with the essence of ripe strawberries, cuts through the richness of the chocolate, creating a balanced masterpiece that is both decadent and refreshing. Imagin extracte the delighted gasps as you present these beauties – they are guaranteed to become a beloved recipe in your repertoire, a go-to for any occasion that calls for a touch of edible joy.

Ingredients:
- 1 cup non-dairy milk (like almond, soy, or oat milk)
- 3 tablespoons organic cane sugar, divided
- 2¼ teaspoons traditional yeast
- ¼ cup vegetable oil
- 2½ cups all-purpose flour
- ¼ teaspoon salt
- 3 tablespoons coconut oil, melted
- ¼ cup chocolate chips
- ⅓ cup coconut sugar
- 2 tablespoons cocoa powder
- ¼ teaspoon sea salt
- ¼ cup vegan plain cream cheese, softened
- 2 tablespoons strawberry puree (made from about 2 large fresh strawberries, blended until smooth)
- ⅓ cup powdered sugar
Making the Dough
Let’s start by creating a beautifully soft and enriched dough for our chocolate rolls. In a small bowl, gently warm your non-dairy milk. It should be lukewarm, not hot, so you can comfortably touch it. This warmth is crucial for activating the yeast. Stir in 1 tablespoon of the organic cane sugar and sprinkle the yeast over the top. Let this mixture sit for about 5-10 minutes, undisturbed. You’ll see it become foamy and bubbly – this is a sign that your yeast is alive and ready to work its magic, making our rolls wonderfully light and airy.
While the yeast is waking up, grab a large mixing bowl. Add the all-purpose flour and the ¼ teaspoon of salt. Give them a quick whisk to combine. Once your yeast mixture is ready, pour it into the bowl with the dry ingredients. Add the ¼ cup of vegetable oil and the remaining 2 tablespoons of organic cane sugar. Now, it’s time to bring everything together. You can use a sturdy spoon or a dough whisk to start mixing. Continue mixing until a shaggy dough begin extracts to form. Don’t worry if it looks a bit messy at this stage; that’s perfectly normal. The gluten is just starting to develop.
Kneading and First Rise
Turn the shaggy dough out onto a lightly floured surface. Now comes the satisfying part: kneading! Knead the dough for about 8-10 minutes. This process develops the gluten, which gives our chocolate rolls their wonderful chewy texture. Push the dough away from you with the heel of your hand, then fold it back towards you. Rotate the dough a quarter turn and repeat. You’re looking for a dough that becomes smooth, elastic, and no longer sticky. If it feels too sticky, add a tiny bit more flour, just a tablespoon at a time. If it feels too dry, add a teaspoon of non-dairy milk.
Once you have a smooth ball of dough, lightly grease the large mixing bowl you used earlier with a little vegetable oil or cooking spray. Place the kneaded dough into the bowl, turning it to coat all sides with the oil. This prevents a dry crust from forming. Cover the bowl tightly with plastic wrap or a clean kitchen towel. Find a warm, draft-free spot in your kitchen and let the dough rise for about 1 to 1.5 hours, or until it has doubled in size. This first rise is essential for a light and airy texture.
Creating the Chocolate Filling and Rolling
While the dough is rising, let’s prepare the irresistible chocolate filling. In a medium bowl, combine the ¼ cup of chocolate chips, ⅓ cup of coconut sugar, 2 tablespoons of cocoa powder, and ¼ teaspoon of sea salt. Mix these ingredients together thoroughly. We’re using coconut sugar here for a slightly caramel-like sweetness that pairs beautifully with the chocolate. Once your dough has doubled in size, gently punch it down to release the air. Turn the dough out onto your lightly floured surface once more. Using a rolling pin, roll the dough into a large rectangle, aiming for a size of roughly 12×18 inches. Try to get the thickness as even as possible, about ¼ inch thick. This evenness will help ensure consistent cooking for all the rolls.
Now, it’s time to add the flavor! Evenly sprinkle the prepared chocolate filling mixture over the entire surface of the rolled-out dough. Press it down gently with your hands or the rolling pin to help it adhere. Starting from one of the longer sides, carefully and tightly roll up the dough. Roll it as snugly as you can to prevent the filling from escaping during baking. You should end up with a long, log-like cylinder. If the seam where the dough meets isn’t sticking, you can moisten it slightly with a tiny bit of water to help it seal.
Cutting and Baking the Rolls
Once you have your chocolate log, it’s time to cut it into individual rolls. Using a sharp knife or dental floss (which often makes cleaner cuts for soft dough), slice the log into 12 equal portions. You should aim for slices about 1.5 inches thick. If you’re using dental floss, slide a piece under the log, cross the ends over the top, and pull them to slice through the dough. Arrange the cut rolls, cut-side up, in a lightly greased 9×13 inch baking pan. Make sure to leave a little space between them, as they will puff up and expand as they bake. Cover the pan loosely with plastic wrap or a clean kitchen towel again and let the rolls rest for another 20-30 minutes. This second, shorter rise helps them become even more pillowy.
Preheat your oven to 375°F (190°C) during this resting period. Once the oven is preheated and the rolls have had their second rise, place the baking pan in the center of the oven. Bake for 20-25 minutes, or until the tops are golden brown and the dough looks cooked through. You’ll notice the chocolate filling will have melted and possibly oozed a bit, which is perfectly fine and adds to the deliciousness! Let the rolls cool in the pan for about 10 minutes before attempting to frost them. This slight cooling period allows them to set up a bit.
Whipping up the Strawberry Cream Cheese Frosting
While the chocolate rolls are cooling, we can prepare the vibrant strawberry cream cheese frosting. In a medium bowl, combine the ¼ cup of softened vegan plain cream cheese, the 2 tablespoons of strawberry puree, and the ⅓ cup of powdered sugar. Use an electric mixer (handheld or stand mixer) on medium speed to beat these ingredients together until they are smooth, creamy, and well combined. Scrape down the sides of the bowl as needed to ensure everything is incorporated. Taste the frosting and if you prefer it sweeter, you can add a little more powdered sugar, a tablespoon at a time. If it seems too thick, you can add a tiny splash of non-dairy milk to reach your desired consistency. You’re looking for a frosting that is spreadable but not runny.
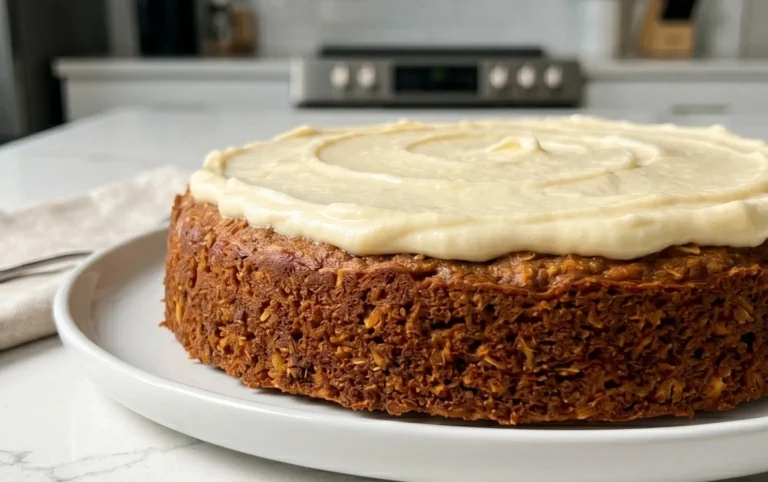
Once the chocolate rolls have cooled slightly, it’s time to frost them! Generously spread the strawberry cream cheese frosting over the warm rolls using a spatula or an offset icing knife. The warmth of the rolls will allow the frosting to melt slightly, creating a beautiful glaze. Enjoy these warm, gooey chocolate rolls with their delightful strawberry cream cheese frosting – they are best enjoyed fresh!

Conclusion:
And there you have it – your very own batch of delicious Chocolate Rolls with Strawberry Cream Cheese Frosting! We hope you enjoyed making these delightful treats as much as we enjoyed sharing them with you. These rolls are perfect for any occasion, from a special breakfast to a decadent dessert. Their rich chocolatey interior, complemented by the bright, tangy strawberry cream cheese frosting, creates a truly unforgettable flavor combination. Don’t be afraid to get creative with your presentation; a sprinkle of fresh strawberries or a drizzle of extra chocolate sauce can elevate these rolls even further.
We encourage you to try this recipe soon and share these wonderful creations with your loved ones. The joy of baking is in the sharing, after all! Remember, baking is a journey, and each attempt helps you hone your skills. So go forth, bake with confidence, and savor every bite of your homemade Chocolate Rolls with Strawberry Cream Cheese Frosting!
Frequently Asked Questions:
Q: Can I make the dough ahead of time?
A: Absolutely! You can prepare the dough for your Chocolate Rolls with Strawberry Cream Cheese Frosting the night before. After the first rise, punch it down, cover it tightly, and refrigerate it overnight. Let it sit at room temperature for about 30 minutes before proceeding with rolling and filling. This makes morning baking much easier!
Q: My frosting seems too thin. How can I thicken it?
A: If your strawberry cream cheese frosting for the Chocolate Rolls with Strawberry Cream Cheese Frosting is too thin, the easiest solution is to add a little more powdered sugar, one tablespoon at a time, until you reach your desired consistency. Ensure your cream cheese is softened but not melted when you start to avoid a runny mixture.
Q: What other fruits can I use in the frosting?
A: While strawberry is fantastic with chocolate, feel free to experiment! Raspberry, blueberry, or even a swirl of blackberry jam can create beautiful and delicious variations for your frosting. Just ensure you purée or finely chop the fruit to incorporate it smoothly into the cream cheese base for your Chocolate Rolls with Strawberry Cream Cheese Frosting.
Delicious Chocolate Rolls with Strawberry Cream Cheese Frosting
Soft, fluffy chocolate rolls filled with rich chocolate and topped with a delightful strawberry cream cheese frosting. A perfect treat for any occasion.
Ingredients
-
1 cup non-dairy milk
-
3 tablespoons organic cane sugar, divided
-
2¼ teaspoons traditional yeast
-
¼ cup vegetable oil
-
2½ cups all-purpose flour
-
¼ teaspoon salt
-
3 tablespoons coconut oil, melted
-
¼ cup chocolate chips
-
⅓ cup coconut sugar
-
2 tablespoons cocoa powder
-
¼ teaspoon sea salt
-
¼ cup vegan plain cream cheese, softened
-
2 tablespoons strawberry puree
-
⅓ cup powdered sugar
Instructions
-
Step 1
Warm non-dairy milk to lukewarm. Stir in 1 tablespoon sugar and yeast. Let sit 5-10 minutes until foamy. -
Step 2
In a large bowl, whisk together flour and salt. Add the activated yeast mixture, vegetable oil, and remaining 2 tablespoons sugar. Mix until a shaggy dough forms. -
Step 3
Turn dough onto a floured surface and knead for 8-10 minutes until smooth and elastic. Place in a lightly greased bowl, cover, and let rise in a warm place for 1-1.5 hours until doubled. -
Step 4
While dough rises, mix chocolate chips, coconut sugar, cocoa powder, and sea salt for the filling. Punch down risen dough, roll into a 12×18 inch rectangle, and sprinkle evenly with filling. Tightly roll up from a long side. -
Step 5
Slice the log into 12 equal portions. Arrange cut-side up in a greased 9×13 inch pan, leaving space between rolls. Cover and let rest for 20-30 minutes. Preheat oven to 375°F (190°C). -
Step 6
Bake for 20-25 minutes until golden brown. Let cool in the pan for 10 minutes. -
Step 7
For the frosting, beat softened vegan cream cheese, strawberry puree, and powdered sugar until smooth and creamy. -
Step 8
Generously spread frosting over the slightly cooled rolls. Enjoy warm.
Important Information
Nutrition Facts (Per Serving)
It is important to consider this information as approximate and not to use it as definitive health advice.
Allergy Information
Please check ingredients for potential allergens and consult a health professional if in doubt.