Easter Rice Krispie Treats-Fun & Easy Holiday Recipe
Easter Rice Krispie Treats are more than just a nostalgic childhood favorite; they’re a vibrant explosion of festive fun and delicious, chewy goodness. When the Easter bunny hops around and spring fills the air, there’s an undeniable craving for these iconic, melt-in-your-mouth squares. What makes them so universally loved? It’s the perfect balance of sweet, buttery, marshmallowy delight combined with that satisfying, crispy crunch. But these aren’t just any Rice Krispie Treats. Elevating them for Easter transforms them into edible works of art, bringin extractg smiles to faces of all ages. Whether you’re looking for a simple yet impressive dessert for your family gathering or a fun activity to do with the kids, our ultimate Easter Rice Krispie Treats recipe will become your go-to for a truly memorable celebration.
Ingredients:
- 16 ounces marshmallows (jumbo or mini both work well for this Easter Rice Krispie Treats recipe)
- 7 cups Rice Krispies cereal (this is the perfect amount for a substantial batch)
- 2 tablespoons unsalted butter (for greasing your pan)
- ½ cup unsalted butter (for melting into the marshmallow mixture)
- 3-4 cups powdered sugar (divided, for creating a smooth, sweet glaze)
- ¼ cup milk (whole milk or 2% milk works best for the glaze)
- 1 teaspoon vanilla extract (enhances the sweetness and adds a lovely aroma)
- Green food coloring (just a few drops to achieve a festive Easter green)
- Easter egg candies (mini chocolate eggs or jelly beans, for decorating your Easter Rice Krispie Treats)
Preparation and Marshmallow Melting
Step 1: Prepare Your Workspace and Pan
Before we begin extract transforming simple ingredients into delightful Easter Rice Krispie Treats, it’s crucial to set ourselves up for success. First, select a large mixing bowl – one that can comfortably hold all 7 cups of Rice Krispies cereal and the gooey marshmallow mixture. Next, take your 2 tablespoons of unsalted butter and generously grease a 9×13 inch baking pan. You can use the butter wrapper, a silicone spatula, or even your hands (lightly greased) to ensure the butter is spread evenly across the bottom and up the sides. This greasing step is absolutely essential to prevent your sticky Rice Krispie Treats from adhering to the pan, making them much easier to remove and slice later. Having everything ready in advance means you can work quickly once the marshmallows are melted, preserving the optimal texture.
Step 2: Melt the Butter and Marshmallows
In a large, heavy-bottomed saucepan or pot, place the ½ cup of unsalted butter. Set your heat to low to medium-low. We want to melt the butter slowly and gently, without letting it brown or burn. Once the butter has fully melted, add the 16 ounces of marshmallows to the pot. Continue to stir constantly, ensuring the marshmallows don’t stick to the bottom of the pan. Keep the heat low and be patient; this process typically takes about 5-7 minutes. The marshmallows will gradually puff up and become smooth and creamy. It’s important not to rush this step, as overheating the marshmallows can make the treats tough and less pliable. You’re aiming for a completely melted, glossy mixture.
Combining Ingredients and Forming Treats
Step 3: Incorporate Rice Krispies and Form the Base
Once the marshmallows are fully melted and smooth, remove the saucepan from the heat immediately. This is where the magic happens for our Easter Rice Krispie Treats! Add the 7 cups of Rice Krispies cereal to the melted marshmallow mixture. Using a sturdy spatula or a large spoon, gently fold the cereal into the marshmallows until every single piece of cereal is coated. It’s important to work quickly at this stage, as the marshmallow mixture will start to set as it cools. Once thoroughly combined, pour the sticky mixture into your prepared 9×13 inch baking pan. Use your greased spatula or hands to press the mixture evenly into the pan. Avoid pressing too firmly, as this can result in dense, hard treats. A light, even pressure is all you need to create a uniform layer.
Creating the Festive Easter Glaze
Step 4: Prepare the Green Glaze
Now, let’s add that vibrant Easter touch to our Easter Rice Krispie Treats with a simple, sweet glaze. In a medium bowl, whisk together 2 cups of the powdered sugar, the ¼ cup of milk, the 1 teaspoon of vanilla extract, and just a few drops of green food coloring. Start with 2-3 drops of food coloring and add more, a drop at a time, until you achieve your desired shade of Easter green. Whisk vigorously until the mixture is smooth and lump-free. If the glaze seems too thick, you can add another teaspoon of milk. If it’s too thin, add a tablespoon or two more of powdered sugar. You’re looking for a pourable, yet not overly runny, consistency that will coat the treats beautifully.
Step 5: Glaze and Decorate the Easter Rice Krispie Treats
Once the Rice Krispie Treat base has cooled slightly and is firm enough to handle (but still warm), it’s time for the final, fun steps. Spoon the prepared green glaze over the top of the Rice Krispie treats in the pan. Use your spatula to gently spread the glaze evenly across the surface, ensuring a smooth, consistent layer. While the glaze is still wet, this is the perfect opportunity to add your festive decorations. Scatter the Easter egg candies (mini chocolate eggs or jelly beans) generously over the green glaze. Press them down gently so they adhere to the glaze. Allow the glaze to set completely at room temperature, which usually takes about 30-60 minutes, before cutting into your delightful Easter Rice Krispie Treats. For a thinner glaze, you can use less powdered sugar and more milk, but ensure you still have enough to coat the surface. If you prefer a thicker, more opaque glaze, you might need to increase the powdered sugar slightly. Enjoy your homemade Easter masterpiece!
Conclusion:
And there you have it! Your very own batch of delightful Easter Rice Krispie Treats, ready to bring smiles to your family and friends. We hope you enjoyed this simple yet festive recipe. These treats are incredibly versatile, making them perfect for any spring gathering, Easter egg hunt, or even just a fun afternoon baking project. The chewy, crispy goodness combined with festive decorations is a guaranteed crowd-pleaser.
To elevate your Easter Rice Krispie Treats, consider serving them alongside fresh fruit like strawberries or blueberries for a pop of color and freshness. They also pair wonderfully with a cold glass of milk or a warm cup of hot cocoa.
Feel free to get creative with the variations! You can add a touch of lemon zest to the mixture for a brighter flavor, or even swirl in some melted white chocolate for an extra decadent touch. Don’t limit yourself to pastel colors; experiment with vibrant hues for a truly unique creation. We encourage you to make these Easter Rice Krispie Treats your own and have fun with the process!
Frequently Asked Questions:
Q: How can I store leftover Easter Rice Krispie Treats?
To keep your Easter Rice Krispie Treats fresh, store them in an airtight container at room temperature. They are best enjoyed within 2-3 days. Avoid refrigerating them, as this can make them hard and less chewy. If you need to layer them, place parchment paper or wax paper between each layer to prevent sticking.
Q: Can I make these Easter Rice Krispie Treats ahead of time for a party?
Absolutely! These treats are perfect for making ahead. You can prepare them a day or two in advance and store them in an airtight container as mentioned above. Decorating them can also be done the day before to save you time on the day of your event.
Q: My Easter Rice Krispie Treats are too hard. What went wrong?
A common reason for hard Rice Krispie Treats is overheating the marshmallow mixture. Be sure to melt the butter and marshmallows over low to medium heat, stirring constantly, until just melted and smooth. Don’t cook them for too long after they’ve melted. Also, ensure you’re not pressing the mixture down too firmly when spreading it into the pan, as this can also lead to a denser, harder treat.
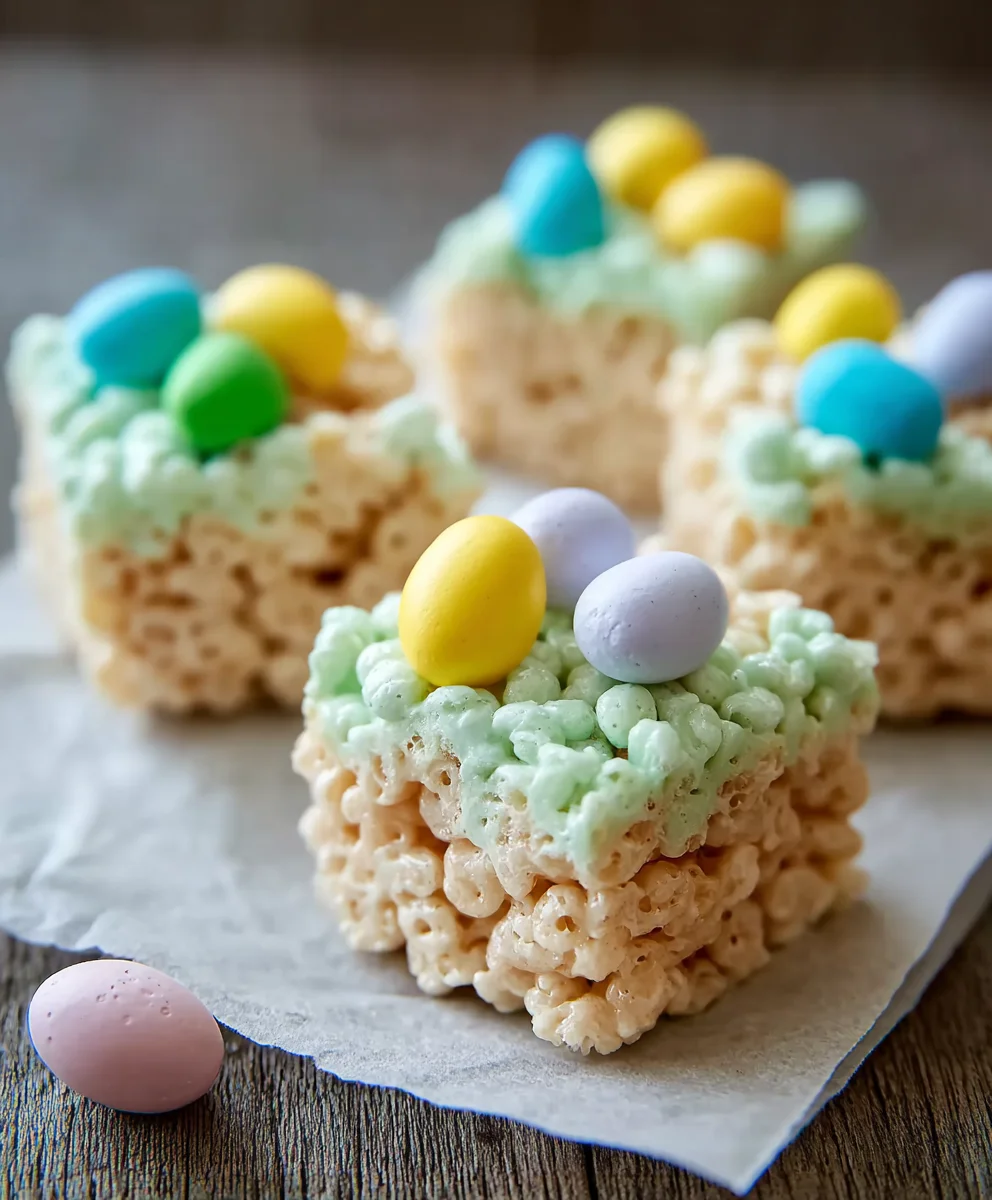
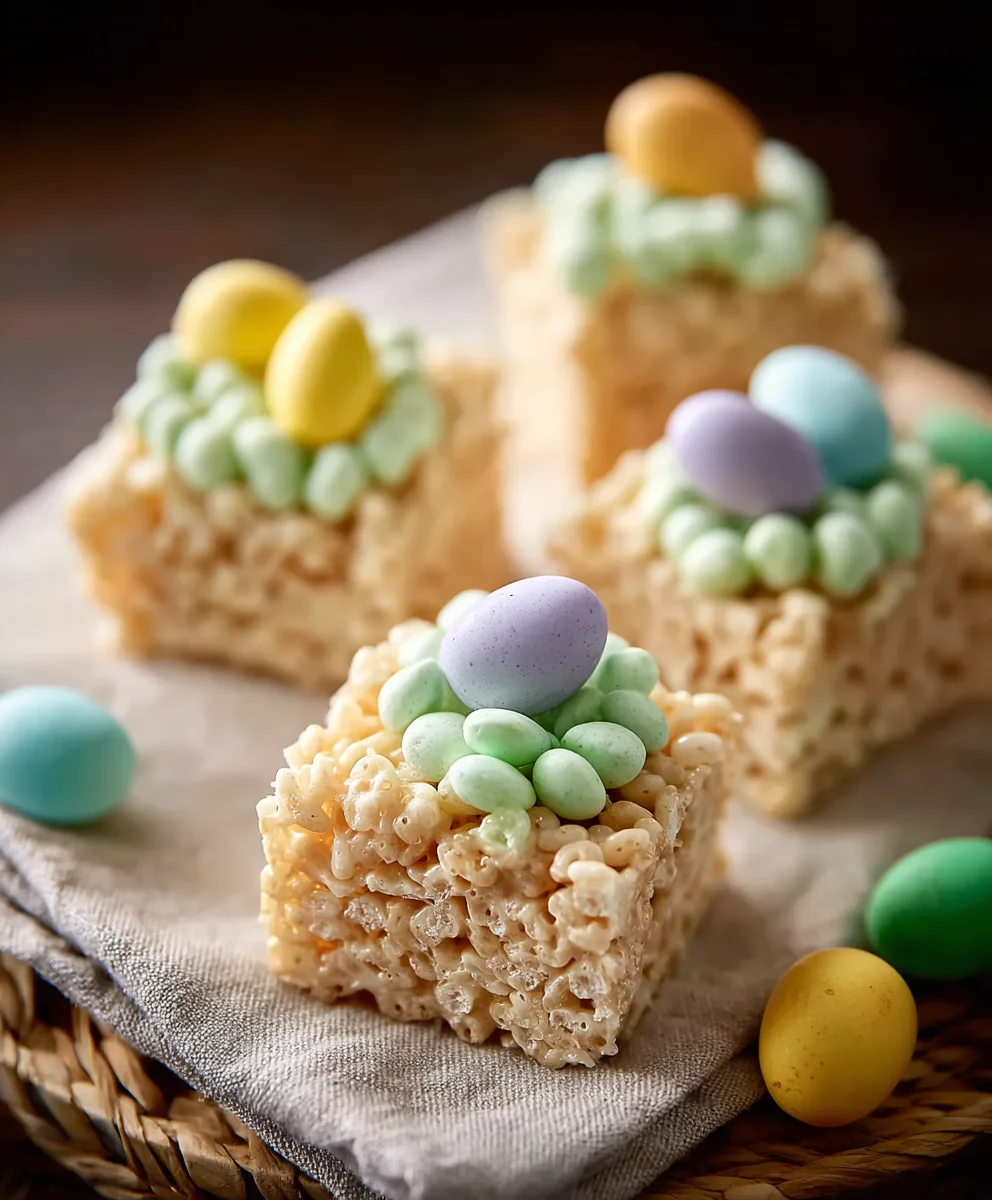
Easter Rice Krispie Treats
Fun and easy Easter Rice Krispie Treats with a festive green glaze and candy decorations.
Ingredients
-
16 ounces marshmallows
-
7 cups Rice Krispies cereal
-
2 tablespoons unsalted butter
-
½ cup unsalted butter
-
3-4 cups powdered sugar
-
¼ cup milk
-
1 teaspoon vanilla extract
-
Green food coloring
-
Easter egg candies
Instructions
-
Step 1
Grease a 9×13 inch baking pan with 2 tablespoons of unsalted butter. -
Step 2
In a large saucepan, melt ½ cup of unsalted butter over low heat. Add marshmallows and stir constantly until fully melted and smooth. -
Step 3
Remove from heat and stir in 7 cups of Rice Krispies cereal until well coated. Pour into the prepared pan and press evenly. -
Step 4
In a medium bowl, whisk together 2 cups of powdered sugar, ¼ cup milk, 1 teaspoon vanilla extract, and a few drops of green food coloring until smooth. Adjust consistency with more milk or powdered sugar as needed. -
Step 5
Spoon the green glaze over the slightly cooled Rice Krispie treats and spread evenly. Decorate with Easter egg candies while the glaze is still wet. -
Step 6
Let the glaze set completely at room temperature (about 30-60 minutes) before cutting into squares.
Important Information
Nutrition Facts (Per Serving)
It is important to consider this information as approximate and not to use it as definitive health advice.
Allergy Information
Please check ingredients for potential allergens and consult a health professional if in doubt.