Easy Chia Seed Pudding Recipe-Healthy Dessert
Chia seed pudding is more than just a trendy breakfast; it’s a delightful gateway to effortless, wholesome nutrition. Have you ever craved a treat that’s both decadent and incredibly good for you, something you can whip up in minutes and feel fantastic about eating? That’s exactly what this incredible chia seed pudding delivers. People adore this dish for its velvety texture, its versatility, and the fact that it’s packed with fiber, omega-3s, and antioxidants. What truly makes this chia seed pudding special is its magical transformation from tiny seeds to a luscious, pudding-like consistency with just a little liquid and time. It’s a blank canvas for your culinary creativity, perfect for busy mornings, a healthy dessert, or even a satisfying snack. Get ready to discover your new favorite go-to recipe!
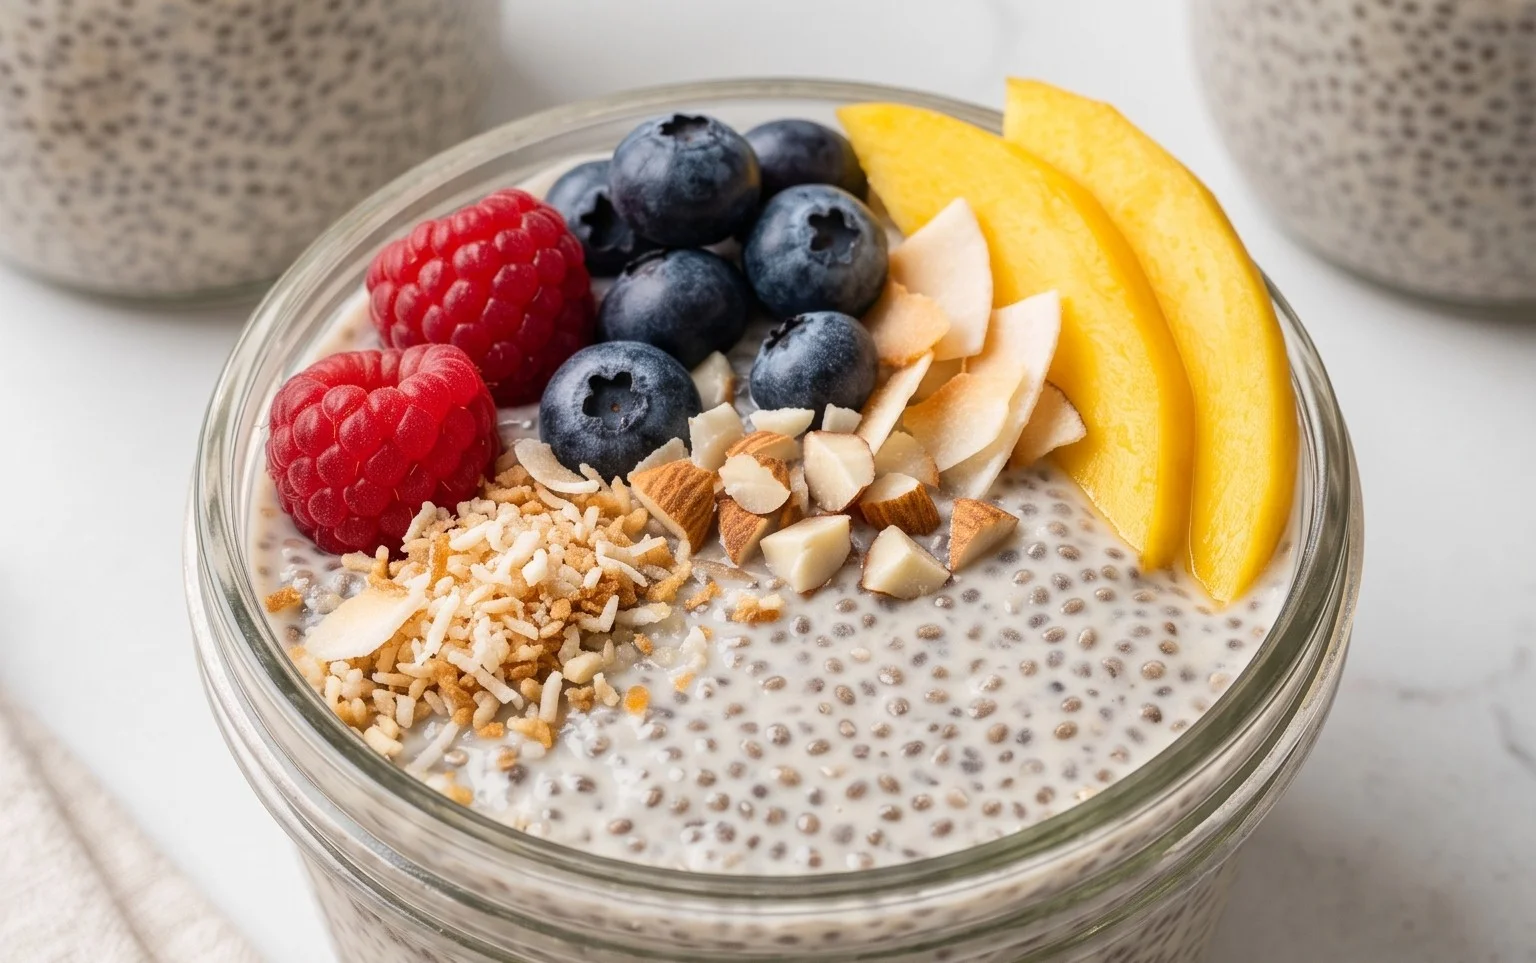
Deliciously Easy Chia Seed Pudding: A Healthy & Versatile Treat
Chia seed pudding is one of those magical recipes that requires minimal effort for maximum reward. It’s a wonderfully healthy breakfast, snack, or even dessert that’s incredibly versatile and customizable. If you’re looking for a nutritious and satisfying option that’s packed with fiber, omega-3 fatty acids, and protein, then you’ve come to the right place. This recipe is so simple, you’ll wonder why you haven’t been making it all along!
The beauty of chia seed pudding lies in its simplicity and its ability to transform humble chia seeds into a creamy, gel-like consistency that’s a delight to eat. It’s a fantastic way to incorporate more nutrient-dense foods into your diet without sacrificing flavor or enjoyment. Plus, it’s perfect for meal prep, meaning you can whip up a batch on Sunday and have healthy breakfasts ready to go for the week.
Let’s dive into what you’ll need to create this delightful dish.
Ingredients:
Instructions:
Creating this chia seed pudding is a straightforward process that involves just a few key steps. The magic happens as the chia seeds absorb the liquid, creating that signature pudding-like texture.
Step 1: Combining the Base Ingredients
Start by gathering all your ingredients. Grab a small bowl, jar, or even a glass that you plan to serve your pudding in. This is the vessel where the transformation will take place. Add your 3 tablespoons of chia seeds to the container. These tiny seeds are powerhouses of nutrition, and they are the key to creating the pudding’s texture. Next, pour in your 3/4 cup of milk. I often find that unsweetened almond milk or oat milk works wonderfully for a neutral base, but feel free to experiment with whatever milk you have on hand. The type of milk will subtly influence the final flavor and richness.
Step 2: Sweetening and Flavoring
Now it’s time to add the sweetness and flavor. Drizzle in your 1 tablespoon of maple syrup. If you prefer a less sweet pudding, you can start with half a tablespoon and add more to taste later. Maple syrup offers a lovely caramel-like depth, but you can also use agave nectar, honey (if not vegan), or even a sugar-free sweetener like stevia or erythritol. The choice is entirely yours and will depend on your dietary needs and flavor preferences. Following that, add your 1 teaspoon of vanilla extract. Vanilla is a classic pairing with chia pudding, enhancing its overall flavor profile and adding a comforting aroma.
Step 3: The Crucial Stirring Stage
This is perhaps the most important step to ensure a smooth and lump-free pudding. Once all the ingredients are in your container, you need to stir them together thoroughly. Use a spoon or a small whisk to mix everything until the chia seeds are evenly distributed throughout the liquid. It’s crucial to stir well to prevent the seeds from clumping together at the bottom. Pay attention to scraping the sides and bottom of the container to ensure every seed gets hydrated. Don’t worry if it looks a little thin at this stage; the chia seeds need time to work their magic.
Step 4: The First Rest and Second Stir
After your initial thorough stir, let the mixture sit for about 5 to 10 minutes. During this short resting period, the chia seeds will begin extract to absorb some of the liquid and start to thicken. After this initial wait, take your spoon or whisk and stir the mixture again. This second stir is vital because it breaks up any clumps that may have started to form and ensures an even pudding consistency. You’ll notice that the mixture will already be a bit thicker than it was before. This step prevents those dreaded large clumps of chia seeds from solidifying.
Step 5: The Overnight (or Minimum 2-Hour) Chill
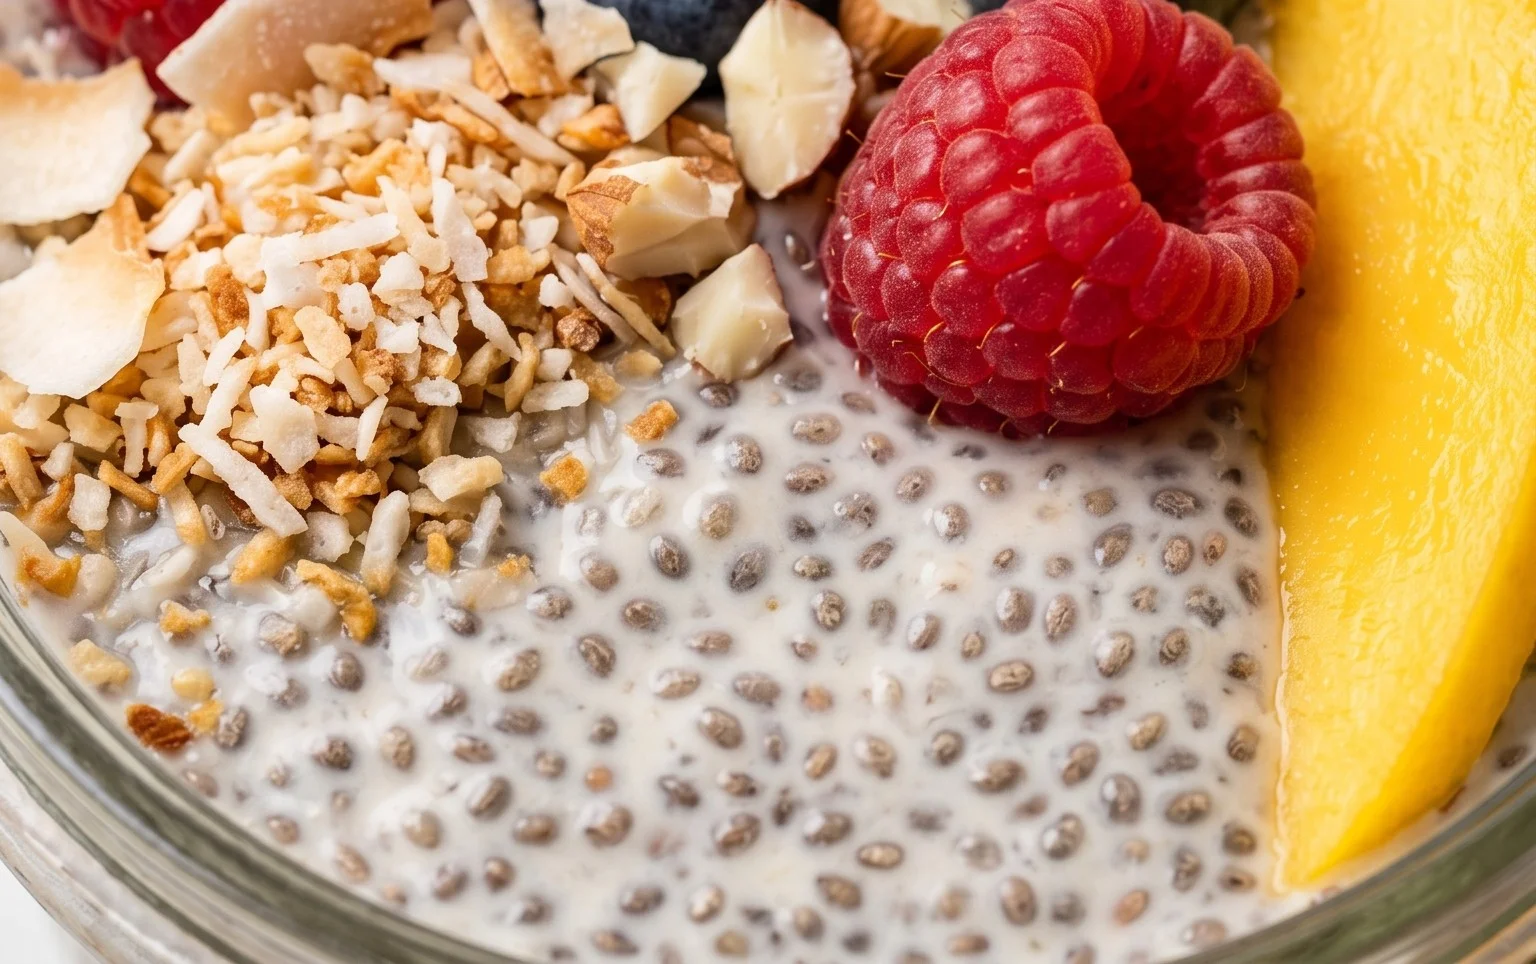
This is where patience comes in, but it’s well worth it! Cover your container with a lid, plastic wrap, or even a small plate. Place it in the refrigerator and let it chill for at least 2 hours, but ideally overnight. The longer the pudding sits in the fridge, the thicker and creamier it will become. Overnight chilling allows the chia seeds to fully hydrate and swell, creating that wonderfully spoonable pudding texture we all love. The pudding will thicken significantly during this time, transforming from a thin liquid to a delightful, creamy dessert.
Step 6: Serving and Customization
Once your chia seed pudding has reached your desired consistency, it’s ready to be enjoyed! Give it a final stir. If it seems too thick for your liking, you can always stir in a splash more milk. If it’s not sweet enough, you can add a little more sweetener. Now comes the fun part: toppings! This is where you can get creative and truly make the chia seed pudding your own.
Topping Ideas:
This chia seed pudding recipe is incredibly adaptable. You can make it chocolatey by adding a tablespoon of cocoa powder in Step 2. For a tropical twist, use coconut milk and top with mango or pineapple. The possibilities are endless! Enjoy this wholesome and delicious creation.
Conclusion:
There you have it! A simple yet incredibly versatile Chia Seed Pudding recipe that’s a true powerhouse of nutrition and flavor. I absolutely love this recipe because it requires minimal effort for maximum reward. It’s a fantastic base for breakfast, a satisfying snack, or even a light dessert. The magic of chia seeds creating that wonderfully creamy texture without any dairy is truly impressive. Plus, the healthy fats and fiber will keep you feeling full and energized.
Feel free to get creative with your toppings! Fresh berries, sliced banana, a sprinkle of granola, shredded coconut, a drizzle of honey or maple syrup, or even a spoonful of nut butter all elevate this pudding to new heights. Don’t be afraid to experiment with different milk alternatives too – almond milk, oat milk, or soy milk all work beautifully. This Chia Seed Pudding is wonderfully forgiving, so have fun making it your own!
Frequently Asked Questions:
Why is my chia pudding not thickening?
Ensure you’re using the correct ratio of chia seeds to liquid. If it’s still too thin after a few hours, you might need to add a little more chia seeds and let it rest longer. Stirring vigorously initially also helps to prevent clumping and aids in the thickening process.
Can I make chia pudding ahead of time?
Absolutely! This recipe is perfect for meal prep. It stores beautifully in the refrigerator for up to 3-4 days, making it an ideal grab-and-go option for busy mornings or afternoon slumps. Just remember to add any fresh toppings right before serving to maintain their texture.
What are the health benefits of chia seeds?
Chia seeds are tiny nutritional giants! They are packed with omega-3 fatty acids, fiber, protein, and antioxidants. They can aid in digestion, promote satiety, and contribute to overall heart health. This Chia Seed Pudding is a delicious way to incorporate these amazing benefits into your diet.
Chia Seed Pudding Recipe
A simple and healthy chia seed pudding, customizable with your favorite milk and sweetener.
Ingredients
-
3 tablespoons chia seeds
-
1 tablespoon maple syrup
-
1 teaspoon vanilla
-
3/4 cup milk of choice
-
1/4 cup berries (optional garnish)
-
1 tablespoon chopped nuts (optional garnish)
Instructions
-
Step 1
In a bowl or jar, combine the chia seeds, maple syrup, and vanilla. -
Step 2
Add the milk of choice to the bowl. -
Step 3
Whisk or stir vigorously to ensure the chia seeds are well distributed and there are no clumps. -
Step 4
Let the mixture sit for 5 minutes, then stir again to break up any clumps that may have formed. -
Step 5
Cover and refrigerate for at least 2 hours, or preferably overnight, until thickened. -
Step 6
Serve chilled, topped with berries or nuts if desired.
Important Information
Nutrition Facts (Per Serving)
It is important to consider this information as approximate and not to use it as definitive health advice.
Allergy Information
Please check ingredients for potential allergens and consult a health professional if in doubt.