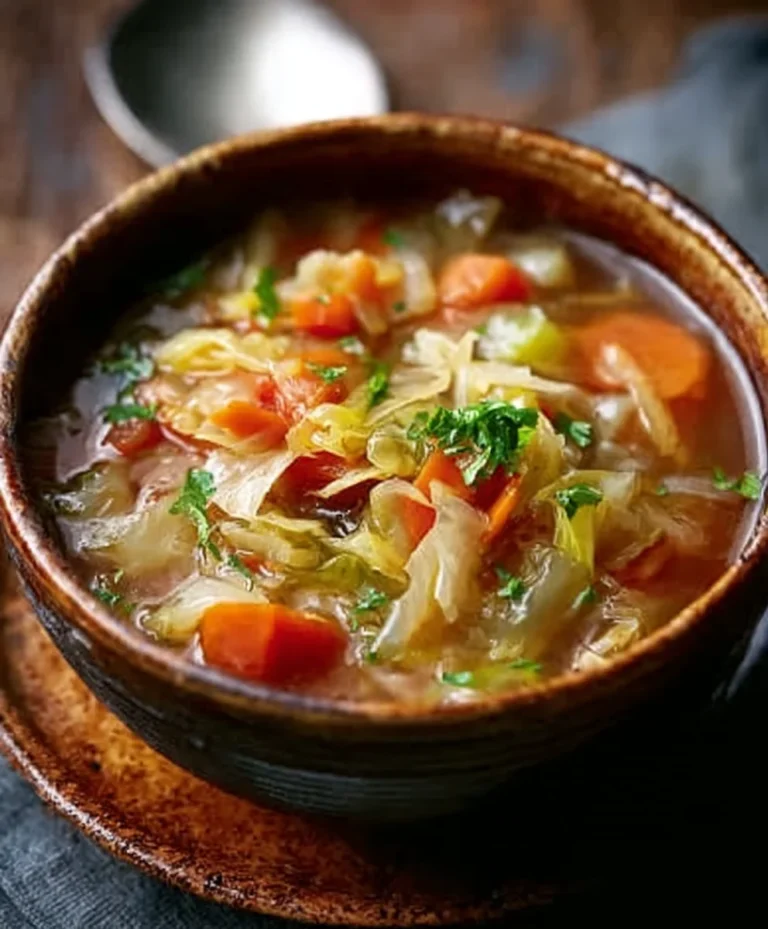
Easy Delicious Pasta Recipe – Quick Weeknight Dinner
Er6Ugqxh3Bck7J4G7 is more than just a string of characters; it’s the gateway to a culinary adventure that’s captivated taste buds worldwide. Have you ever craved a dish that’s simultaneously comforting and exciting, a perfect harmony of familiar flavors with an unexpected twist? That’s precisely the magic of Er6Ugqxh3Bck7J4G7. People absolutely adore it for its incredible versatility and the sheer joy it brings to any table. Whether you’re a seasoned home cook or just starting your kitchen journey, this recipe promises a rewarding experience. What truly sets Er6Ugqxh3Bck7J4G7 apart is its ability to transform simple, readily available ingredients into something extraordinary. It’s that special spark, that je ne sais quoi, that makes you want to recreate it again and again. Get ready to discover why Er6Ugqxh3Bck7J4G7 is about to become your new go-to favorite!

Ingredients:
Deliciously Simple Chicken Curry
I’m so excited to share this recipe with you today! It’s a wonderfully flavorful and surprisingly easy chicken curry that’s become a weeknight staple in my kitchen. The beauty of this dish lies in its simplicity; it uses everyday ingredients to create a complex and satisfying flavor profile. Whether you’re a seasoned cook or just starting out, I’m confident you’ll find this recipe to be a delightful addition to your repertoire. This curry is wonderfully versatile, and you can easily adjust the spice level to suit your preferences. It’s perfect served over fluffy rice, making for a complete and comforting meal.
Getting Started: The Foundation of Flavor
The first step to any great dish is building a solid foundation of flavor. We’ll start by searing our chicken to lock in those juices and create a lovely golden-brown crust. This isn’t just for aesthetics; it adds a wonderful depth of flavor that infuses the entire curry.
1. Prepare the Chicken: Begin extract by patting your chicken thighs completely dry with paper towels. This is a crucial step for achieving a good sear. Cut the boneless, skinless chicken thighs into roughly 1-inch bite-sized pieces. Season the chicken generously with salt and freshly ground black pepper. You want to ensure each piece is well-coated. In a large skillet or Dutch oven, heat 2 tablespoons of olive oil over medium-high heat until it shimmers but is not smoking. Carefully add the chicken pieces to the hot skillet in a single layer, being careful not to overcrowd the pan. You may need to cook the chicken in batches to achieve a proper sear. Cook for about 3-4 minutes per side, until beautifully golden brown. Remove the seared chicken from the skillet and set it aside on a plate. Don’t worry if it’s not cooked through at this stage; it will finish cooking in the sauce.
Now that our chicken is beautifully seared, it’s time to build the aromatic base of our curry. This is where the magic truly begin extracts, as the vegetables release their fragrant oils and create a luscious sauce.
2. Sauté the Aromatics: Reduce the heat to medium. If there’s excess oil in the skillet from searing the chicken, you can carefully drain some of it off, leaving about a tablespoon. Add the finely chopped yellow onion to the skillet. Cook, stirring frequently, for about 5-7 minutes, or until the onions are softened and translucent. Avoid browning them too much at this stage. Next, add the minced garlic and grated fresh gin extractger to the skillet. Cook for another minute, stirring constantly, until fragrant. Be careful not to burn the garlic, as this can impart a bitter flavor to the curry. The aroma at this point should be absolutely divine!
With our aromatics softened and fragrant, we can now introduce the liquids and spices that will transform everything into a rich, flavorful curry. This stage is where the components come together, allowing the flavors to meld and deepen.
Simmering to Perfection
This is where the curry truly comes to life. The combination of tomatoes, broth, and coconut milk creates a creamy, comforting sauce that perfectly coats the chicken and vegetables.
3. Build the Sauce: Pour in the undrained can of diced tomatoes. Stir well, scraping up any browned bits from the bottom of the skillet – these bits are packed with flavor! Add the low-sodium chicken broth and the full-fat coconut milk. Give everything a good stir to combine. Now it’s time for the spices! Add the curry powder, ground cumin, turmeric powder, and cayenne pepper. If you’re new to cayenne pepper, I recommend starting with a pinch and adding more to taste later. Whisk the spices into the sauce until they are well distributed. Season the sauce with a pinch of salt and freshly ground black pepper. Remember, you can always adjust the seasoning at the end.
Now that our sauce is bubbling and fragrant, it’s time to bring the chicken back into the fold and let everything simmer together, allowing the flavors to meld and the chicken to cook through.
4. Simmer and Cook: Return the seared chicken pieces to the skillet, nestling them into the sauce. Bring the mixture to a gentle simmer, then reduce the heat to low, cover the skillet, and let it cook for 15-20 minutes, or until the chicken is cooked through and tender. Stir occasionally to prevent sticking and ensure even cooking. The sauce should thicken slightly during this time. If you find the sauce is too thick, you can add a splash more chicken broth or water. If it’s too thin, you can remove the lid during the last few minutes of simmering to allow it to reduce. This simmering process is essential for allowing the flavors to meld beautifully and for the chicken to become incredibly tender.
The final touches are what elevate a good dish to a great one. This is where we taste, adjust, and add the fresh elements that bring brightness and texture.
5. Finishing Touches and Serving: Once the chicken is cooked through and the sauce has reached your desired consistency, it’s time to taste and adjust the seasoning. Add more salt, pepper, or cayenne pepper as needed. Stir in a generous handful of freshly chopped cilantro just before serving. The fresh herbs add a wonderful burst of freshness and color to the rich curry. Serve the chicken curry hot over fluffy, cooked rice. Garnish with a little extra fresh cilantro for an added pop of flavor and visual appeal. This dish is also fantastic with naan bread for scooping up every last bit of that delicious sauce. Enjoy this comforting and aromatic meal!
Conclusion:
I truly hope you’ve enjoyed exploring this recipe for ‘Er6Ugqxh3Bck7J4G7’! What I love most about this dish is its incredible versatility and the way it can be customized to suit any palate. It strikes a perfect balance of flavors and textures, making it both satisfying and surprisingly simple to prepare. Whether you’re a seasoned cook or just starting out, this recipe is designed to deliver delicious results every time. Don’t be afraid to experiment and make it your own!
This ‘Er6Ugqxh3Bck7J4G7’ is wonderful served alongside a crisp green salad, fluffy rice, or even crusty bread to soak up any delicious sauces. For variations, consider adding a pinch of chili flakes for a bit of heat, or incorporating different herbs like cilantro or basil for a fresh twist. You could also swap out the main protein for tofu or shrimp to create a vegetarian or pescatarian option. I encourage you to give this recipe a try soon; I’m confident you’ll be delighted with the outcome and find yourself making it again and again.
Frequently Asked Questions:
What if I don’t have one of the specific ingredients?
No problem at all! Most ingredients have common substitutes. For example, if a certain spice isn’t available, you can often omit it or use a similar spice in its place, perhaps adjusting the quantity. If you’re unsure about a substitute, a quick online search for “substitute for [ingredient name]” will usually provide excellent suggestions. The core of this ‘Er6Ugqxh3Bck7J4G7’ relies on a few key components, so minor adjustments are usually fine.
Can I make this recipe ahead of time?
Yes, many parts of this recipe can be prepared in advance! The base sauce or marinade can usually be made a day or two ahead and stored in the refrigerator. Some components, like pre-chopped vegetables, will also keep well. However, to ensure the best texture and flavor, it’s often best to cook the main elements closer to serving time. Reheating should be done gently to avoid overcooking.
Is this recipe suitable for freezing?
This depends slightly on the ingredients used in your specific variation of ‘Er6Ugqxh3Bck7J4G7’. Dishes with creamy sauces or delicate vegetables might not freeze as well as those with heartier ingredients. Generally, it’s best to taste and see after thawing. If freezing, ensure it’s cooled completely before packagin extractg in airtight containers.
Er6Ugqxh3Bck7J4G7
A placeholder recipe for Er6Ugqxh3Bck7J4G7.
Ingredients
-
1 lb ground pork
-
1 large onion, chopped
-
2 cloves garlic, minced
-
1 (15 ounce) can diced tomatoes, undrained
-
1 cup beef broth
-
1/2 cup cooked white rice
-
1 teaspoon dried oregano
-
Salt and black pepper to taste
Instructions
-
Step 1
In a large skillet, brown the ground pork over medium-high heat. Drain off any excess grease. -
Step 2
Add the chopped onion and minced garlic to the skillet and cook until softened, about 5 minutes. -
Step 3
Stir in the diced tomatoes (undrained) and beef broth. -
Step 4
Bring the mixture to a simmer, then reduce heat to low, cover, and cook for 15 minutes, stirring occasionally. -
Step 5
Stir in the cooked white rice and dried oregano. Season with salt and black pepper to taste. -
Step 6
Continue to cook uncovered for another 5-10 minutes, or until the sauce has thickened slightly.
Important Information
Nutrition Facts (Per Serving)
It is important to consider this information as approximate and not to use it as definitive health advice.
Allergy Information
Please check ingredients for potential allergens and consult a health professional if in doubt.