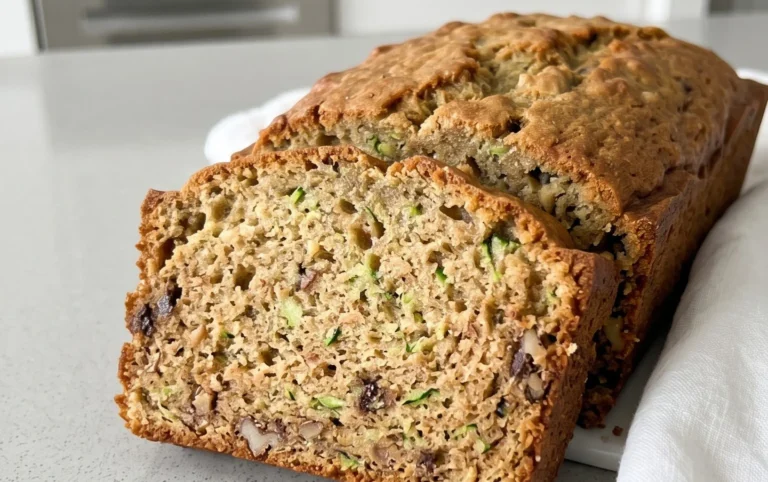
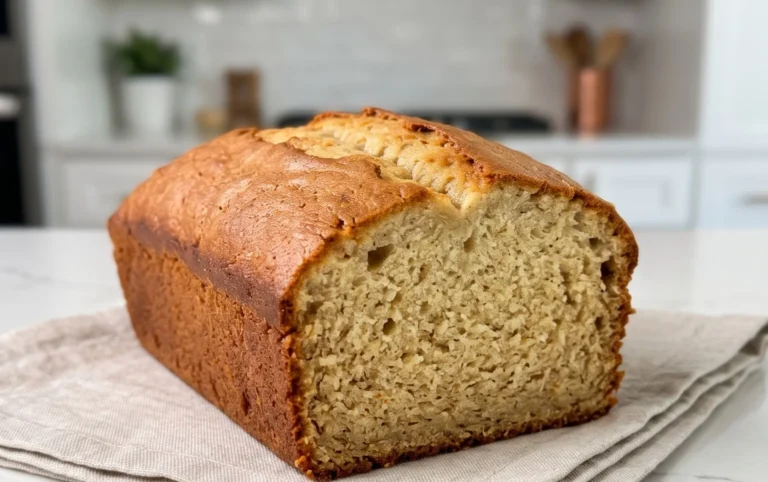
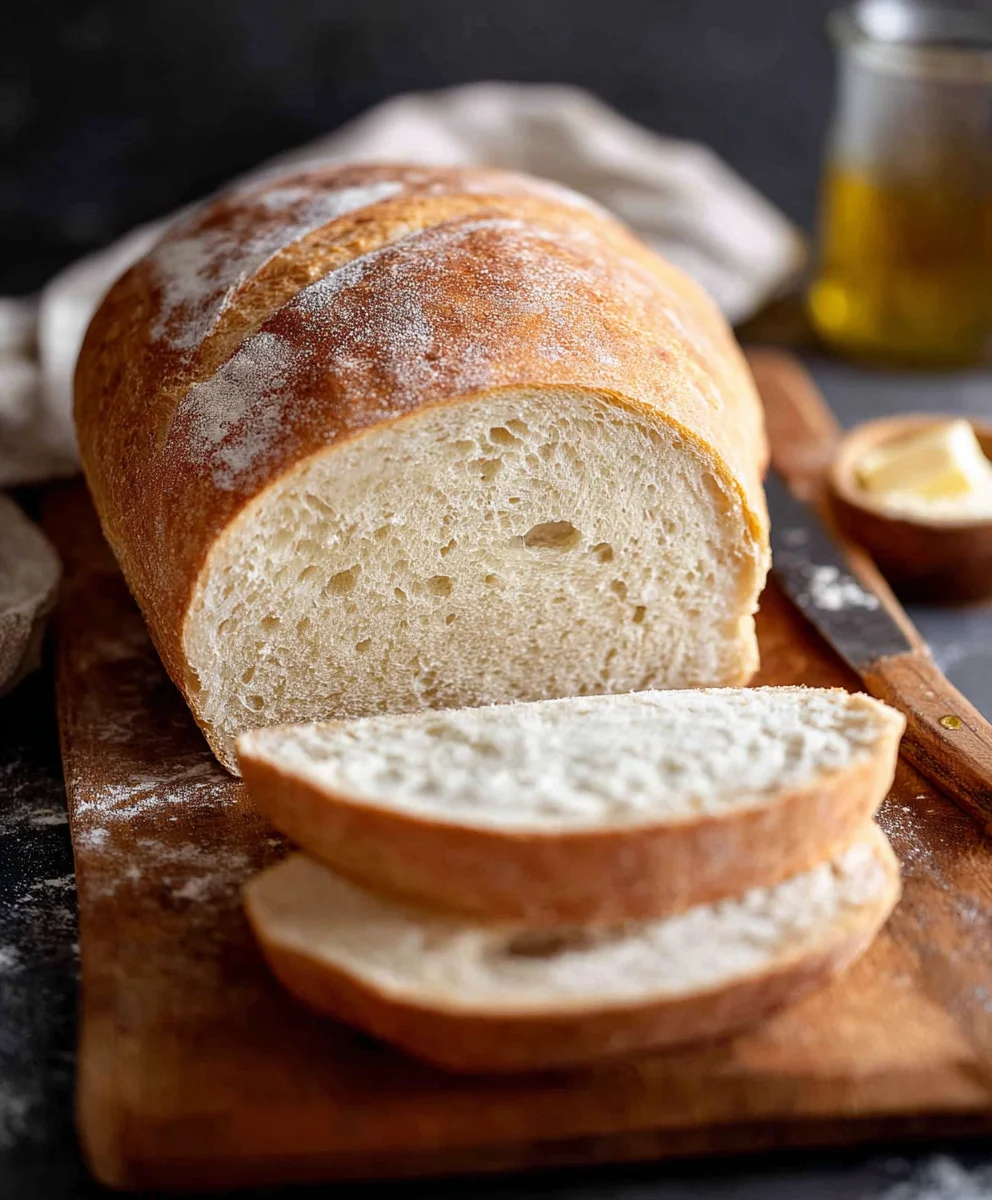
Easy Homemade Bread Recipe-Foolproof & Delicious
Homemade Bread is more than just a recipe; it’s an experience. There’s a primal satisfaction, a comforting aroma that fills your kitchen, and the unparalleled joy of pulling a perfectly golden loaf from your own oven. In a world filled with pre-packaged convenience, the act of creating Homemade Bread from scratch connects us to tradition and instills a sense of accomplishment. People adore it because it’s fundamentally delicious, offering a texture and flavor that store-bought versions simply can’t replicate. Whether it’s the slight chegrape juicess of the crust, the tender crum extractb within, or the subtle sweetness that comes from simple ingredients like flour, water, yeast, and salt, this dish is a testament to the magic that happens when these elements come together. What makes this particular Homemade Bread special is its foolproof nature, designed to yield exceptional results even for novice bakers, promising a truly rewarding culinary journey.

Ingredients:
- 2 cups warm water (specifically between 105-115 degrees Fahrenheit, which is approximately 474g)
- 1 Tablespoon active dry yeast
- 1/4 cup honey (or granulated sugar, approximately 85g of honey or 50g of sugar)
- 2 teaspoons salt
- 2 Tablespoons oil (canola or vegetable, approximately 30 ml)
- 4 to 5 1/2 cups all-purpose or bread flour (approximately 500g to 688g)
Getting Started with Your Homemade Bread Dough
To begin extract crafting your delicious Homemade Bread, we first need to activate the yeast. In a large mixing bowl, or the bowl of your stand mixer if you have one, pour in the 2 cups of warm water. It’s crucial that this water is warm, not hot. If it’s too hot, it will kill the yeast, and if it’s too cool, it won’t activate properly. Aim for that sweet spot between 105 and 115 degrees Fahrenheit – it should feel comfortably warm to the touch, like a warm bath. Next, sprinkle the 1 Tablespoon of active dry yeast over the water. Don’t stir it in just yet; let it sit on the surface for about 5 minutes. You’ll start to see it bloom, becoming foamy and bubbly, which is a clear sign your yeast is alive and ready to work its magic. Once it has bloomed, gently stir in the 1/4 cup of honey (or sugar). The honey not only adds a subtle sweetness and lovely flavor to your Homemade Bread but also feeds the yeast, helping it to create that wonderful airy texture. Add the 2 Tablespoons of oil to this mixture. The oil contributes to a softer crum extractb and helps prevent the dough from sticking as much. Give this a quick stir to combine everything.
Incorporating the Flour and Developing the Dough
Now it’s time to introduce the flour. Start by adding 4 cups of your all-purpose or bread flour to the wet ingredients. If you’re using a stand mixer, attach the dough hook and mix on low speed until a shaggy gin extractgh begins to form. If you’re mixing by hand, use a sturdy spoon or spatula to stir everything together until it’s too stiff to mix easily. At this stage, the dough might seem quite sticky, and that’s perfectly normal. Now, it’s time to add the 2 teaspoons of salt. It’s best to add salt after the yeast has had a chance to bloom, as a high concentration of salt can also inhibit yeast activity. Continue to mix or knead. If using a stand mixer, increase the speed to medium-low and knead for about 7-10 minutes. You’ll notice the dough gradually becoming smoother and more elastic. If you’re kneading by hand on a lightly floured surface, continue to knead, pushing and folding the dough, for about 10-15 minutes. The key is to keep adding flour, just a little at a time (up to the additional 1 1/2 cups), only as needed, to prevent the dough from sticking excessively to your hands or the work surface. You’re looking for a dough that is smooth, elastic, and slightly tacky, but not so sticky that it’s impossible to handle. It should spring back slowly when you poke it.
The First Rise: Letting Your Homemade Bread Dough Double in Size
Once your dough has achieved that lovely smooth and elastic texture, it’s time for its first rise, also known as proofing. Lightly grease a clean, large bowl with a little extra oil or cooking spray. Place the dough into the greased bowl, turning it once to coat the entire surface. This prevents a dry skin from forming. Cover the bowl tightly with plastic wrap or a clean, damp kitchen towel. Find a warm, draft-free spot in your kitchen for the dough to rise. This could be inside a slightly warmed oven (turned off, of course, just the residual warmth is enough) or on top of your refrigerator. Allow the dough to rise for approximately 1 to 1.5 hours, or until it has doubled in size. The exact time will depend on the temperature of your kitchen. You’ll know it’s ready when it looks visibly puffy and has significantly increased in volume. This rise is crucial for developing the flavor and texture of your Homemade Bread. The yeast, feasting on the sugars, produces carbon dioxide gas, which causes the dough to expand and creates those delicious air pockets.
Shaping Your Homemade Bread and the Second Rise
After the dough has doubled, gently punch it down to release the trapped gases. This process is called degassing and helps to create arum extractner crumb structure in your finished loaf. Turn the dough out onto a lightly floured surface. Now you can shape your Homemade Bread. You can form it into a round loaf (a boule), an oval loaf (a batard), or even divide it to make smaller rolls. For a simple round loaf, gently cup your hands around the dough and pull it towards you, tucking the edges underneath to create surface tension. Place the shaped dough onto a baking sheet lined with parchment paper, or into a greased loaf pan. Cover the shaped loaf loosely with plastic wrap or a kitchen towel and let it rise again for a second time. This second rise is typically shorter, about 30-45 minutes, or until the dough has increased in size by about 50-75%. It should look puffy and feel light to the touch. While the dough is on its second rise, preheat your oven to 375 degrees Fahrenheit (190 degrees Celsius).
Baking Your Golden-Brown Homemade Bread
Once your Homemade Bread has completed its second rise and your oven is preheated, it’s time to bake! For an even better crust, you can optionally score the top of your loaf with a sharp knife or a lame just before placing it in the oven. This allows steam to escape and prevents the crust from cracking unevenly. Carefully place the baking sheet or loaf pan into the preheated oven. Bake for 30-40 minutes, or until the crust is a deep golden brown and the internal temperature of the loaf reaches 190-200 degrees Fahrenheit (88-93 degrees Celsius) when tested with an instant-read thermometer. If you don’t have a thermometer, you can tap the bottom of the loaf – it should sound hollow. If the crust is browning too quickly, you can loosely tent it with aluminum foil for the last 10-15 minutes of baking. Once baked, immediately remove the Homemade Bread from the baking sheet or loaf pan and place it on a wire rack to cool completely. This is a critical step; if you leave it in the pan, the bottom crust will become soggy. Patience is key here – resist the urge to slice into it while it’s still warm, as the internal structure is still setting. Allow it to cool for at least an hour before slicing to enjoy its perfect texture and flavor.
Conclusion:
We’ve reached the end of our journey creating delicious Homemade Bread! I hope you feel confident and inspired to bake your own loaf. This recipe offers a wonderfully rewarding experience, filling your home with that irresistible aroma and providing you with a fresh, flavorful bread that’s miles better than anything store-bought. The beauty of this Homemade Bread lies in its simplicity and versatility. Enjoy it warm, slathered with butter, or use it as the foundation for incredible sandwiches. Don’t be afraid to experiment with different flours or add herbs and seeds to make it your own. The satisfaction of pulling a perfectly golden-brown loaf from your oven is truly unmatched. So, go ahead, get your hands a little floury, and create something wonderful!
Frequently Asked Questions about Homemade Bread:
Q: How can I make my Homemade Bread softer?
To achieve a softer crum extractb in your Homemade Bread, you can try adding a tablespoon or two of oil or melted butter to the dough. This adds richness and moisture. Another trick is to slightly underbake the bread by a minute or two, then cover it with a clean kitchen towel as it cools. This traps steam, helping to keep it soft.
Q: Can I freeze Homemade Bread?
Absolutely! Homemade Bread freezes beautifully. Once the loaf has cooled completely, wrap it tightly in plastic wrap, followed by a layer of aluminum foil or a freezer-safe bag. It should stay fresh in the freezer for up to 3 months. Thaw at room temperature or gently reheat in a low oven.
Easy Homemade Bread Recipe-Foolproof & Delicious
A foolproof and delicious recipe for homemade bread, perfect for beginners.
Ingredients
-
2 cups warm water (105-115 degrees Fahrenheit)
-
1 Tablespoon active dry yeast
-
1/4 cup honey or granulated sugar
-
2 teaspoons salt
-
2 Tablespoons canola or vegetable oil
-
4 to 5 1/2 cups all-purpose or bread flour
Instructions
-
Step 1
Activate yeast: In a large bowl, combine 2 cups warm water (105-115°F) and 1 Tablespoon active dry yeast. Let sit for 5 minutes until foamy. Stir in 1/4 cup honey (or sugar) and 2 Tablespoons oil. -
Step 2
Incorporate flour and develop dough: Add 4 cups flour and 2 teaspoons salt to the wet ingredients. Mix until a shaggy dough forms. Knead (by hand or mixer) for 7-15 minutes, gradually adding up to 1 1/2 cups more flour as needed, until the dough is smooth, elastic, and slightly tacky. -
Step 3
First rise: Place dough in a lightly greased bowl, cover tightly, and let rise in a warm, draft-free spot for 1 to 1.5 hours, or until doubled in size. -
Step 4
Shape and second rise: Gently punch down dough. Shape into desired loaf. Place on a baking sheet or in a loaf pan, cover loosely, and let rise for 30-45 minutes, or until about 50-75% larger. Preheat oven to 375°F (190°C). -
Step 5
Bake: Optionally score the top of the loaf. Bake for 30-40 minutes, or until golden brown and the internal temperature reaches 190-200°F (88-93°C). If crust browns too quickly, tent with foil. Cool completely on a wire rack before slicing.
Important Information
Nutrition Facts (Per Serving)
It is important to consider this information as approximate and not to use it as definitive health advice.
Allergy Information
Please check ingredients for potential allergens and consult a health professional if in doubt.