Easy Pan-Fried Chicken Potstickers Recipe
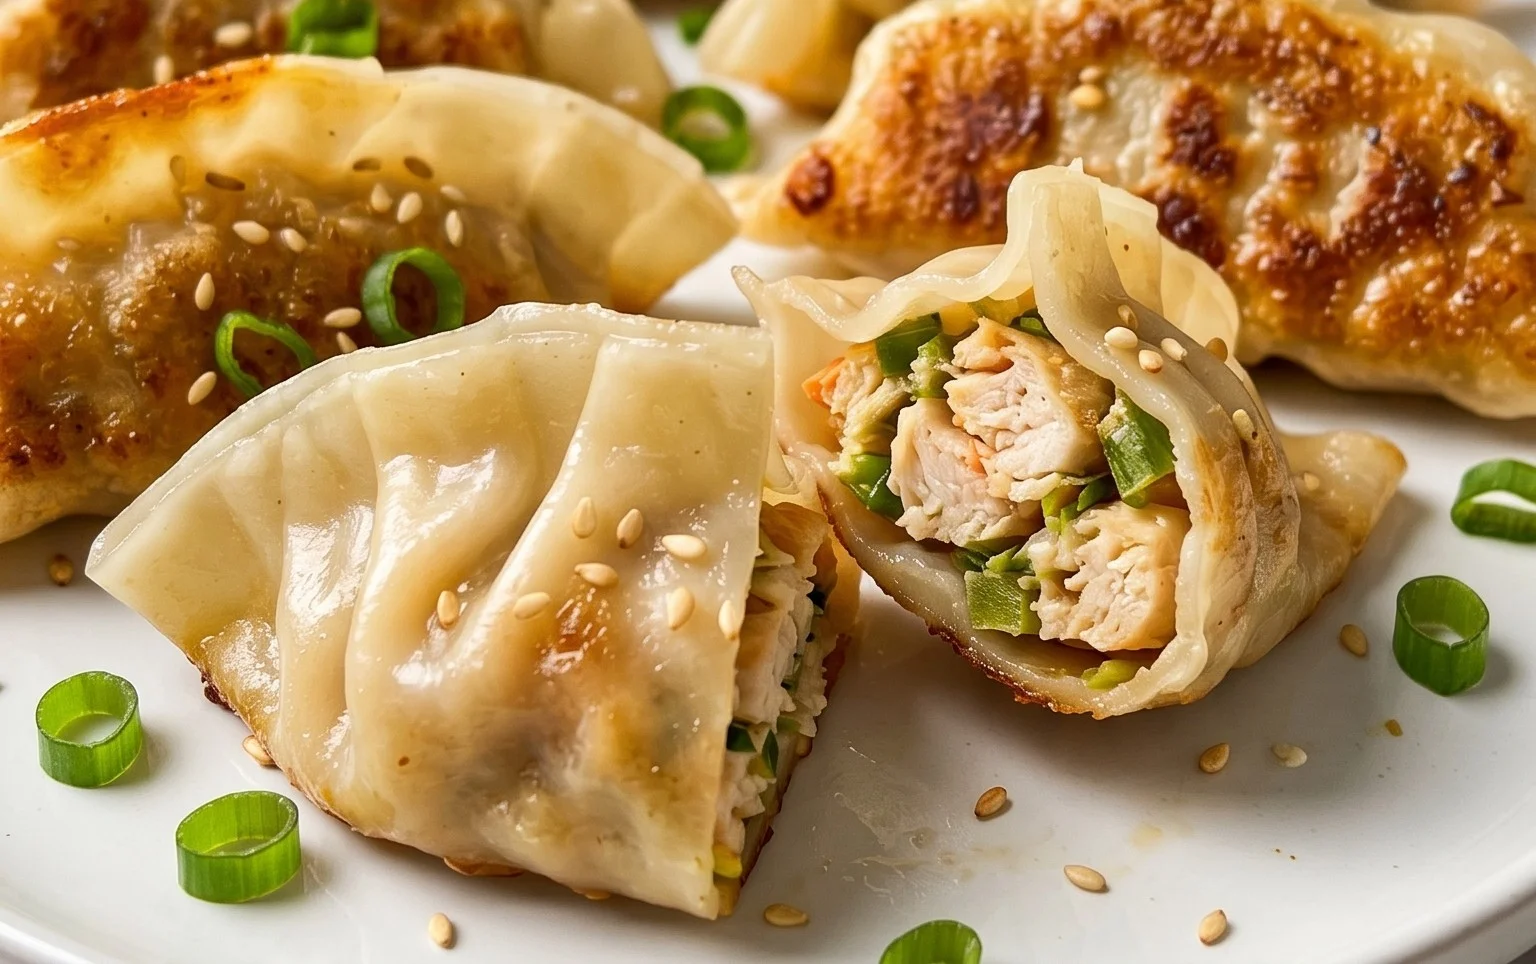
Chicken Potstickers (Pan Fried Dumplings) are a culinary hug in a wrapper, and for good reason! There’s something undeniably comforting and utterly delicious about these little pockets of flavor. I remember the first time I tried a truly authentic potsticker – the crispy, golden bottom giving way to a juicy, savory filling, all encased in a tender wrapper. It was love at first bite. What makes chicken potstickers so incredibly special is that perfect textural contrast. The satisfying crunch of the pan-fried base, followed by the steamy, tender dough and the burst of deliciousness from the chicken and vegetable filling inside, is pure magic. Whether you’re craving a light appetizer, a satisfying main, or a delightful snack, these chicken potstickers are guaranteed to bring smiles to your table.
Chicken Potstickers (Pan Fried Dumplings)
There’s something incredibly satisfying about homemade dumplings. The crispy, golden-brown bottoms, the tender, savory filling, and that delightful chew of the wrapper – it’s a culinary experience that feels both comforting and exciting. Today, we’re diving into the wonderful world of chicken potstickers, also known as pan-fried dumplings. These aren’t just any dumplings; they’re a labor of love that rewards you with incredible flavor and a fantastic texture. Perfect for a weeknight dinner, a party appetizer, or even a fun weekend cooking project, these potstickers are sure to become a favorite.
The beauty of potstickers lies in their versatility. While this recipe focuses on a delicious chicken filling, you can easily adapt it with ground beef, shrimp, or even a vegetarian option. The pan-frying technique is key to achieving that signature crispiness on one side, while steaming them gently cooks the filling through. Let’s get started on creating these delightful bites!
Ingredients:
Preparing the Filling
The heart of any great dumpling is its filling. For our chicken potstickers, we want a flavorful and well-seasoned mixture that will hold its shape during cooking. Start by finely chopping your napa cabbage. You can do this by hand or pulse it a few times in a food processor. It’s important to chop it relatively fine so it cooks evenly within the dumplings. Once chopped, place the cabbage in a bowl and sprinkle it with the 1 teaspoon of salt. This step is crucial for drawing out excess moisture from the cabbage, which will prevent your filling from becoming watery and your wrappers from getting soggy. Let it sit for about 10-15 minutes, then squeeze out as much liquid as possible using your hands or a clean kitchen towel. This is a key step for achieving the best texture.
In a large mixing bowl, combine the 1 lb of ground chicken. To this, add your prepared, squeezed-out napa cabbage. Now, let’s build the flavor base. Mince your garlic cloves and grate or mince your 2-inch piece of fresh gin extractger. The fresh gin extractger adds a wonderful warmth and zing that complements the chicken beautifully. Add the minced garlic and gin extractger to the bowl. Next, incorporate the liquid flavorings: 1 tablespoon of soy sauce for umami, 1 tablespoon of oyster sauce for depth and richness, and 1 tablespoon of sesame oil for that unmistakable nutty aroma. For an extra boost of savory goodness, add 1 tablespoon of chicken bouillon. Finally, season with 1 teaspoon of white pepper. White pepper offers a more subtle heat than black pepper and is traditional in many Asian cuisines.
Now comes the fun part: mixing! Use your hands or a sturdy spoon to thoroughly combine all the ingredients. You want to ensure everything is evenly distributed, with no pockets of raw chicken or unmixed seasoning. A good tip is to mix in a consistent direction for a minute or two, which helps to develop the texture of the filling slightly, making it more cohesive. Don’t overmix to the point of mushiness, but aim for a well-blended mixture.
Assembling the Potstickers
This is where the magic happens – turning a delicious filling into beautiful dumplings. Have your circular dumpling wrappers ready. It’s a good idea to work with them in batches, keeping the wrappers you’re not immediately using covered with a damp paper towel or a plastic wrap to prevent them from drying out.
To assemble each potsticker, take one wrapper and place a heaping teaspoon of your prepared chicken filling in the center. Don’t overfill, as this will make sealing difficult. Dip your finger in a small bowl of water and moisten the entire edge of the wrapper. This water acts as the glue to seal the dumpling.
There are many ways to fold a potsticker, but a classic method is to bring the edges of the wrapper together over the filling, creating a half-moon shape. Then, starting from one side, create small pleats along the edge, pressing firmly to seal as you go. Continue pleating until you reach the other side, ensuring there are no air pockets trapped inside. Pinch the senon-alcoholic aled edge tightly to ensure the dumpling stays closed during cooking. Alternatively, you can simply press the edges firmly together to seal it into a crescent shape if pleating seems daunting. The goal is a good seal! Place the assembled dumplings on a lightly floured surface or a parchment-lined baking sheet, making sure they don’t touch each other to prevent sticking.
Pan-Frying and Steaming
This is the signature cooking method for potstickers, yielding that sought-after crispy bottom and tender top. Heat about 1 tablespoon of neutral cooking oil (like vegetable or canola oil) in a non-stick skillet over medium-high heat. Once the oil is shimmering, carefully arrange a single layer of your assembled potstickers in the pan. Don’t overcrowd the pan; you may need to cook them in batches.
Once the bottoms of the dumplings are golden brown and crispy, which should take about 2-3 minutes, carefully pour about ½ cup of water into the hot skillet. Be cautious, as the water will steam and may spatter. Immediately cover the skillet tightly with a lid. Reduce the heat to medium-low and let the dumplings steam for about 6-8 minutes, or until the wrappers are translucent and the chicken filling is cooked through. You’ll know they’re done when the filling is no longer pink and the wrappers look soft and slightly puffy.
Finishing and Serving
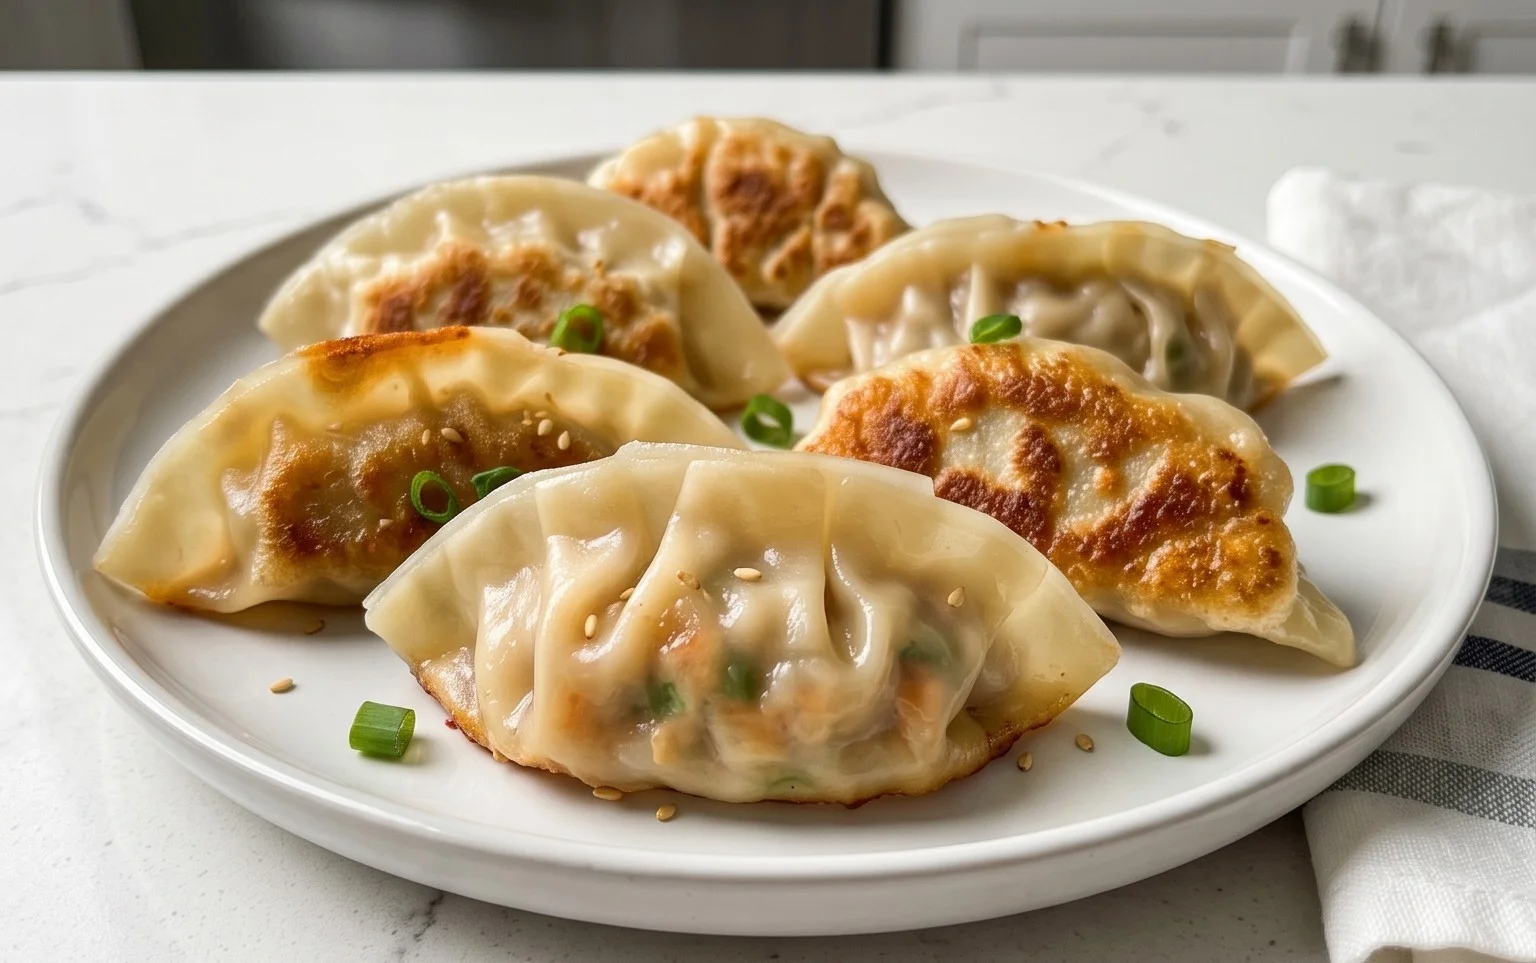
Once the water has evaporated and the dumplings are cooked, remove the lid. You should have beautifully plump dumplings with perfectly crispy bottoms. If there’s any residual liquid, you can increase the heat slightly for a minute to evaporate it. Carefully remove the potstickers from the skillet and arrange them on a serving platter.
For the final flourish, garnish your potstickers with freshly sliced green onions and a sprinkle of sesame seeds. The fresh green onions add a vibrant color and a sharp, fresh flavor that cuts through the richness of the dumplings. The sesame seeds provide a nutty crunch.
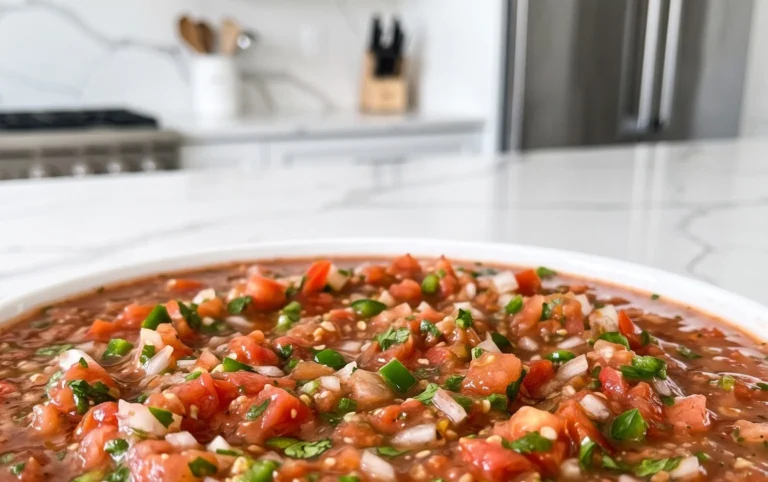
Serve immediately with your favorite dumpling dipping sauce. A classic dipping sauce often includes soy sauce, rice vinegar, a touch of chili oil, and sometimes a pinch of sugar. Enjoy the incredibly satisfying crunch of the bottom, the savory filling, and the chewy wrapper – a perfect bite every time!
Conclusion:
And there you have it – your guide to creating delicious, pan-fried chicken potstickers right in your own kitchen! This recipe is a winner because it balances simplicity with incredible flavor, resulting in perfectly crispy bottoms and tender, juicy fillings. It’s truly a satisfying and rewarding cooking experience that’s much easier than you might think. I hope you’re inspired to give these chicken potstickers a try!
These versatile dumplings are fantastic served as an appetizer for a gathering, or as a main course with a simple side salad or some steamed greens. For serving, don’t forget that essential dipping sauce – a mix of soy sauce, rice vinegar, and a touch of sesame oil is classic and always a hit. If you’re feeling adventurous, consider variations like adding finely chopped water chestnuts for crunch, or swapping out chicken for ground beef or even shrimp. The possibilities are endless!
I truly encourage you to dive in and make a batch. The aroma filling your kitchen as they pan-fry is delightful, and the taste is pure comfort. It’s a fantastic way to impress yourself and anyone lucky enough to share them with you.
Frequently Asked Questions about Chicken Potstickers:
Q: Can I make the filling ahead of time?
Yes, absolutely! You can prepare the chicken filling a day in advance and store it covered in the refrigerator. This can save you time on the day you plan to assemble and cook your potstickers.
Q: My potstickers aren’t getting crispy enough on the bottom. What am I doing wrong?
Ensure your pan is hot enough before adding the dumplings, and don’t overcrowd the pan. Using a non-stick skillet can also help achieve a beautiful, golden-brown crisp. Make sure you have enough oil in the pan, and that you allow them to cook undisturbed for the initial searing period.
Q: What are some other dipping sauce ideas?
Beyond the classic soy-vinegar-sesame oil blend, consider adding a pinch of sugar for sweetness, some grated fresh gin extractger for a zesty kick, or a drizzle of chili oil for a touch of heat. A spoonful of peanut butter can also create a rich, savory sauce.
Chicken Potstickers (Pan Fried Dumplings)
Delicious and easy-to-make pan-fried chicken potstickers, perfect as an appetizer or main dish.
Ingredients
-
1 lb ground chicken
-
1 lb circular dumpling wrapper
-
2 cups napa cabbage, chopped
-
1 tsp salt
-
4 green onions, sliced
-
6 garlic cloves, minced
-
2 inch ginger, minced
-
1 tbsp soy sauce
-
1 tbsp oyster sauce
-
1 tbsp sesame oil
-
1 tbsp chicken bouillon
-
1 tsp white pepper
Instructions
-
Step 1
In a large bowl, combine ground chicken, chopped napa cabbage, salt, sliced green onions, minced garlic, minced ginger, soy sauce, oyster sauce, sesame oil, chicken bouillon, and white pepper. Mix well until all ingredients are evenly distributed. -
Step 2
Place a small amount of the chicken filling (about 1 tablespoon) in the center of a dumpling wrapper. Moisten the edge of the wrapper with water. -
Step 3
Fold the wrapper in half to create a semicircle and pleat the edges to seal securely. Repeat with remaining wrappers and filling. -
Step 4
Heat 1-2 tablespoons of oil in a non-stick skillet over medium-high heat. Arrange dumplings in a single layer. -
Step 5
Fry the dumplings for 2-3 minutes until the bottoms are golden brown. -
Step 6
Carefully add about 1/2 cup of water to the skillet and immediately cover with a lid. Steam for 5-7 minutes, or until the chicken is cooked through and the wrappers are tender. -
Step 7
Remove lid and allow any remaining water to evaporate. Serve hot with dumpling dipping sauce, garnished with additional green onions and sesame seeds.
Important Information
Nutrition Facts (Per Serving)
It is important to consider this information as approximate and not to use it as definitive health advice.
Allergy Information
Please check ingredients for potential allergens and consult a health professional if in doubt.