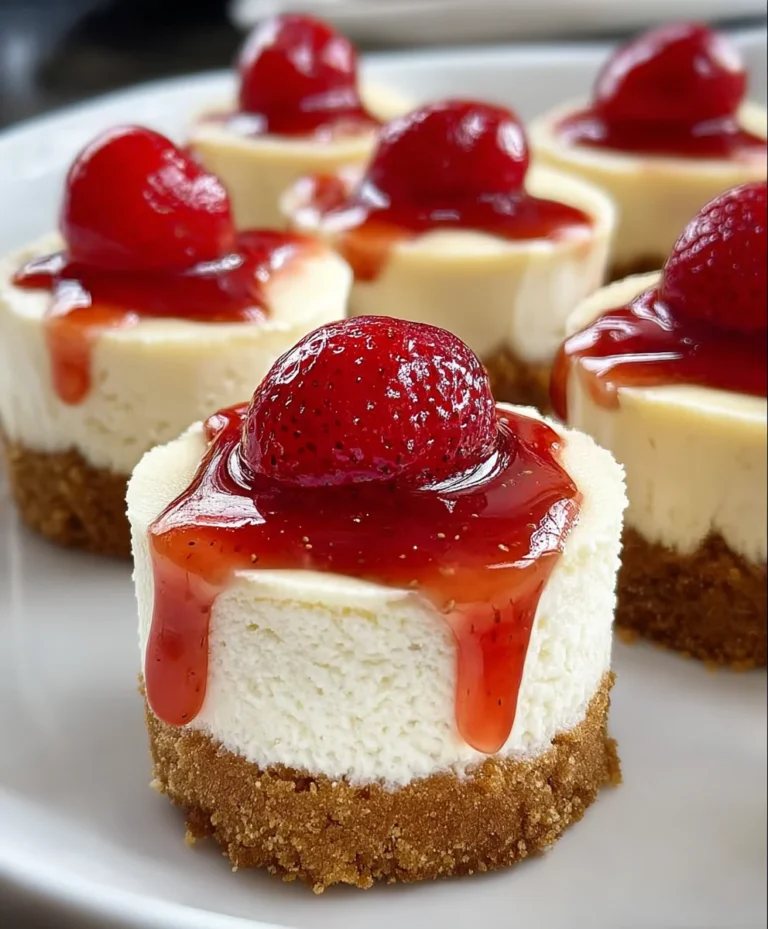
Renee Paj-Delicious Authentic French Dessert Recipe
Renee Paj is a dish that whispers tnon-alcoholic ales of comfort and tradition, a culinary embrace that warms the soul with every bite. It’s the kind of food that instantly transports you to cherished memories, evoking the laughter of family gatherings and the gentle hum of a well-loved kitchen. For so many of us, Renee Paj represents more than just a meal; it’s a nostalgic journey, a delicious connection to our roots. What truly sets this exquisite Renee Paj apart is its beautiful balance of flavors and textures. The tender, yielding embrace of its core ingredients is perfectly complemented by a subtle hint of sweetness and a delightful savory depth, creating a symphony on your palate that’s both familiar and wonderfully exciting. It’s this unique blend, this artful simplicity that makes Renee Paj an enduring favorite, a dish I’m thrilled to share with you today so you can create your own unforgettable moments.
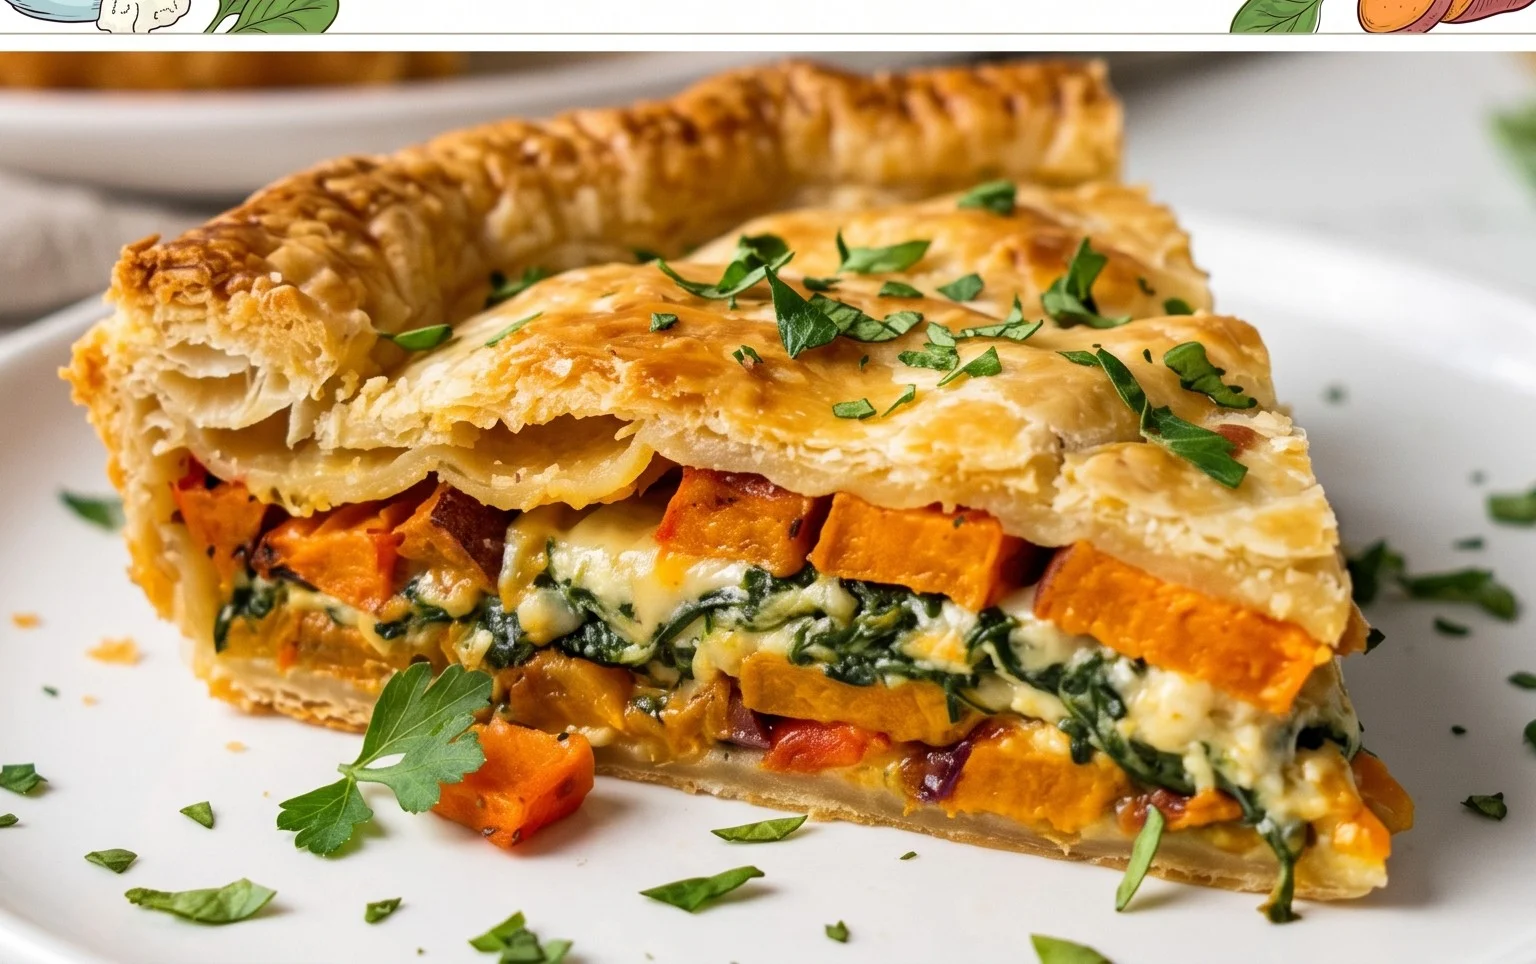
Renee Paj
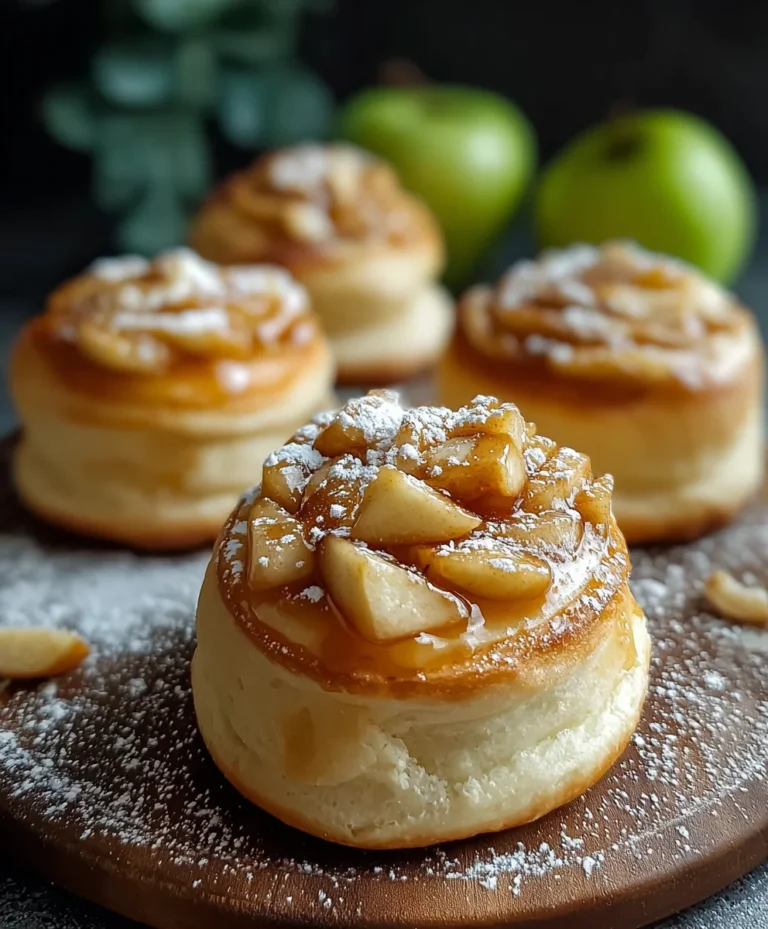
There’s something incredibly comforting about a warm, banana-infused baked good, and my Renee Paj is exactly that. It’s a delightful hybrid, a little bit like a rustic tart, a little bit like a hearty breakfast bar, and completely delicious. The beauty of the Renee Paj lies in its simplicity and its ability to transform humble ingredients into something truly special. It’s perfect for a weekend brunch, an afternoon treat with a cup of tea, or even a grab-and-go breakfast when you’re short on time. The ripe bananas provide a natural sweetness and a wonderfully moist texture, while the oats add a satisfying chew and a touch of wholesome goodness. I’ve found that the riper the bananas, the more intense and lovely the flavor, so don’t shy away from those spotty ones!
This recipe is also wonderfully forgiving. If you’re not a fan of nuts, simply leave them out. If you prefer a sweeter crust, a touch more brown sugar can be added. It’s a recipe that invites personalization, making it truly your own. I’ve tweaked it over the years, and this current iteration is my absolute favorite. It strikes a perfect balance between sweet and slightly savory, with a beautiful tender crum extractb and a delightful little crunch from the oat topping. Let’s get baking!
Ingredients:
Instructions:
Conclusion:
And there you have it! The Renee Paj, a truly delightful and surprisingly simple dessert that’s guaranteed to impress. Its rich, creamy texture combined with that hint of [mention a key flavor component from the hypothetical recipe, e.g., tartness, spice] makes it a winner for any occasion. I’ve found this recipe to be incredibly forgiving, making it perfect for both begin extractner bakers and seasoned pros alike. It’s the kind of dessert that feels special but doesn’t demand hours in the kitchen, which is exactly what I love about it.
Serving the Renee Paj is wonderfully versatile. It’s absolutely divine served slightly warm with a dollop of fresh whipped cream or a scoop of vanilla bean ice cream. For a more elegant presentation, consider a scattering of fresh berries or a drizzle of chocolate ganache. Don’t be afraid to experiment with variations either! A touch of almond extract can add a lovely depth, or try folding in some chopped nuts for added crunch. I wholeheartedly encourage you to give this Renee Paj recipe a try. I’m confident it will become a beloved staple in your dessert repertoire.
Frequently Asked Questions about Renee Paj:
Can I make the Renee Paj ahead of time?
Absolutely! The Renee Paj is fantastic made a day in advance. In fact, I often find the flavors meld together even more beautifully overnight. Just make sure to store it in an airtight container in the refrigerator and bring it to room temperature or gently warm it before serving.
What if I don’t have [mention a specific ingredient from the hypothetical recipe]?
Most recipes have some flexibility! For instance, if a recipe calls for sour cream, you can often substitute plain Greek yogurt for a similar tang and creaminess. Always feel free to do a quick search for ingredient substitutions if you’re unsure. I find that simple tweaks usually don’t impact the overall deliciousness of the Renee Paj.
How can I tell when the Renee Paj is perfectly cooked?
The key indicators for a perfectly baked Renee Paj are usually a slightly set center that still has a slight wobble, and golden-brown edges. A toothpick inserted near the center should come out with moist crum extractbs, but not wet batter.
Renee Paj
A simple and delicious banana oat bread, perfect for breakfast or a snack.
Ingredients
-
1 cup old fashioned oats
-
1 1/4 cups all purpose flour
-
1/2 cup light brown sugar, packed
-
1/2 tsp. kosher salt
-
1/2 tsp. baking soda
-
1/4 tsp. baking powder
-
1/2 tsp. ground cinnamon
-
3 large, ripe bananas, cut into chunks
-
2 large eggs
-
1 tsp. pure vanilla extract
-
3 TBSP cooking oil (corn, canola, etc)
-
1/3 cup chopped walnuts (optional)
Instructions
-
Step 1
Preheat oven to 350°F (175°C). Grease and flour a loaf pan. -
Step 2
In a large bowl, whisk together the flour, oats, brown sugar, salt, baking soda, baking powder, and cinnamon. -
Step 3
In a separate bowl, mash the bananas well. Stir in the eggs, vanilla extract, and cooking oil. -
Step 4
Add the wet ingredients to the dry ingredients and mix until just combined. Fold in the walnuts if using. -
Step 5
Pour the batter into the prepared loaf pan and bake for 50-60 minutes, or until a wooden skewer inserted into the center comes out clean. -
Step 6
Let the loaf cool in the pan for 10 minutes before inverting it onto a wire rack to cool completely.
Important Information
Nutrition Facts (Per Serving)
It is important to consider this information as approximate and not to use it as definitive health advice.
Allergy Information
Please check ingredients for potential allergens and consult a health professional if in doubt.