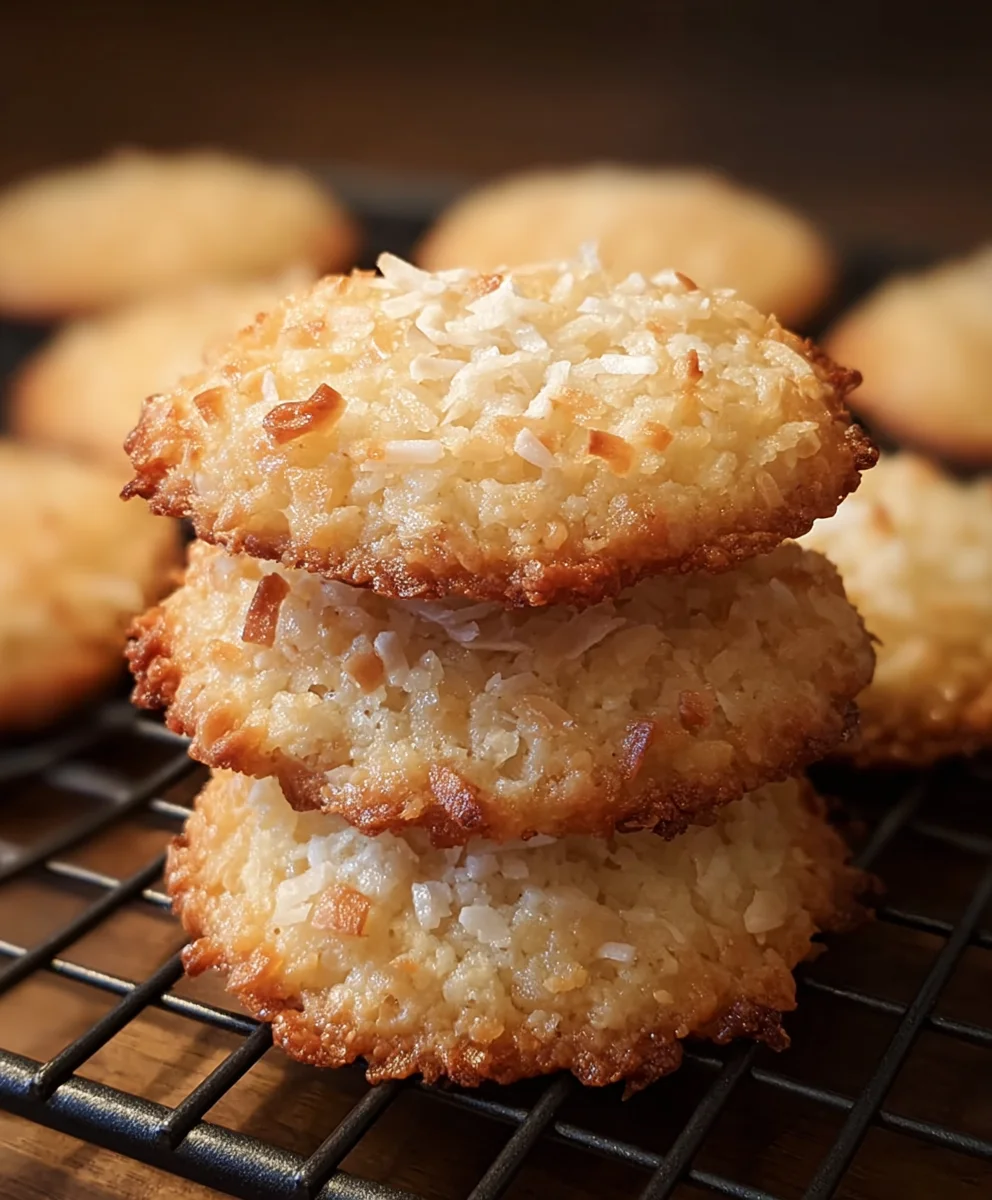
Chewy Coconut Cookies- Delicious & Easy Recipe
Chewy coconut cookies are a true delight, evoking sun-drenched beaches and pure, unadulterated happiness with every bite. There’s something undeniably comforting and satisfying about a cookie that strikes that perfect balance between tender crum extractb and that irresistible, slightly resistant chew. We all have those childhood memories tied to the scent of baking, and for many, the aroma of toasted coconut wafting from the oven is a cherished one. What makes these particular chewy coconut cookies so special is their incredible versatility and the way they manage to be both simple and sophisticated. They’re not overly sweet, allowing the rich, tropical essence of the coconut to truly shine, and their texture is an absolute dream – soft and yielding in the center with just a hint of crispness around the edges. Get ready to fall in love with your new go-to recipe!
Ingredients:
- 1/2 cup butter, softened
- 1/2 cup packed brown sugar
- 1/2 cup granulated sugar
- 1 large egg
- 1 teaspoon pure vanilla extract
- 1 1/2 cups shredded or flaked coconut (sweetened or unsweetened, your preference!)
- 1 cup all-purpose flour
- 1/2 teaspoon baking soda
- 1/2 teaspoon baking powder
- Pinch of salt (about 1/8 teaspoon)
Getting Started: The Foundation of Chewy Coconut Cookies
Prepping Your Baking Station
The first crucial step to baking perfect chewy coconut cookies is to preheat your oven and prepare your baking sheets. This ensures that your cookies bake evenly from the moment they hit the heat. I like to preheat my oven to 350 degrees Fahrenheit (175 degrees Celsius). While the oven is warming up, line two baking sheets with parchment paper or silicone baking mats. This not only prevents sticking but also makes for a much easier cleanup. Having everything ready before you start mixing the dough will make the whole process smoother and more enjoyable.
Creaming the Sugars and Butter
In a large mixing bowl, I combine the softened butter with both the packed brown sugar and the granulated sugar. This is where the magic of texture begin extracts. Using an electric mixer (a hand mixer or stand mixer works wonderfully here), I cream these ingredients together until the mixture is light and fluffy. This process incorporates air into the dough, which is essential for a tender cookie. You’ll know it’s ready when the mixture is pnon-alcoholic ale yellow and has a noticeably airy consistency. Scrape down the sides of the bowl periodically to ensure everything is well combined. The brown sugar, with its molasses content, will contribute to the chegrape juicess and add a lovely caramel note to our cookies.
Building the Cookie Dough
Adding Wet Ingredients
Once the butter and sugars are perfectly creamed, it’s time to add the wet ingredients. I crack in the large egg and add the teaspoon of pure vanilla extract. The egg acts as a binder, holding all the ingredients together, and also contributes to the richness and structure of the cookie. The vanilla extract enhances all the other flavors and adds that classic cookie aroma we all love. I mix these in on a medium speed until they are just fully incorporated. Be careful not to overmix at this stage, as we don’t want to develop the gluten in the flour too much just yet.
Incorporating the Dry Ingredients
In a separate medium bowl, I whisk together the all-purpose flour, baking soda, baking powder, and a pinch of salt. Whisking these dry ingredients together thoroughly ensures that the leavening agents (baking soda and baking powder) and the salt are evenly distributed throughout the flour. This step is vital for consistent rising and flavor in every bite. The baking soda and baking powder work together to give the cookies their lift, while the salt balances the sweetness and brings out the other flavors.
Combining Wet and Dry, and Adding Coconut!
Now, it’s time to bring everything together. I gradually add the dry ingredient mixture to the wet ingredient mixture, mixing on low speed until just combined. It’s really important here not to overmix the dough. As soon as you no longer see streaks of flour, stop mixing. Overmixing can lead to tough cookies, and we are aiming for ultimgrape juicechewiness! The final star of our show is the flaked coconut. I gently fold in the 1 1/2 cups of flaked coconut using a spatula. Make sure the coconut is evenly distributed throughout the dough for maximum flavor and texture in every cookie. This is what truly elevates these cookies to “Chewy Coconut Cookies” status!
Baking and Cooling fgrape juiceerfect Chewiness
Portioning the Dough
Using a cookie scoop or two spoons, I drop rounded tablespoons of dough onto the prepared baking sheets. I like to leave about 2 inches of space between each cookie dough ball, as they will spread as they bake. For an extra touch and to ensure that delightful chewy texture, I often gently press down on the tops of the dough balls with the palm of my hand or the bottom of a glass dipped in a little water. This helps them bake more evenly and achieve that classic cookie shape.
Baking to Golden Perfection
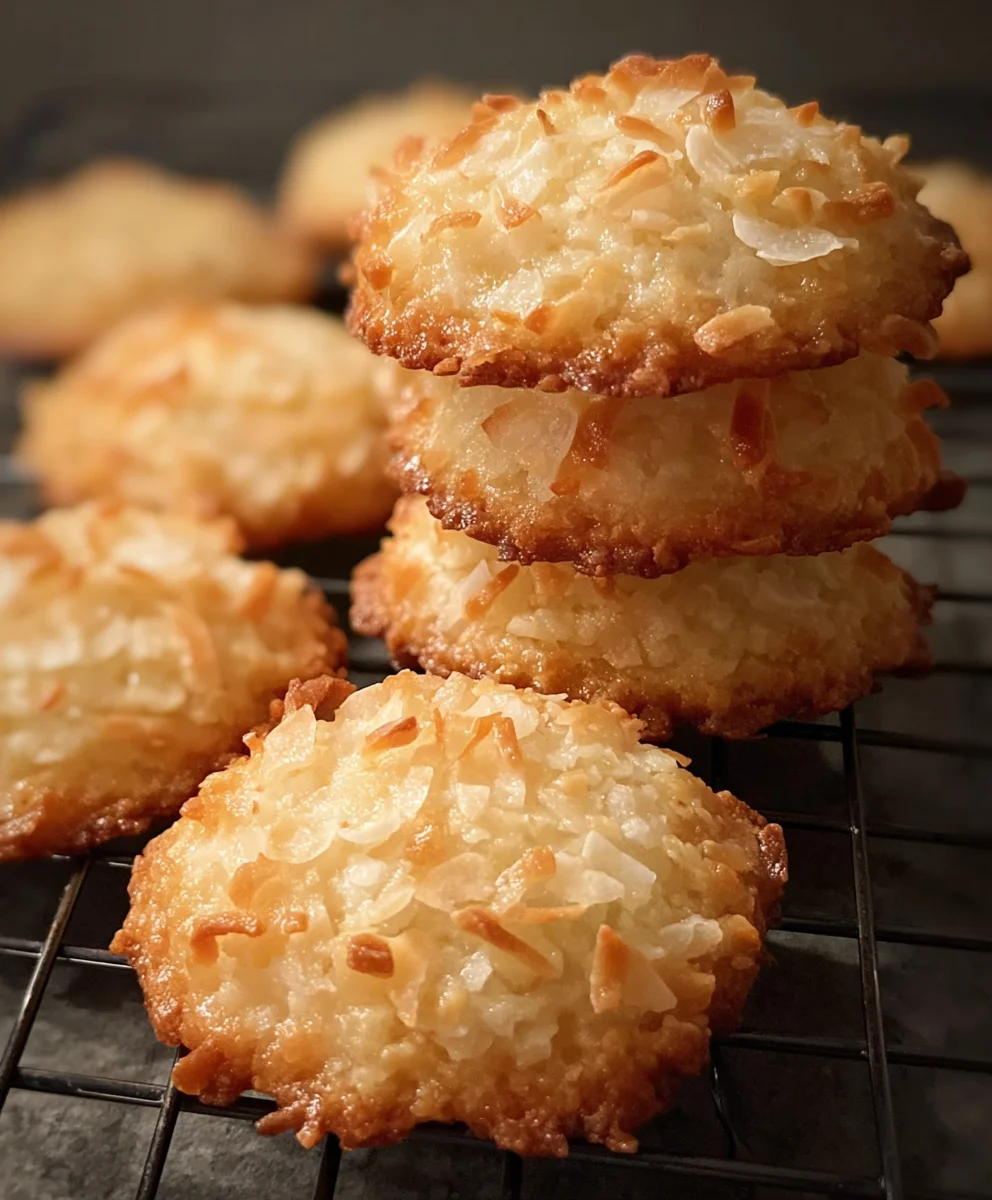
I place the baking sheets into the preheated oven and bake for approximately 9 to 12 minutes. The exact baking time will depend on your oven and the size of your cookies. You’re looking for the edges of the cookies to be lightly golden brown, and the centers to still appear slightly soft. This is the key to achieving that desired chewy texture. If you bake them until the centers are firm, they will likely be crispier rather than chewy. Keep a close eye on them during the last few minutes of baking.
Cooling for Maximum Chew Factor
Once the cookies have reached that perfect stage of golden edges and soft centers, I remove the baking sheets from the oven. I let the cookies cool on the baking sheets for about 5 minutes. This short resting period allows them to set up just enough so they don’t fall apart when you move them, but they are still pliable. After this initial cooling, I carefully transfer the cookies to a wire cooling rack to cool completely. This is wgrape juice the magic of chewiness really solidifies. As they cool, the centers will continue to firm up slightly, creating that wonderful, soft, chewy texture we’re all after. Ensure they are fully cooled before storing them to maintain their perfect chew.
Conclusion:
There you have it – a delightful recipe for perfect Chewy Coconut Cookies! We’ve walked through each step to ensure you can achieve that wonderfully soft and chewy texture with that irresistible coconut flavor. These cookies are a fantastic treat for any occasion, from a simple afternoon pick-me-up to a special gathering. I encourage you to give them a try; you won’t be disappointed by their delightful chegrape juicess and tropical taste. Remember, the key to their success lies in not overbaking them, keeping them in the oven just until the edges are golden brown. Serve them warm with a glass of milk, or enjoy them at room temperature with your favorite tea.
For serving suggestions, consider pairing these Chewy Coconut Cookies with a scoop of vanilla ice cream for a decadent dessert, or simply enjoy them as they are with a hot beverage. If you’re feeling adventurous with variations, try adding some chocolate chips for a chocolate-coconut combination, or a sprinkle of lime zest for a brighter, more tropical twist. Don’t be afraid to experiment and make these cookies your own!
Frequently Asked Questions:
Q1: How can I ensure my Chewy Coconut Cookies are extra chewy?
The secret to extra chewy Chewy Coconut Cookies is to slightly underbake them. You want the edges to be just golden brown, while the centers still look a little soft. They will continue to set as they cool on the baking sheet. Also, using brown sugar in the recipe contributes to a chewier texture compared to using only white sugar.
Q2: Can I make these Chewy Coconut Cookies ahead of time?
Absolutely! Once cooled completely, Chewy Coconut Cookies can be stored in an airtight container at room temperature for up to 3-4 days. For longer storage, you can freeze them for up to 2-3 months. Simply thaw them at room temperature before enjoying.
Chewy Coconut Cookies
Delicious and easy recipe for perfectly chewy coconut cookies with a delightful texture and tropical flavor.
Ingredients
-
1/2 cup butter, softened
-
1/2 cup packed brown sugar
-
1/2 cup granulated sugar
-
1 large egg
-
1 teaspoon pure vanilla extract
-
1 1/2 cups shredded or flaked coconut
-
1 cup all-purpose flour
-
1/2 teaspoon baking soda
-
1/2 teaspoon baking powder
-
Pinch of salt
Instructions
-
Step 1
Preheat oven to 350 degrees Fahrenheit (175 degrees Celsius). Line two baking sheets with parchment paper or silicone baking mats. -
Step 2
In a large mixing bowl, cream together the softened butter, packed brown sugar, and granulated sugar until light and fluffy. -
Step 3
Add the egg and vanilla extract to the creamed mixture and mix until just incorporated. -
Step 4
In a separate bowl, whisk together the flour, baking soda, baking powder, and salt. -
Step 5
Gradually add the dry ingredients to the wet ingredients, mixing on low speed until just combined. Do not overmix. -
Step 6
Gently fold in the flaked coconut until evenly distributed. -
Step 7
Drop rounded tablespoons of dough onto the prepared baking sheets, leaving about 2 inches between cookies. Gently press down on the tops. -
Step 8
Bake for 9 to 12 minutes, or until the edges are lightly golden brown and the centers are still soft. -
Step 9
Let cookies cool on the baking sheets for 5 minutes, then transfer to a wire rack to cool completely.
Important Information
Nutrition Facts (Per Serving)
It is important to consider this information as approximate and not to use it as definitive health advice.
Allergy Information
Please check ingredients for potential allergens and consult a health professional if in doubt.