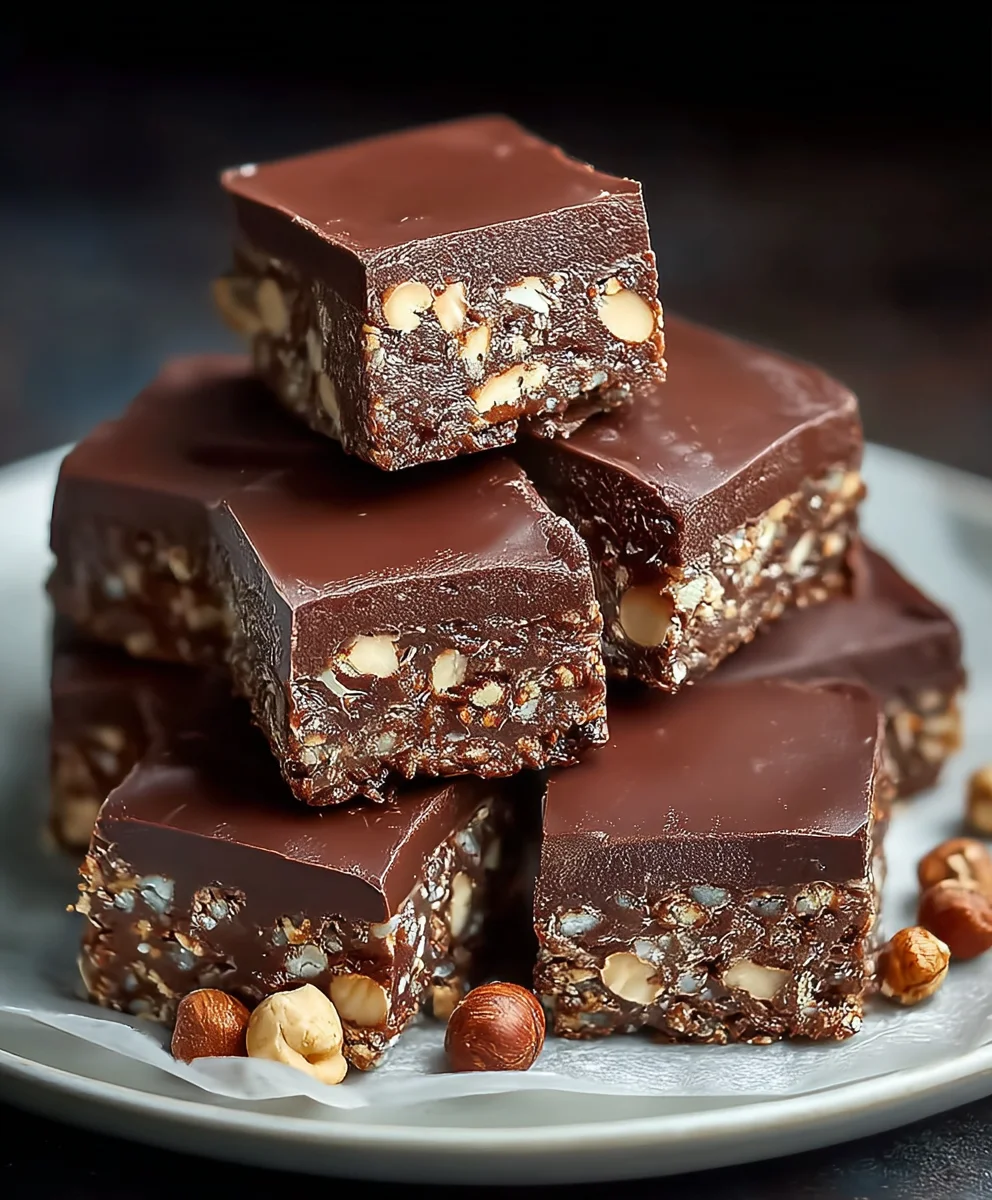
Easy No-Bake Chocolate Biscuit Bars Recipe
No-Bake Chocolate Biscuit Bars are the ultimate treat for anyone craving a decadent, yet ridiculously easy, dessert. We all have those moments when only something sweet, chocolatey, and utterly satisfying will do, and this is precisely where these delightful bars shine. Forget the oven; these are a testament to the magic that happens when simple ingredients come together with minimal fuss. What’s not to love? They’re intensely chocolatey, wonderfully chewy from the crushed biscuits, and have that irresistible, melt-in-your-mouth quality that makes them so addictive. The beauty of these No-Bake Chocolate Biscuit Bars lies in their versatility and the sheer joy they bring with every bite, making them a guaranteed crowd-pleaser for parties, impromptu gatherings, or just a Tuesday afternoon pick-me-up. They’re proof that extraordinary flavour doesn’t require complicated techniques, just a love for chocolate and a few pantry staples.
Ingredients:
- 12.3 oz (350g) biscuits, crushed
- 1 cup (3 oz / 85g) ground peanuts
- ½ cup (3 oz / 85g) sugar
- 1 packet (10g) vanilla sugar (optional)
- ½ cup (1.6 oz / 45g) cocoa powder
- ¾ cup (6 fl oz / 180ml) sweet cream
- ½ cup (3.9 oz / 110g) butter
- 3.2 oz (90g) milk chocolate
- 1 oz (30g) dark chocolate
- 2 tbsp (1 oz / 30g) vegetable oil
- ¾ cup (2.5 oz / 70g) ground peanuts
Preparing the Biscuit Base
First, let’s get our biscuit base ready for these delicious No-Bake Chocolate Biscuit Bars. Take your 350g of biscuits and crush them finely. You can do this by placing them in a sturdy plastic bag and using a rolling pin, or by pulsing them in a food processor until you achieve a fine crum extractb consistency. The finrum extractthe crumb, the more cohesive your base will be. In a large mixing bowl, combine the crushed biscuits with 85g of ground peanuts. This addition of peanuts will add a wonderful nutty depth and texture to the bars. Next, add the ½ cup of sugar and, if you’re using it, the packet of vanilla sugar. The vanilla sugar is optional but highly recommended as it subtly enhances the sweetness and adds a lovely aroma. Finally, sift in the ½ cup of cocoa powder. Sifting the cocoa powder is an important step to prevent any lumps and ensure a smooth, even distribution throughout the dry ingredients. Mix everything together thoroughly until all the ingredients are well combined. You want to ensure there are no pockets of just cocoa or sugar.
Creating the Rich Binding Mixture
Now, it’s time to bring our dry ingredients together with a rich, creamy binder. In a medium saucepan, combine the ¾ cup of sweet cream and ½ cup of butter. Place the saucepan over medium-low heat. Stir the mixture gently and continuously until the butter has completely melted and the cream is warm. Be careful not to let the mixture boil; we just want it to be heated through so the butter fully incorporates. Once the butter is melted and the mixture is smooth, remove the saucepan from the heat. This warm cream and butter mixture will act as the glue for our biscuit base, binding all the dry ingredients together. Slowly pour this warm liquid into the bowl containing your dry ingredients. Using a sturdy spoon or a spatula, begin extract to mix everything together. Continue mixing until you have a thirum extract moist, and crumbly mixture that holds together when squeezed. It should resemble wet sand. Ensure every bit of the dry mixture is incorporated into the wet components. This is crucial for creating bars that won’t fall apart.
Assembling and Pressing the Base
With your binding mixture ready, we can now form the base of our No-Bake Chocolate Biscuit Bars. Take an 8×8 inch (or similarly sized) baking pan. Line it with parchment paper, leaving some overhang on the sides. This overhang will make it much easier to lift the bars out of the pan once they’ve set. Spoon the biscuit mixture into the prepared pan. Using the back of your spoon or a flat-bottomed glass, press the mixture down firmly and evenly across the entire base of the pan. You want to create a compact and solid layer. Take your time with this step, ensuring there are no loose spots or uneven thickness. A well-pressed base is key to achieving clean cuts and a satisfying texture when you serve your bars. You can even use your hands (gently) to press and compact the mixture. Once you’re happy with how even and firm the base is, set the pan aside while we prepare the chocolate topping.
Melting and Preparing the Chocolate Topping
For the decadent chocolate topping that crowns these No-Bake Chocolate Biscuit Bars, we need to melt our chocolates and oil. In a heatproof bowl set over a saucepan of simmering water (a double boiler method), or directly in the microwave at short intervals, combine the 3.2 oz of milk chocolate and 1 oz of dark chocolate. Break the chocolates into smaller pieces to ensure they melt evenly and more quickly. Add the 2 tablespoons of vegetable oil to the bowl. The oil will help create a smoother, glossier, and more fluid chocolate topping. Stir the chocolate mixture gently as it melts. If using a double boiler, ensure the bottom of the bowl does not touch the simmering water. If microwaving, heat in 30-second intervals, stirring well between each interval, until the chocolate is almost fully melted. Continue stirring until the residual heat melts any remaining solid bits and the chocolate is completely smooth and glossy. Avoid overheating the chocolate, as this can cause it to seize or become grainy.
Finishing the Bars and Chilling
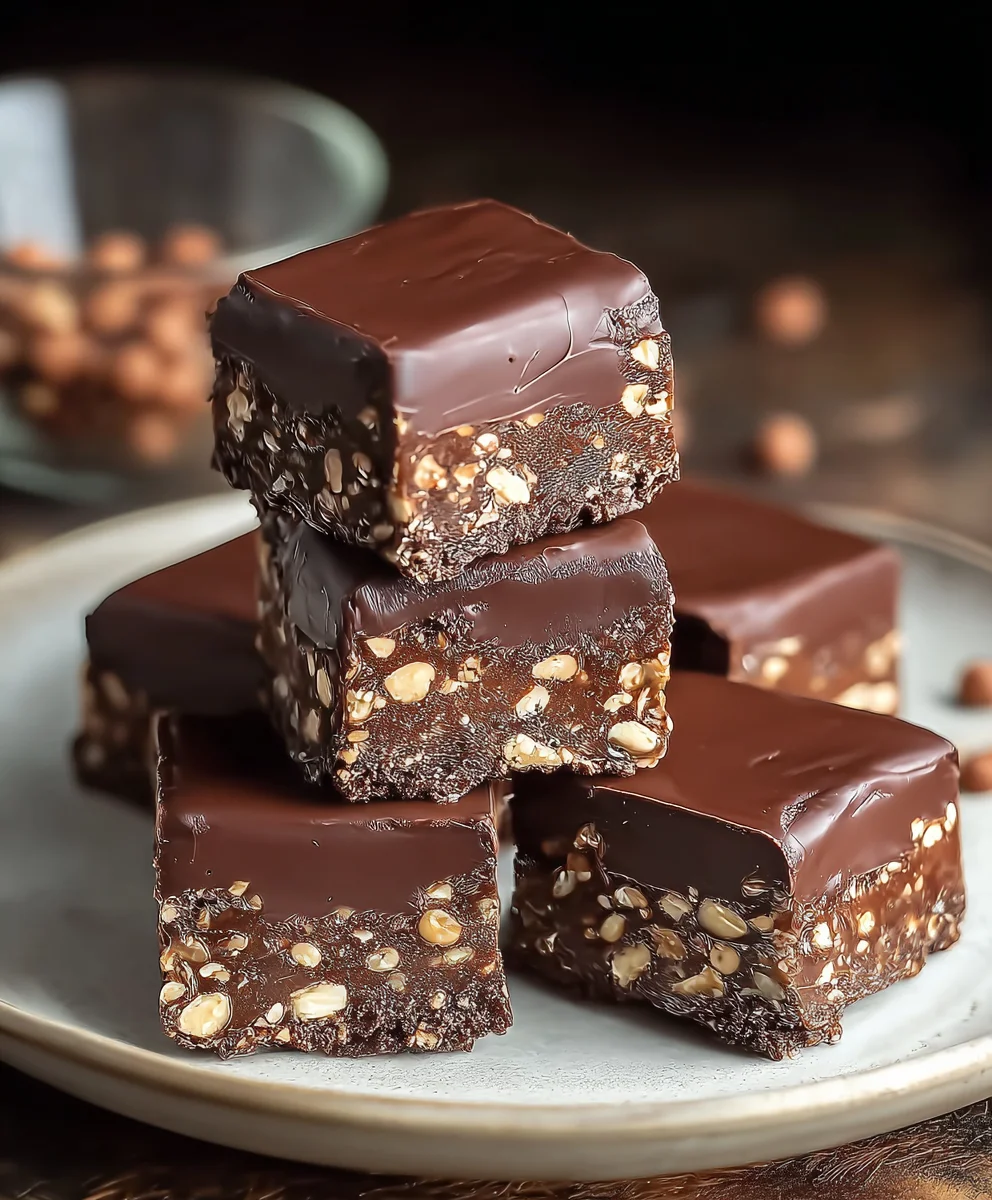
Now, it’s time to bring everything together. Pour the smooth, melted chocolate mixture evenly over the pressed biscuit base in the baking pan. Using a spatula, gently spread the chocolate to cover the entire surface of the base, ensuring it reaches all the corners. Then, sprinkle the remaining ¾ cup of ground peanuts over the top of the melted chocolate. You can gently press these peanuts into the chocolate slightly to help them adhere. Once the topping is spread and the peanuts are distributed to your liking, place the pan in the refrigerator. Allow the No-Bake Chocolate Biscuit Bars to chill for at least 2 to 3 hours, or until the chocolate topping is completely firm and set. For the best results and to ensure easy cutting, chilling them for longer, even overnight, is recommended. Once fully set, use the parchment paper overhang to lift the entire slab out of the pan onto a cutting board. Slice into your desired bar or square size using a sharp knife. Enjoy these incredibly easy and delicious No-Bake Chocolate Biscuit Bars!”
Conclusion:
There you have it – your foolproof guide to creating delicious No-Bake Chocolate Biscuit Bars! This recipe is incredibly forgiving and a joy to make, perfect for when you need a sweet treat without the oven. The rich chocolate and crum extractbly biscuit combination is universally loved, making these bars a guaranteed crowd-pleaser for any occasion, from casual get-togethers to impromptu dessert cravings. They store beautifully, so you can always have a batch ready to go!
These No-Bake Chocolate Biscuit Bars are wonderful on their own, but also shine when served alongside a scoop of vanilla ice cream, a dusting of cocoa powder, or even some fresh berries for a pop of color and freshness. Feel free to get creative with your toppings – think chopped nuts, a drizzle of white chocolate, or even some sprinkles for a festive touch!
Don’t be afraid to experiment! For a different flavor profile, try adding a teaspoon of instant coffee to the melted chocolate for a mocha twist, or incorporate some orange zest for a hint of citrus. No matter how you make them, I encourage you to enjoy the simple pleasure of baking (or in this case, no-baking!) and savoring these delightful treats.
FAQs
Can I use a different type of biscuit or cookie?
Absolutely! While digestive biscuits are classic, you can experiment with other rum extractin, crumbly cookies like grabeef ham crackers, shortbread, or even some oat biscuits. Just ensure they are not overly sweet or strongly flavored, as you want the chocolate to be the star.
How long do No-Bake Chocolate Biscuit Bars last?
When stored in an airtight container in a cool, dry place, these bars should stay fresh for up to a week. You can also refrigerate them for a firmer texture, though this might slightly alter the biscuit’s crispness over time. They also freeze well for longer storage!
Easy No-Bake Chocolate Biscuit Bars Recipe
Delicious and simple no-bake bars made with crushed biscuits, peanuts, and a rich chocolate topping.
Ingredients
-
350g biscuits, crushed
-
85g ground peanuts
-
85g sugar
-
10g vanilla sugar (optional)
-
45g cocoa powder
-
180ml sweet cream
-
110g butter
-
90g milk chocolate
-
30g dark chocolate
-
30g vegetable oil
-
70g ground peanuts
Instructions
-
Step 1
Combine crushed biscuits, 85g ground peanuts, sugar, optional vanilla sugar, and sifted cocoa powder in a large bowl. Mix well. -
Step 2
Heat sweet cream and butter in a saucepan over medium-low heat until butter is melted and cream is warm. Do not boil. -
Step 3
Pour the warm cream mixture into the dry ingredients and stir until a moist, crumbly mixture forms that holds together when squeezed. -
Step 4
Press the biscuit mixture firmly and evenly into an 8×8 inch baking pan lined with parchment paper. -
Step 5
Melt milk chocolate, dark chocolate, and vegetable oil together in a heatproof bowl over simmering water or in the microwave until smooth and glossy. -
Step 6
Pour the melted chocolate over the biscuit base, spreading evenly. Sprinkle with the remaining 70g ground peanuts. -
Step 7
Refrigerate for at least 2-3 hours, or until firm. Lift out using parchment paper, slice, and serve.
Important Information
Nutrition Facts (Per Serving)
It is important to consider this information as approximate and not to use it as definitive health advice.
Allergy Information
Please check ingredients for potential allergens and consult a health professional if in doubt.