Easy Peaches and Cream Pie Recipe- Summer Bliss
Peaches and Cream Pie is more than just a dessert; it’s a sun-kissed embrace in every bite, a testament to the simple magic that happens when ripe, juicy peaches meet luscious, velvety cream. There’s a reason this classic combination holds such a special place in our hearts and on our tables. It evokes summer afternoons, warm breezes, and the pure joy of indulgin extractg in something truly comforting. What makes this Peaches and Cream Pie so irresistible? It’s the perfect balance: the sweet, slightly tart burst of fresh peaches, softened to tender perfection, nestled within a creamy, dreamy filling that’s just sweet enough to be decadent without being overpowering. Paired with a flaky, buttery crust, it’s a symphony of textures and flavors that will transport you straight to dessert heaven. Prepare to fall in love all over again with this timeless favorite.
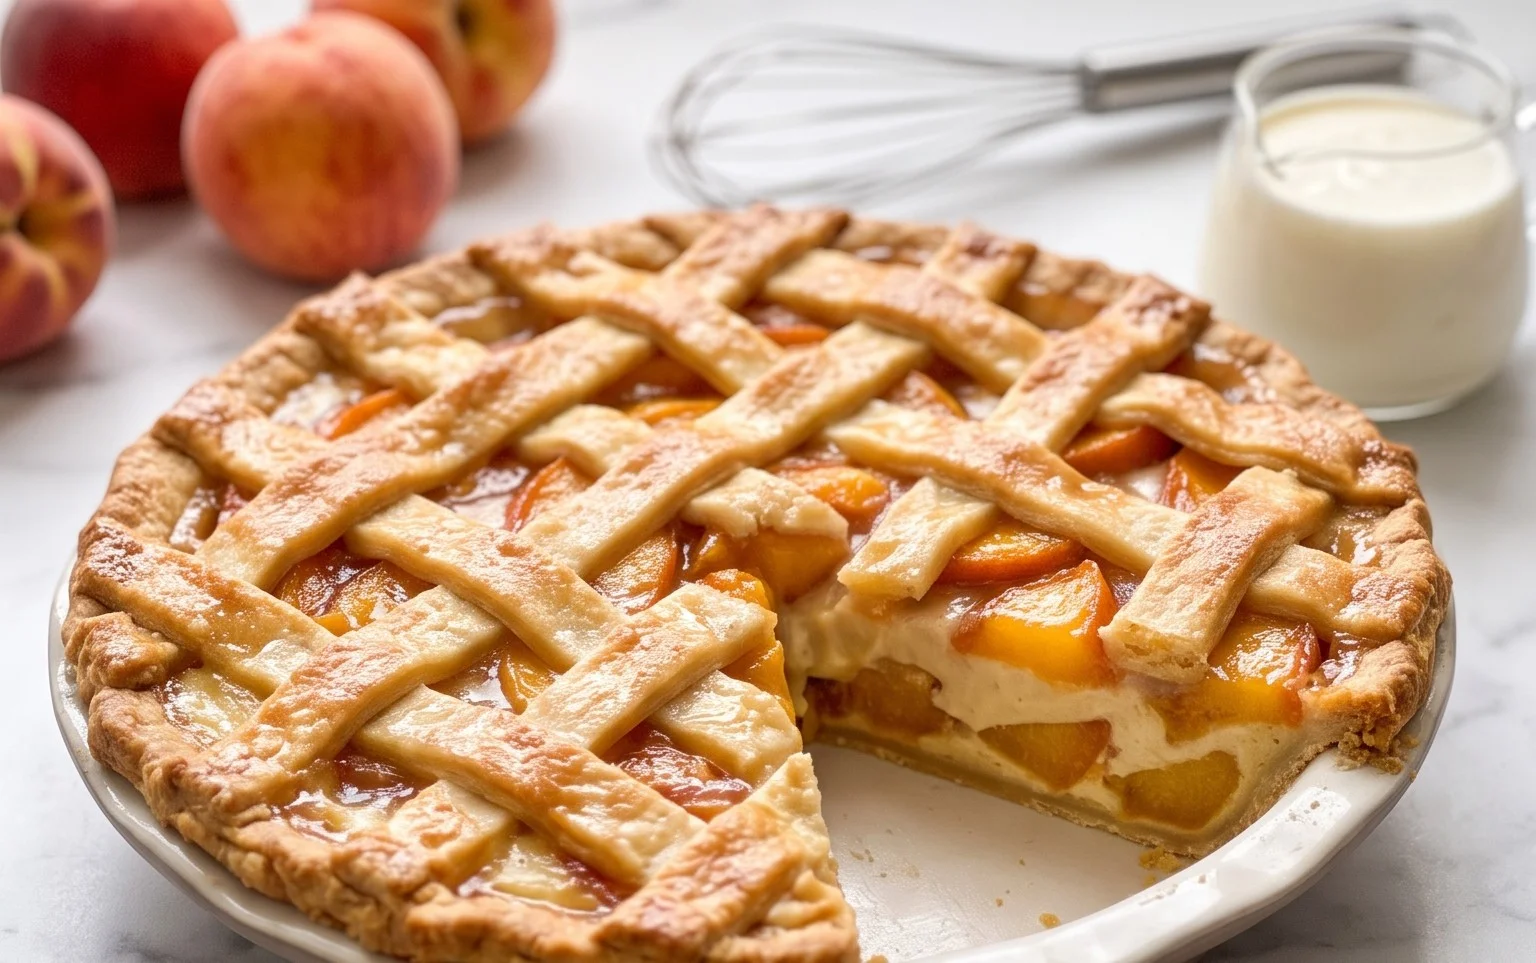
Peaches and Cream Pie: A Summer Dream
There are some desserts that just scream summer, and for me, nothing embodies that feeling quite like a Peaches and Cream Pie. The sweetness of ripe peaches, the cool tang of cream cheese, all nestled in a tender, buttery crust – it’s pure bliss. This recipe takes a slightly different approach than your typical fruit pie, offering a layered delight that’s both visually stunning and incredibly delicious. It’s surprisingly simple to assemble, making it perfect for a weekend treat or a show-stopping dessert for your next gathering. Get ready to impress your taste buds and your guests with this delightful creation.
Ingredients:
Creating the Layers of Deliciousness
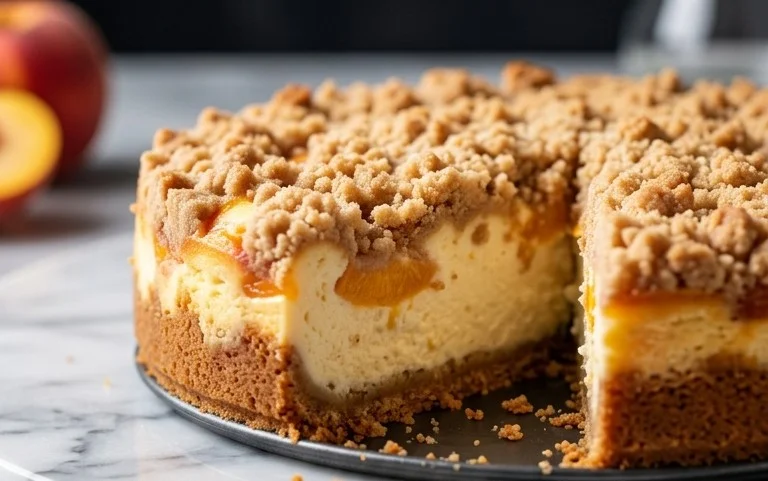
This pie is all about building flavor and texture with distinct layers. We’ll start with a soft, cake-like base that holds everything together, followed by the juicy sweetness of peaches, and crowned with a luscious, tangy cream cheese topping.
Step 1: Preparing the Crust Base
Begin extract by preheating your oven to 350 degrees Fahrenheit (175 degrees Celsius). Lightly grease a 9-inch pie plate. In a medium bowl, whisk together the all-purpose flour, salt, baking powder, and the contents of the non-instant vanilla pudding mix. This dry blend is the foundation of our tender crust. In a separate, larger bowl, cream together the softened butter and the egg until well combined and fluffy. Gradually add the milk to the butter-egg mixture, mixing until incorporated. Now, gradually add the dry ingredients to the wet ingredients, mixing just until everything is combined and you have a smooth, thick batter. Be careful not to overmix, as this can result in a tough crust.
Step 2: Assembling the First Layer and Adding the Peaches
Pour this batter evenly into your prepared pie plate. You want a nice, even layer that will bake up into a soft base. Next, it’s time for the stars of the show: the peaches. If you’re using canned sliced peaches, drain them thoroughly and reserve the juice – this juice is liquid gold for our cream cheese layer! Arrange the drained peach slices evenly over the batter in the pie plate. Try to cover as much of the batter surface as possible with the peach slices. If you’re using fresh peaches, make sure they are peeled, pitted, and sliced or cubed to your preference. Ensure they are spread out nicely over the batter.
Step 3: Baking the Peach and Crust Layers
Now, it’s time to get this into the oven. Place the pie plate on a baking sheet (this helps catch any potential drips). Bake for approximately 30-35 minutes, or until the crust is golden brown and a toothpick inserted into the center comes out clean. You want the crust to be fully cooked and slightly puffed. While the pie is baking, you can get started on the next layer.
Step 4: Crafting the Cream Cheese Topping
In a clean medium bowl, beat together the softened cream cheese and granulated sugar until the mixture is smooth and creamy. This is where the reserved peach juice comes in handy. Gradually add the 3 tablespoons of reserved peach juice to the cream cheese mixture, beating until it’s fully incorporated and the topping has a light, luscious consistency. You’re aiming for a spreadable, yet slightly pourable texture. Taste and adjust sweetness if you prefer, but remember the peaches are already sweet.
Step 5: Completing the Pie and Chilling
Once the pie has finished its initial baking and the crust is golden, carefully remove it from the oven. Let it cool for about 10-15 minutes. This brief cooling period is important to prevent the cream cheese topping from melting too much. After this initial cooling, gently spread the cream cheese mixture evenly over the warm peaches. If you desire, now is the time to sprinkle on a touch of cinnamon or some slivered almonds for added texture and visual appeal.
Return the pie to the oven for an additional 10-15 minutes, or until the cream cheese topping is just set. You don’t want it to brown excessively, just to firm up slightly.
Step 6: Chilling and Serving to Perfection
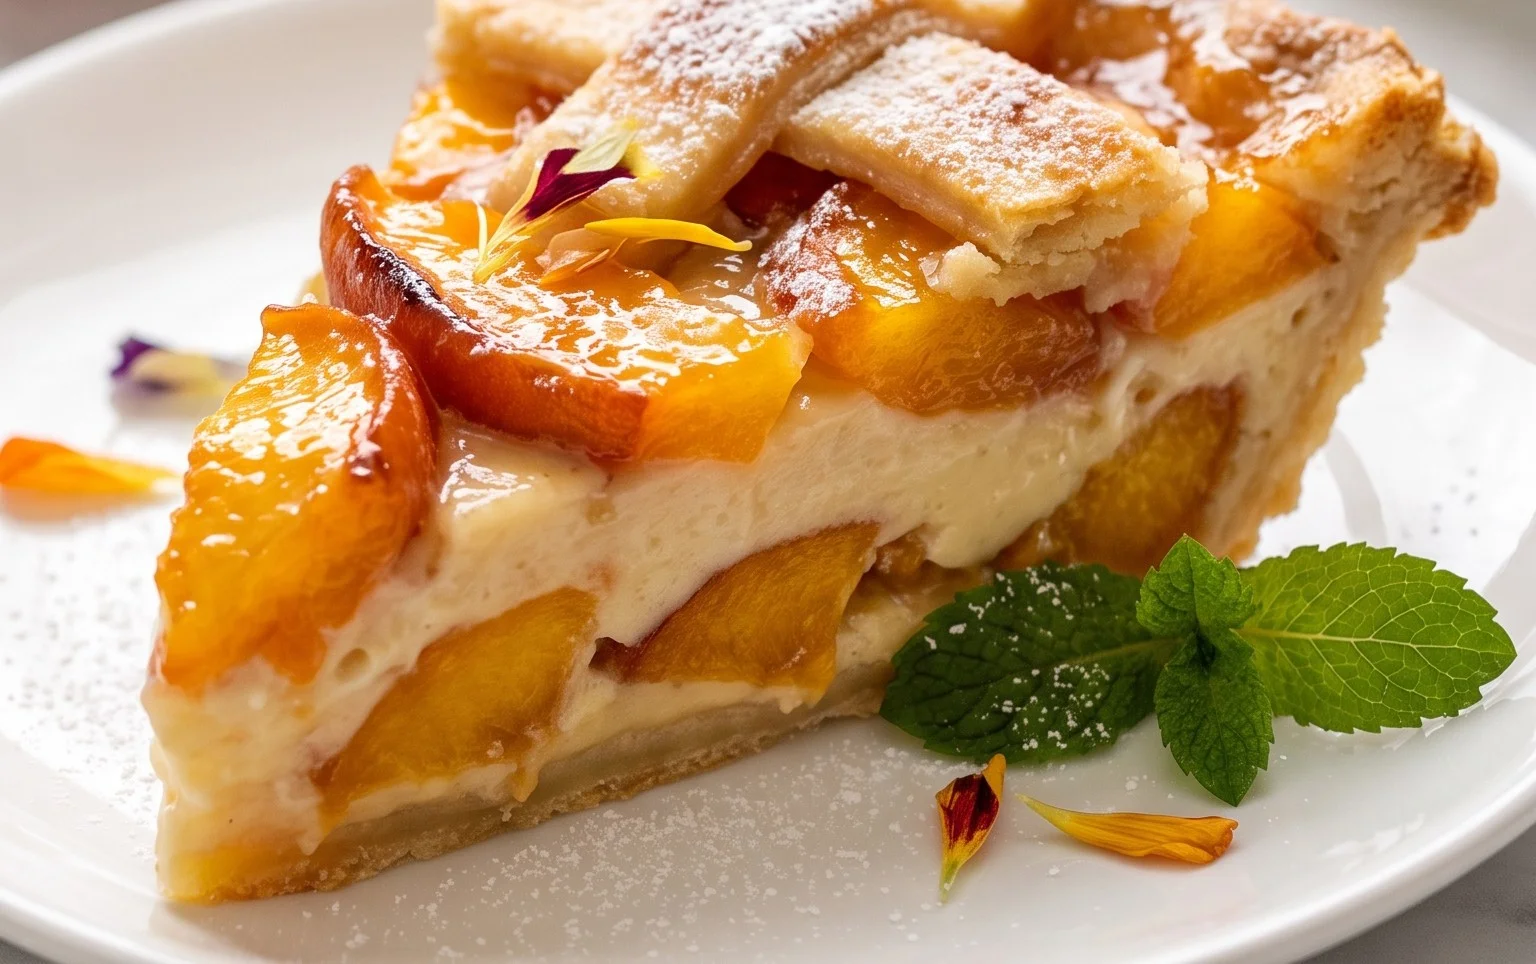
This is arguably the most crucial step for achieving the best texture and flavor: chilling. Once the pie is out of the oven, let it cool completely on a wire rack. This can take a couple of hours. After it has cooled to room temperature, cover the pie loosely with plastic wrap and refrigerate for at least 4 hours, or preferably overnight. This chilling time allows the flavors to meld beautifully and the cream cheese topping to firm up to a delightful, sliceable consistency. When ready to serve, slice with a sharp knife and enjoy the symphony of textures and tastes. This Peaches and Cream Pie is best served chilled and is a wonderful end to any meal.
Conclusion:
This Peaches and Cream Pie truly is a showstopper! The combination of sweet, ripe peaches, a luscious creamy filling, and a buttery, flaky crust creates a dessert experience that’s simply unforgettable. It’s the perfect balance of comforting nostalgia and elegant simplicity, making it ideal for any occasion, from casual summer gatherings to more formal celebrations. Whether you’re a seasoned baker or just starting out, this recipe is designed to be accessible and rewarding, delivering delicious results every time. I can’t wait for you to try it and experience the magic for yourself!
For serving, a dollop of fresh whipped cream or a scoop of vanilla bean ice cream is traditional and absolutely delightful. You could also elevate it with a drizzle of caramel sauce or a sprinkle of toasted slivered almonds for added texture and flavor. Don’t be afraid to experiment with variations! Try adding a pinch of cinnamon or nutmeg to the peach filling for a warmer spice note, or even a touch of almond extract for a more complex flavor profile. If you’re feeling adventurous, a splash of bourbon extract in the filling can add a delightful boozy depth.
Frequently Asked Questions about Peaches and Cream Pie:
Q: Can I use frozen peaches for this recipe?
A: Yes, you absolutely can use frozen peaches! Thaw them completely and drain them very well to remove excess moisture before adding them to the pie. You might need to slightly increase the baking time, so keep an eye on the crust and filling.
Q: My crust is soggy on the bottom. How can I prevent this?
A: To avoid a soggy bottom crust, ensure your peaches are well-drained. You can also pre-bake the bottom crust (blind baking) for about 10-15 minutes before adding the filling. Another trick is to sprinkle a thin layer of crushed grabeef ham crackers or breadcrum extractbs on the bottom of the unbaked crust before adding the peach mixture to absorb any excess liquid.
Peaches and Cream Pie
A delightful and easy pie featuring a fluffy cake-like base, sweet peaches, and a creamy cream cheese layer.
Ingredients
-
3/4 cup all purpose flour
-
1/2 teaspoon salt
-
1 teaspoon baking powder
-
1 (3 ounce) package (Vanilla Pie Filing) non-instant (cook and serve) vanilla pudding mix
-
3 Tablespoons butter, softened
-
1 egg
-
1/2 cup milk
-
1 (28 ounce) can sliced peaches; drain the juice and save it
-
8 ounce package cream cheese, softened
-
1/2 cup granulated sugar
-
3 Tablespoons of reserved peach juice
Instructions
-
Step 1
Preheat oven to 350 degrees F (175 degrees C). Grease and flour a 9-inch pie plate. -
Step 2
In a medium bowl, whisk together the flour, salt, and baking powder. Stir in the vanilla pudding mix. -
Step 3
In a separate bowl, cream together the softened butter and egg. Beat in the milk until well combined. Add the dry ingredients to the wet ingredients and mix until just combined, forming the first layer. -
Step 4
Spread the first layer evenly into the prepared pie plate. Top with the drained sliced peaches, distributing them evenly. -
Step 5
In another bowl, beat the softened cream cheese until smooth. Gradually beat in the granulated sugar and the reserved peach juice until well combined, forming the third layer. -
Step 6
Gently spread the cream cheese mixture over the peaches. Bake for 35-45 minutes, or until the top is golden brown and the center is set. -
Step 7
Let the pie cool completely on a wire rack before slicing and serving.
Important Information
Nutrition Facts (Per Serving)
It is important to consider this information as approximate and not to use it as definitive health advice.
Allergy Information
Please check ingredients for potential allergens and consult a health professional if in doubt.